A Guide to Understanding Aperture Priority Mode
Getting your exposure right while also achieving the depth of field you’re looking for can be tricky at times, especially if you’ve got to get some exposures off quick or you’re in a hectic situation.
Luckily we have several camera modes at our disposal to make our lives easier as photographers in these situations, and one of the most useful ones is aperture priority. It’s used a good deal by both professionals and hobbyists alike.
So in this article I’d like to go over what makes aperture priority mode so great, when it’s best to use it, and how you can get the most out of it in your photography.
First of all, what exactly is aperture priority mode?
Aperture priority mode is a semi-automatic mode, in which you choose the aperture and the camera selects a shutter speed accordingly (after taking a meter reading from the scene it’s pointed at) to get a proper exposure. Aperture priority mode can also be used in conjunction with auto ISO, in which the camera automatically selects the ISO for you in addition to shutter speed.
There are both reasons for and against using auto ISO along with aperture priority. Manually choosing your ISO gives you as the photographer more control over the outcome of your exposures. If say, you’re in a very darkly lit situation, you can manually set your ISO high. In certain instances, had you not set your ISO to a high value, your camera might have chosen a lower ISO and thus a slower shutter speed to compensate, resulting in a blurred photo.
The other side of it is that if the lighting conditions you’re working with are fluctuating significantly, you might miss some shots if you set your camera’s ISO manually.
How to shoot in Aperture Priority Mode
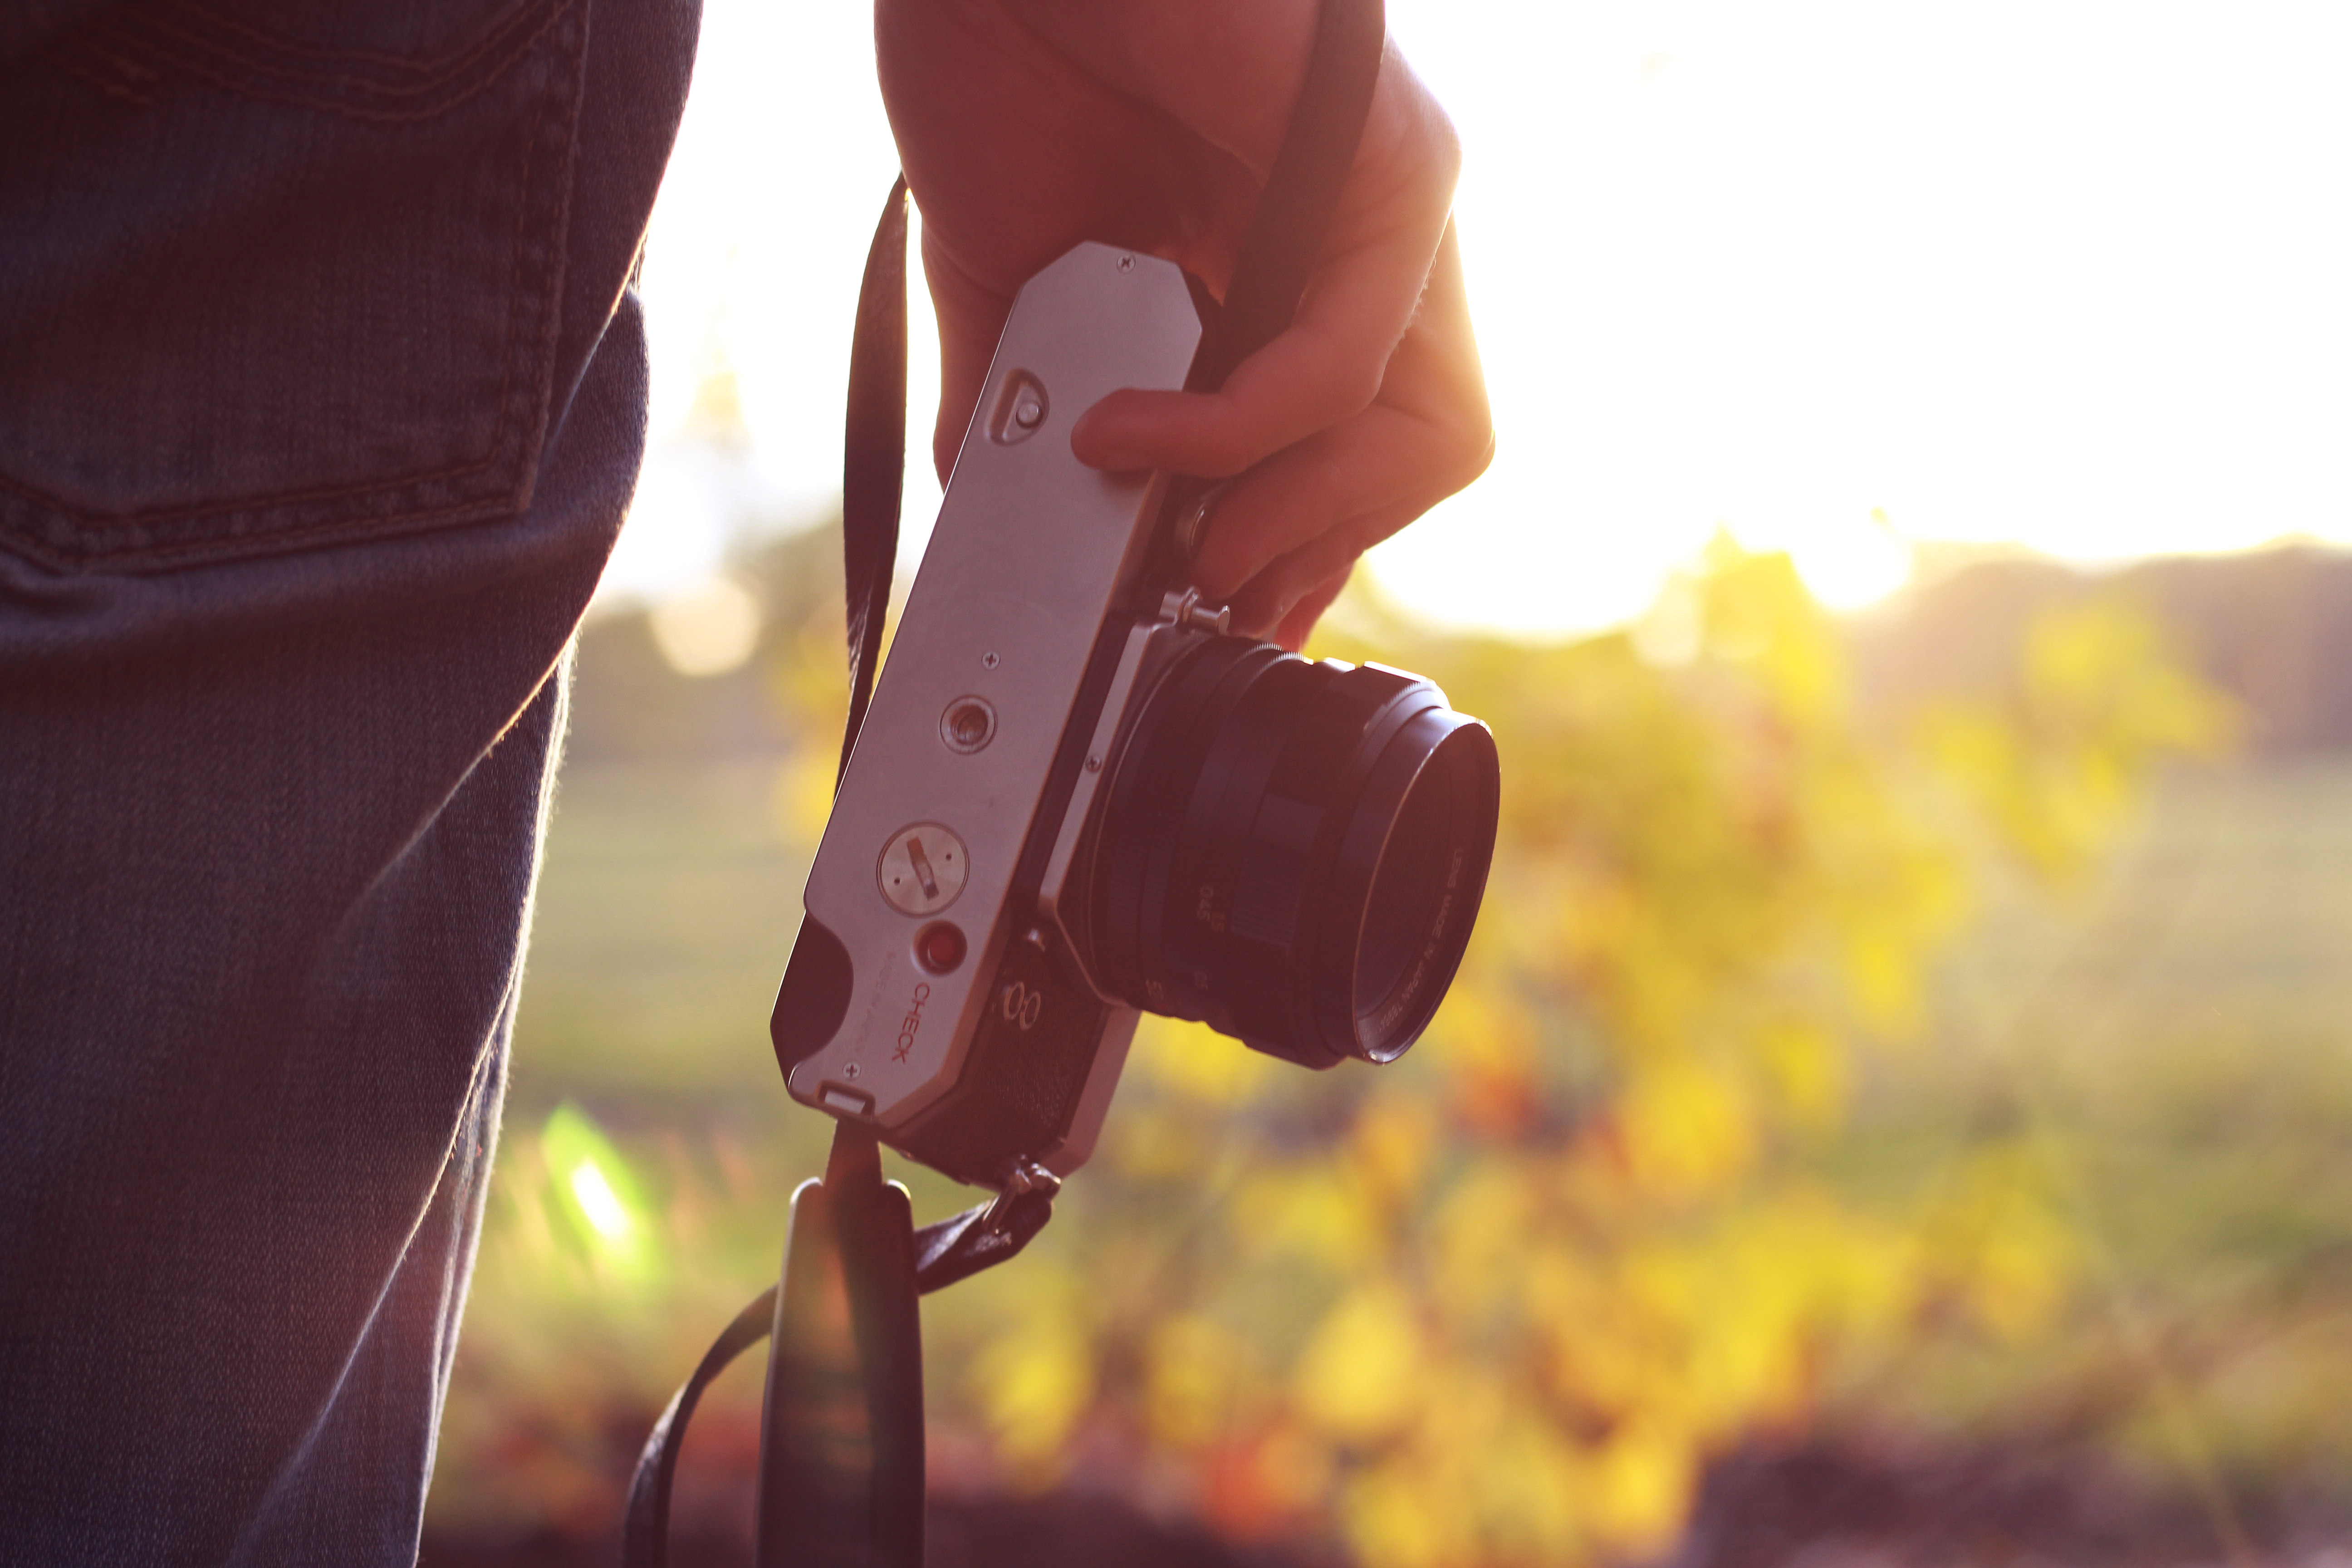
Putting your camera into aperture priority mode is easy, but may not be totally obvious if you’re just getting started in photography and familiarizing yourself with your first camera. All you have to do is push in the button on top of your mode dial (the dial that usually sits atop the left side of your camera and has some letters and possibly small pictures printed on it) and turn the dial until you get it to the ‘A’ marking.
From there all you need to do is choose an aperture, point and click. The camera will do the rest for you. After you’ve chosen the aperture, the camera chooses your shutter speed for you after taking a meter reading.
Why shoot in aperture priority mode?
Aperture priority mode is a very commonly used camera mode, and for good reason. It really doesn’t matter if you’re a casual shooter or a full-on professional, aperture priority mode can get you the results you’re looking for in a wide variety of shooting situations.
The most obvious reason for shooting in aperture priority mode is for depth of field control. The amount of depth of field you have in any given image is really going to be one of its’ defining characteristics, so being able to control it has obvious benefits.
If you haven’t heard of it, depth of field refers to what extent an image is in focus. If you’ve ever seen an image of say, a flower in focus close to the camera but everything in the background is completely blurry, that’s shallow depth of field. Conversely, if you’ve ever seen a landscape image where everything is sharp and in focus, that’s an image with a lot of depth of field.
Being able to take control over depth of field and do it consistently is really what separates the good photographers from those who don’t put much thought into it. Skilled photographers are constantly thinking about the depth of field they want for a certain shot and what aperture they need to shoot at to achieve the look they’re going for.
Aperture priority is great for when you’re starting out in photography and you’re getting used to the idea of depth of field. It allows you to essentially choose what depth of field you want and then the camera does the rest for you to get a proper exposure. And even for experienced photographers, it’s great for being able to control your depth of field and let the camera do the rest when under fluctuating lighting conditions.
When should you shoot in aperture priority mode?
There are situations where aperture priority mode works great and gets reliable, consistent results. Then there are others where that’s not so much the case. Here are some cases when I’ll personally put my camera into aperture priority mode:
1. For Natural Light Portraits
When shooting portraits with flash or other artificial lighting, I do manual everything, but for natural light portraits in relatively strong light, aperture priority mode is a good option. If you’re doing a shoot in the same location but having the model move around a bit to change up the background and what not, the light is likely to keep fluctuating slightly, but probably not drastically. A good example is when you move a model from a shaded area to out in open sunlight.
This is a good opportunity to use aperture priority, as you can just let your camera make these minor adjustments for you so you can focus on directing your model and your composition. Getting your composition right and putting your model in the best possible light is ultimately more important than precisely nailing your exposure. Using aperture priority mode frees your mind up to focus on the important stuff while your camera does the “micromanaging” of taking a meter reading and choosing a shutter speed for you.
Aperture priority mode lets you focus your mental energy on composition and light (like in these corporate portrait lighting shots, for example) rather than what your camera’s settings are for a particular shot.
This works well for when you’re shooting under lighting conditions that fluctuate a bit, but not really for when you’re shooting in very dark situations (which I’ll talk about later in the article) or for lighting conditions where you have complete control, i.e. a studio setting. When you have that much control over your light, you can literally choose your settings and leave them the same for the rest of the shoot. When you can set it and forget it, why not dial in your settings to get the exact exposure you want?
In addition to aperture priority mode taking a load off your mind when shooting portraits, it does that while easily letting you decide what your depth of field is going to be. For portrait photography, depth of field (and thus aperture selection) is really the most important setting you’re going to choose. Knowing how your aperture works means being able to really take control over the creativity of your portraits.
Portraits can be shot at both large and small apertures – but it’s important to be mindful and deliberate about what aperture you ultimately choose to shoot at. There are a ton of photographers out there who insist on always shooting portraits wide open (almost to a religious extent), and I can certainly see why. Shooting wide open or at a lens’ wider apertures produces those dreamy-looking blurry backgrounds with creamy bokeh—a look I personally like for portraits.
However, this look can certainly be overdone and shallow depth of field can be used as a crutch—if your composition is bad or you’re shooting in front of an ugly background it always makes things easier. But shooting at a wide aperture just for the sake of it without putting much thought into why is not the way to go in my opinion.
I don’t see a problem with shooting portraits at a wide aperture/wide open the majority or even 100% of the time if that’s the style you’ve put some thought into and chosen for yourself. For some photographers that wide-open look can really become part of their brand. But I think there are certain instances that come up when you’re shooting portraits that call for shooting at a smaller aperture and bringing not just your subject but also your background into focus.
And in regards to specifically shooting completely wide open, I think it can be done well but it’s not something I do a lot. Even just stopping down a third or two-thirds of a stop from wide open makes a big difference in terms of being able to get what you want in focus. It depends on focal length and how wide a lens’ maximum aperture is, but longer focal lengths combined with really wide apertures can result in razor thin depth of field.
Super thin depth of field can be a magical sight to behold when done right, there’s no doubt about it. I err on the side of stopping down a bit from wide open though, as I want at least the model’s whole face to be in focus. I have no problem completely blowing out the background, but I want the subject to be completely in focus, unless it’s an up-close macro detail of a subject’s eye or something like that.
When shooting at these extremely thin depths of field, it can be so thin that you have your subject’s eyes in focus and their ears out of focus. You can even have one of their eyes in focus and the other eye out of focus. Some people like that look and it can certainly be done well, but my personal style is to get my subjects’ faces tack sharp. And sometimes I want to have not just a subject’s face to be tack sharp and in focus, I want to bring the background into focus on occasion as well.
With longer focal lengths, this effect becomes more pronounced. 105mm or 200mm lenses, some of the more common longer focal lengths for portraits, can have really thin depths of field at their larger apertures. And the distance to your subject has a big influence on your depth of field as well. The closer you are to the subject, the more the depth of field will decrease. When shooting at certain focal lengths paired with very wide apertures, you’re getting into extreme territory in terms of how thin your depth of field is going to be.
Where your limit is in terms of how wide you’re willing to go should come down to the specific gear you’re using. Camera sensor/film size, lens focal length, aperture and also distance to subject with your given gear should all be taken into account.
I know a lot of photographers I’m sure would disagree with me about what depth of field to shoot at. And that’s perfectly fine. These things are subjective. I think there are quite a few situations that arise when you should deviate from the norm and change things up. Choosing your depth of field should be done on a case by case basis—if you’re paying attention, you’ll notice situations that call for a certain look.
Some will work better if you shoot at a thin depth of field with the background thrown into a smooth, creamy, out-out-focus bokeh. Others will look better with the subject and part of the background or the whole background in focus.
It takes a keen eye to recognize when a situation calls for one or the other, and the only way to really be able to notice it is by photographing a lot – at both wide and small apertures.
2. Landscapes/Cityscapes
Personally, when I shoot landscapes I pretty much always do it in manual. You’re shooting a stationary scene so you have all the time in the world to adjust your settings.
But I see no problem with using aperture priority to make things quicker and easier, especially if you’re taking a bunch of shots of different scenes from multiple angles throughout a day of shooting. It’s one of those things where if it helps you keep your sanity by not having to continuously adjust your settings, you can go ahead and use it.
Landscapes and cityscapes tend to work best with a lot of depth of field too, and aperture priority makes it easy to get that. You can shoot landscapes between f/8 and f/11 and it’ll give you that deep depth of field with pretty much everything in focus. You can go smaller than that but with many lenses using smaller apertures than f/11 you start getting reduced image quality due to diffraction.
Landscapes and cityscapes can be consistently shot at smaller apertures to get everything in focus so shooting them in aperture priority mode is a legitimate option. It’s one of those things where you’re likely to keep your aperture consistent so there’s no problem in letting the camera make the little adjustments from shot to shot. You might not always get exactly the exposure you want but the camera will get it pretty close to right, and pretty much always close enough to give you a file that’s workable in post.
If I’m shooting landscapes and I have plenty of time to set things up and be deliberate about it, I’m shooting in manual. If, on the other hand, I’m in a rush (like if I’m on vacation or something), then I’m likely to use aperture priority mode.
When to avoid shooting in aperture priority mode
There are certain instances when other modes are preferable to shooting in aperture priority. The big one for me is shooting in very low light situations.
When I came to realize this when I first started out in photography I was a bit surprised and found it somewhat counterintuitive. My thinking was that dark scene = you should be able to put your camera into aperture priority mode at a wide aperture and you’d be good to go.
The problem with that in darkly-lit situations is the lack of control over shutter speed. It’s fine when shooting within mid to bright lighting conditions, when your shutter speed will stay at a relatively fast speed. But in the dark your shutter speed will dip to the point where you’re getting motion blur in your shots.
There’s nothing wrong motion blur when you want it. And “happy accidents” happen from time to time, when you get a result that you weren’t expecting. But I think we should all strive to shoot with intention as much as possible and get the results you desire, not just something random that the camera just so happened to choose.
So what should you use instead?
The better option in dark situations (at least if you want to freeze the action and get your subjects in sharp focus) is to use shutter priority mode. That way, you can set your shutter speed to the slowest possible speed that will still get things in focus (this could be as low as 1/125s for when moving people are your subjects but ideally 1/250s and higher) and your camera will shoot at a wide aperture anyway.
Shallow depth of field is not always desired but most photographers love it and it’s usually preferred over images with a bunch of motion blur. And likewise, it’s usually preferred to have grainy images due to shooting at a high ISO than have unwanted motion blur.
One final thing to keep in mind when shooting in aperture priority mode
If you’re shooting in mid to low level light in aperture priority mode, you need to be mindful of how your focal length corresponds to your shutter speed. The longer your focal length, the faster your shutter speed needs to be for sharpness and to avoid motion blur. When you’re shooting with a wide angle lens, you have a bit more leeway to shoot in darker situations than you do with a longer lens. So when in aperture priority it’s something to pay attention to.
If you want sharp images, the denominator of your shutter speed needs to stay faster than the focal length you’re using. That means when using a 200mm lens, to get sharp photos you need to shoot at 1/250s and faster. And likewise, when shooting with, say, a 35mm lens, your shutter speed needs to be at around 1/45s and faster.
Concluding Thoughts
Aperture priority mode works perfectly in several different types of situations. The key is knowing which those situations are and being able to switch your camera back and forth between modes.
If you’re unsure of any of the terms used in this article, be sure to check out our photography glossary.