How to Remove Light Pollution in Astrophotography

Ah space, the final frontier, these are the voyages of the Starship Enterprise…
Oh no, we’re not in the 24 century just yet—we’re still far from being able to travel across the stars like the crew of the USS Enterprise did, but don’t feel sad, there is a way in which we can all travel among the stars…
Astrophotography!
Personally, astrophotography is the most exciting style of photography for me. Every time I’m out in the open field and snapping a photo with the celestial objects in it, I feel this enormous pleasure and satisfaction, a pleasure to be able to travel across the time and see our home, the Milky Way, and satisfaction from the final result created in the photograph.
But not all is easy and simple and astrophotography, like any other type of photography, comes with its challenges.
While you’re not running around at a fast pace like some other types of photography, astrophotography is more calm and relaxing—but it requires more research, planning, and post-processing. If you want to improve your editing skills and learn how to remove light pollution in astrophotography, keep reading.
The challenges of a Successful Astrophotography Session
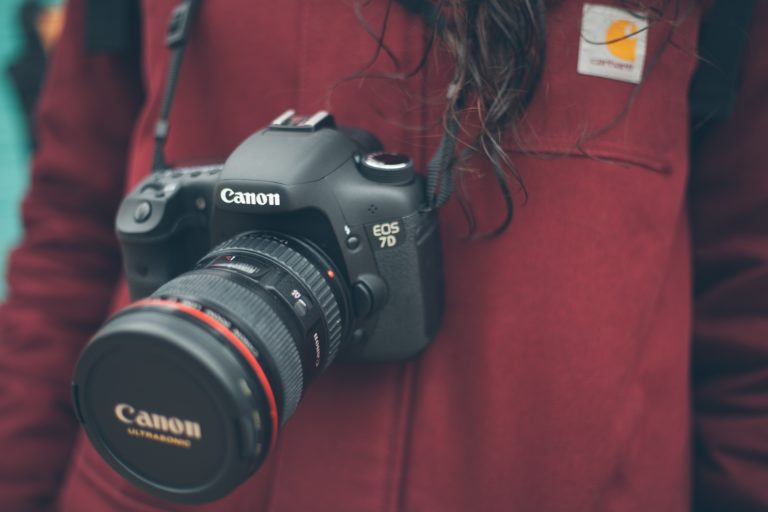
You have packed up your camera, your lenses, batteries are full,
But before you do all of that you need to plan
You generally want the clearest skies possible. There are other things to take into consideration. It sounds obvious, but for example if you want to shoot the moon then you have to pay attention and look up the days when the moon is going to be in the sky.
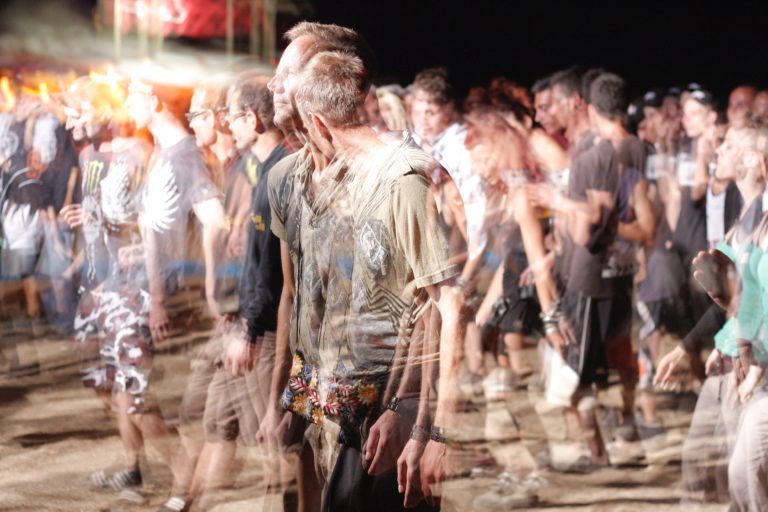
Weather aside, the worst enemy of every astrophotographer is the light pollution, the light coming from the cities, alien spaceships, giant falling asteroids, nuclear explosions or what not. If you see light, get as far as possible… unless you want to have a light source in your photos, then it’s OK of course.
The Process of Removing Light Pollution in Astrophotography Images
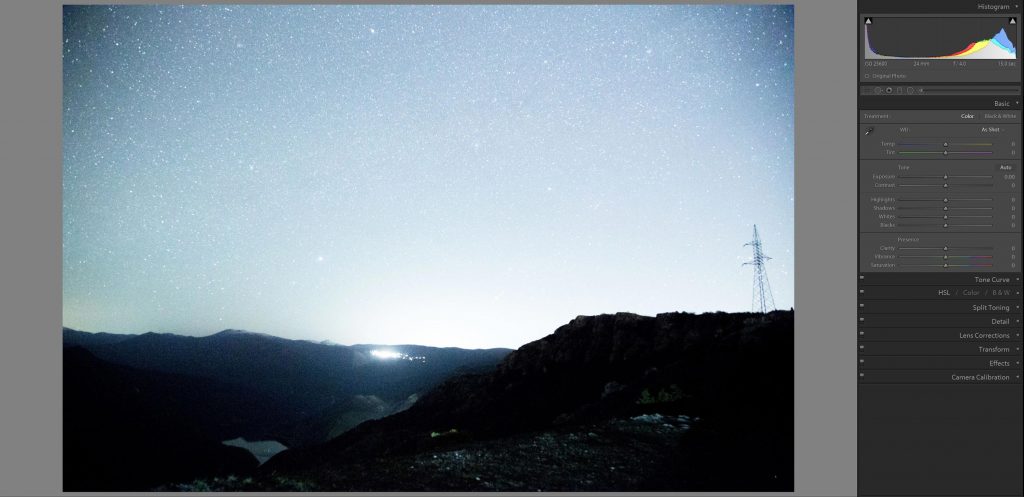
There are a few methods that you can try to remove light pollution from your photos but I find the Expose To The Right or the ETTR method to bring the best results.
The trick here is to purposely overexpose the photo and to make the histogram of the image shift to the right. But be careful, too much overexposing may create that nuclear explosion effect that I was talking about before.
Set up your camera, your aperture, iso
When you preview the image on your camera it will look like all is lost but don’t be sad, here come our dear and loyal friends, Photoshop and Lightroom to the rescue!
When you open up your photo in your
The first thing at this point is to scream and freak out!
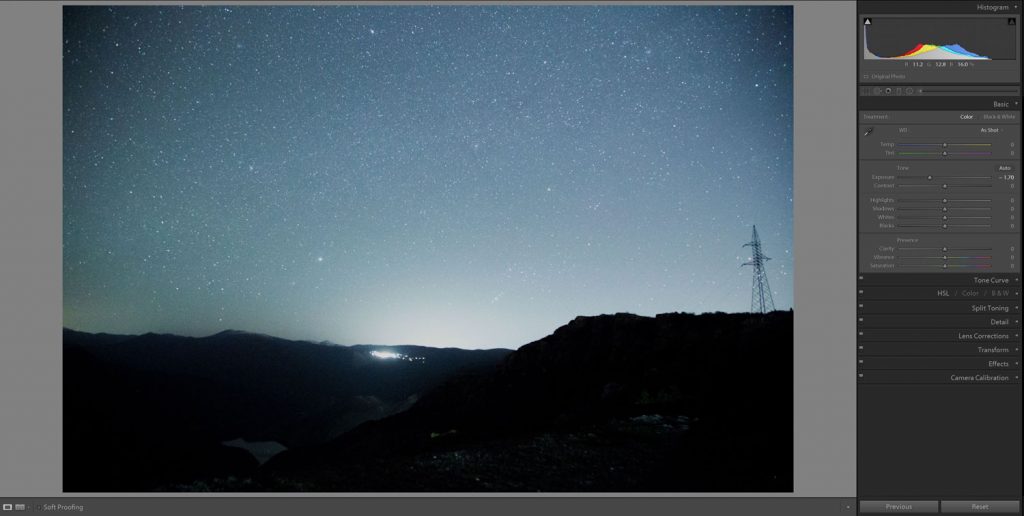
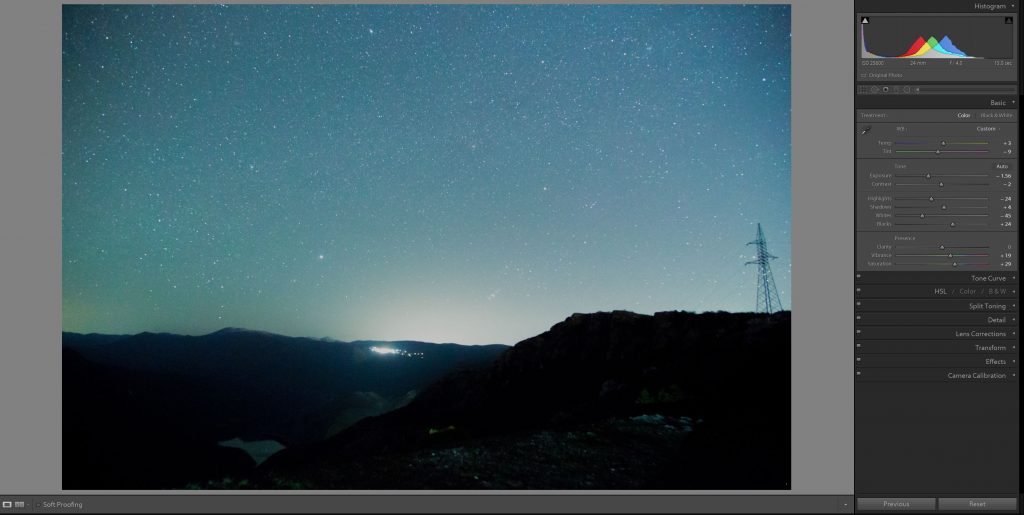
Just kidding—the first thing to do here is to adjust the exposure, lower it until you get it somewhere in the middle of the histogram, and don’t forget to use your eyes to check the results while you are editing. Your eyes are created for that, seeing.
After you have adjusted the exposure to your liking it’s time for His Majesty, the white balance. Put the Vibrance and Saturation sliders all the way to the maximum and after that adjust the Temperature and Tint sliders until you see white colors on your screen, and voila, you will have a nice white balance.
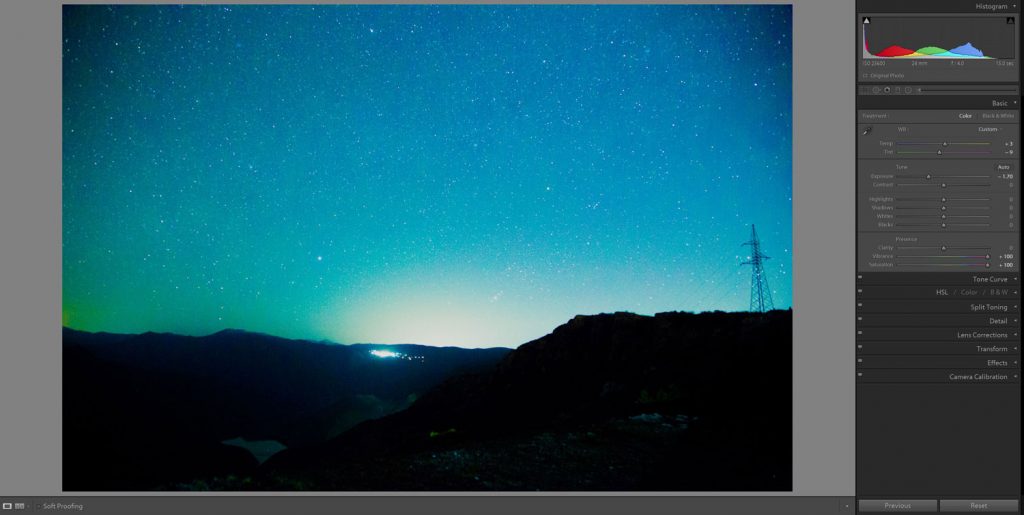
After you have set up your white balance, return the Vibrance and Saturation sliders to the middle and now it’s time to set up the contrast of the image. You will need to add extra contrast to the image and because the exposure is very high it’s smart to add an “S” curve in your photo editor. This will create a
Also, don’t forget to play with the other settings land adjust the whites, blacks, highlights, shadows and for that extra smooth look, add a bit more Vibrance and Saturation.
Give it Your Own Personal Touch
When it comes to editing astrophotography, it all depends on the taste of the photographer, some photographers love more natural and flat images while some photographers love more vibrant and alive representations of the stars in their photos.
Whatever your taste is, remember, go to the darkest place that you can find, try to make astrophotos with some awesome landscapes and landmarks and be patient, astrophotography is all about trying, failing and learning from your mistakes. Just remember what Master Yoda
Now pack up your bags with your equipment, put some snacks in your pockets, get your flashlight, grab your best friend or partner, turn off your mobile phone, get outside and enjoy the everlasting magnificence of our home, The Universe, while its still there, I mean, who knows, maybe The Rippers from Mass Effect will come and destroy it all!