The Nightscape Photography Settings You Need to Know to Master the Genre
Nightscape photography is a fun and yet challenging field of photography. I have spent many nights under the stars and come up with some absolutely stunning images. It wasn’t all glory though, there are a lot of elements that need to fall into place for this type of photography to be successful and ideally, you’ll have your nightscape photography settings down pat.
Between the weather, the challenge of dealing with your camera gear in the dark, getting to your desired location in the dark, and the added factor of it usually being much colder at night than during the daytime, you still have to deal with the fact that you have to stay awake into all hours of the night.
Nightscape photographers used to be a small group of very specialized photographers who spent countless hours under the stars messing with various films and settings. Waiting sometimes for hours on end for a single exposure which may or may not have worked, but never knowing the results until returning home to process the film.
In the digital age, we are lucky to have amazing digital sensors with more sophisticated light collecting capabilities and can shoot at significantly shorter shutter speeds. We also have the added benefit of real-time feedback on our images, so we can make any necessary adjustments on the spot.
In this article we’ll go over some of the nightscape photography settings that will help you achieve great results.
Aperture
Generally, you’ll need a wide aperture to capture stars or nightscapes. Nightscapes can be captured at higher f-stops but for the stars, a great place to start is at f/2.8 and adjust as necessary from there. If your lens doesn’t go to f/2.8 then set your aperture as open as possible to begin with and adjust until you’re happy with the results.
Remember that wider aperture settings result in shallow depth of field. This could mean your foreground may not be in full focus if you are shooting the stars at f/2. Remember that and consider a second exposure for your foreground, then you can combine the two exposures in post-production (Photoshop or similar software).
Shutter Speed
Shutter speeds of somewhere between 10-25 seconds will work great when capturing stars with a wide-angle lens. If you plan to expose a scene with no moving parts (i.e. no stars) then longer exposure times will work great and will allow for lower ISO settings.
When capturing stars, generally adhere to the “400 Rule,” which is a simple math equation. If you divide 400 by your focal length, the resulting number will be the longest possible shutter speed without your stars “dragging” across the sky creating star trails.
This star trailing effect is caused by the earth’s rotation. The stars do not move so as we rotate, eventually (longer than 30 sec) your stars will essentially move or “drag” across the sky manifesting in lines rather than pin-points of light.
Example: *The focal lengths in this chart are in reference to full 35mm frame angles of view. If you shoot a smaller sensor you may need shorter times to achieve pin-point stars.
| Focal Length | 400/Focal Length=Shutter Speed | Maximum Shutter Speed |
|---|---|---|
| 16mm | 400/16=25 | 25sec |
| 20mm | 400/20=20 | 20sec |
| 24mm | 400/24=16.667 | 16sec |
| 35mm | 400/35=11.429 | 11sec |
| 50mm | 400/50=8 | 8sec |
ISO
ISO is, in essence, your camera sensor’s sensitivity to light. If you turn this up to a higher number, you’ll need less light to expose your image. Higher ISO settings result in digital noise which looks like grain in your image.
Ideally we would always shoot at ISO 100 but in some cases, like nighscape photography, we need the higher sensitivity so it’s just not an option to shoot ISO 100. I recommend starting around ISO 3200 or 6400 to start and adjust from there.
Digital noise is a difficult problem to avoid in night photography and many techniques have been utilized to minimize noise in the final image. One very effective technique for reducing noise in an image is to stack images.
Image stacking requires the photographer to take the same image without making any adjustments several times. In each of these images, the desired light in the image will appear in the same place time after time. However, digital noise manifests itself randomly throughout the sensor array so the grainy points we call noise will be in different locations from image to image.
If you apply a stack of images to the proper software, a computer can keep any point of light that remains constant through the stack and remove all the rest. This will effectively remove or at the very least reduce your digital noise and can be done with 3 or more images. How many images you use will affect your results but also will require lots of processing power on your computer so start with 5 and go from there.
Getting the Best Possible Image Quality in Nightscape Photography
Always shoot in RAW. If you set your camera to shoot JPEG, you’re asking your camera to process and compress the photo. Your computer is better at this processing than the chip in your camera so set your camera to RAW and you’ll have the most information to work with on your computer.
You can use the best possible nightscape photography settings but you’re not getting the full detail out of your files if you don’t shoot in RAW.
White Balance
When it comes to what white balance to use for night photography and nightscapes, it’s generally my personal preference to tweak it in post because it’s a non-destructive edit. Additionally, if you shoot RAW you’ll be afforded a lot more freedom to tweak your white balance in post, although it’s always good to try and nail it first try. Moonlight is 4100 Kelvin, so that is a great place to start. I’ve had good results anywhere from 2800 K all the way to 7200 K depending on various light sources and desired results.
Where to Focus in Nightscape Photography
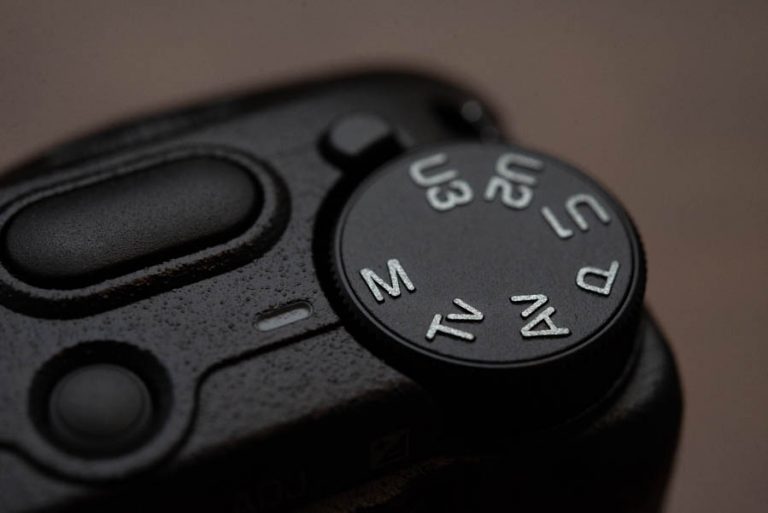
Manually focus your camera every time. Your camera, no matter how good it is, needs light for the autofocus system to work. So, switch your focus to manual, and set your lens somewhere around the infinity mark for the stars and somewhere inside infinity for your foreground.
It’s worth using the live view on your camera so you can see the focus on screen and also, it’s worth taking out the same lens during the day and learning what focal distances achieve good results for landscape photography. The “hyperfocal distance,” is the ideal focus setting so if you’re interested in more technical detail on that, I encourage you to research that topic.
In order to focus a long exposure, you will need a sturdy tripod. Without going on a massive rant about tripods, just know that a good tripod is expensive… but oh so worth it. If your tripod isn’t too sturdy, then keep it low and compact so the legs are short and have less chance to wobble.
Also never simply press the shutter release button. When shooting with your camera on a tripod, even a very sturdy tripod will struggle to counteract the shake caused by your hand pressing the shutter release button.
You can use the self-timer, so the camera has a few seconds to stabilize before the shutter opens, or you may opt to purchase a remote shutter release.
Remote shutter releases come in all shapes and sizes, and can be wireless or wired, so shop around and see if this is something you want. Also, most cameras are only capable of a 30 second exposure or less, so if you want to expose for more than 30 seconds, you’ll need a remote shutter release or the more advanced option: and intervalometer.
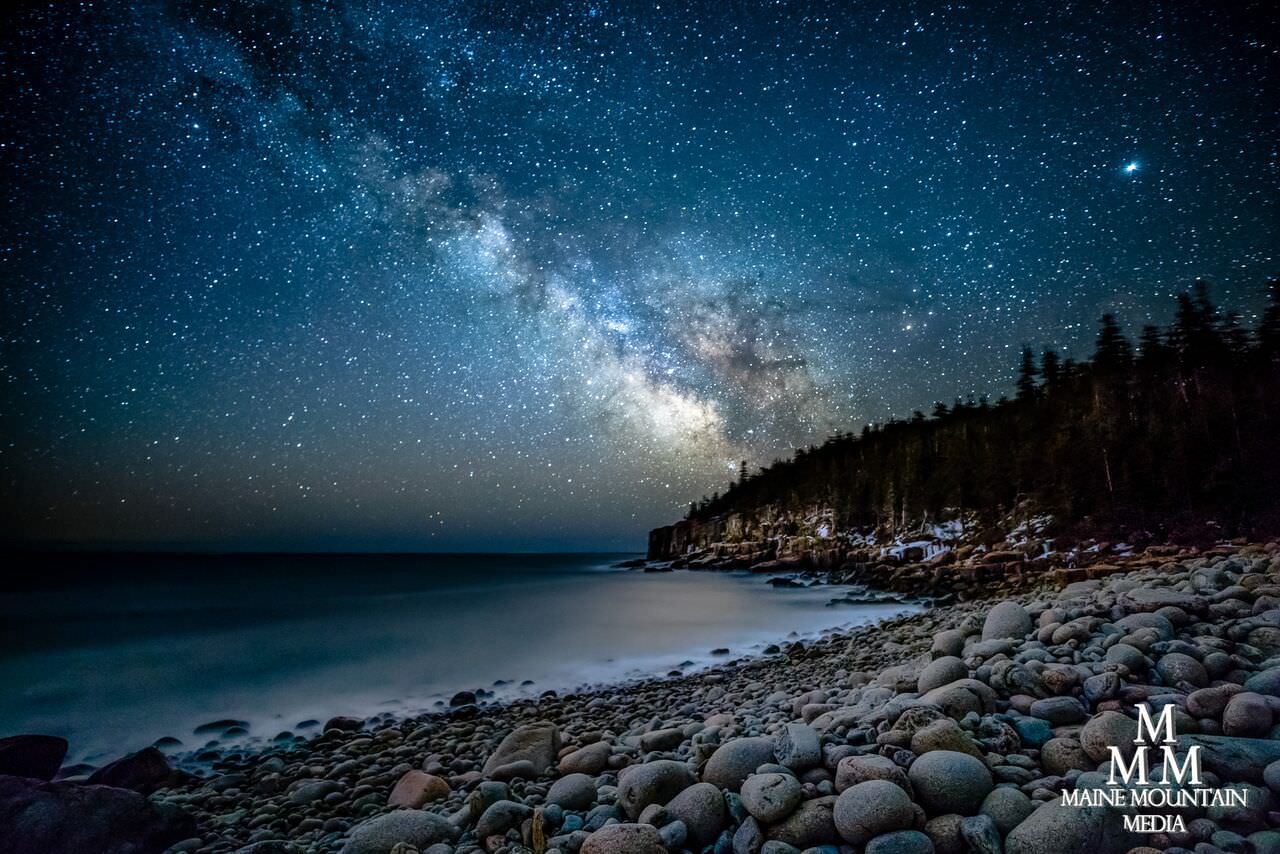
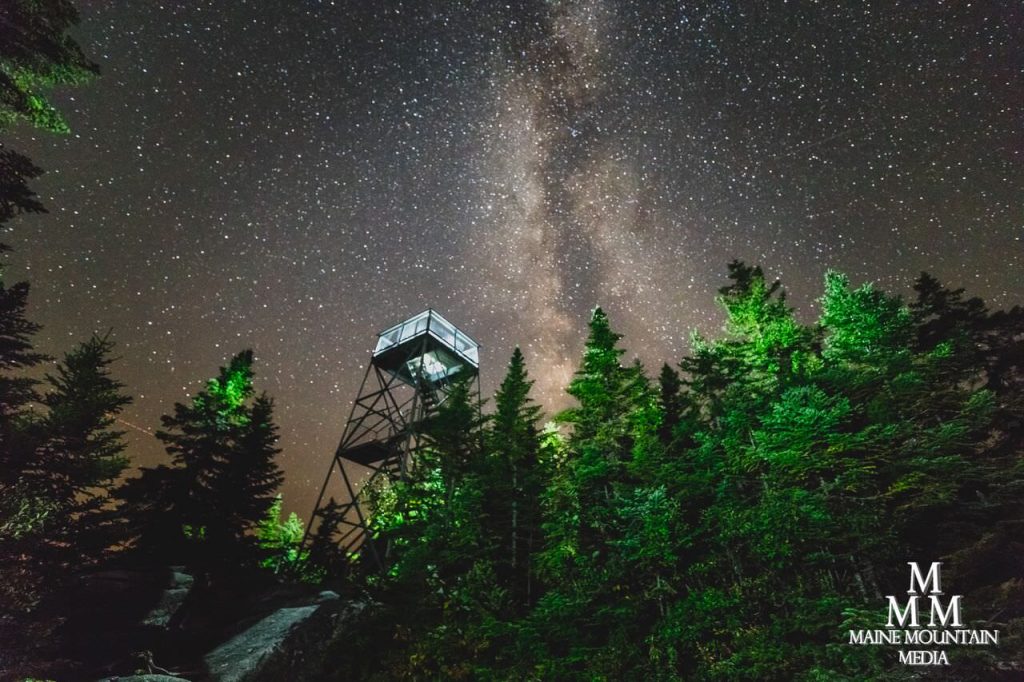
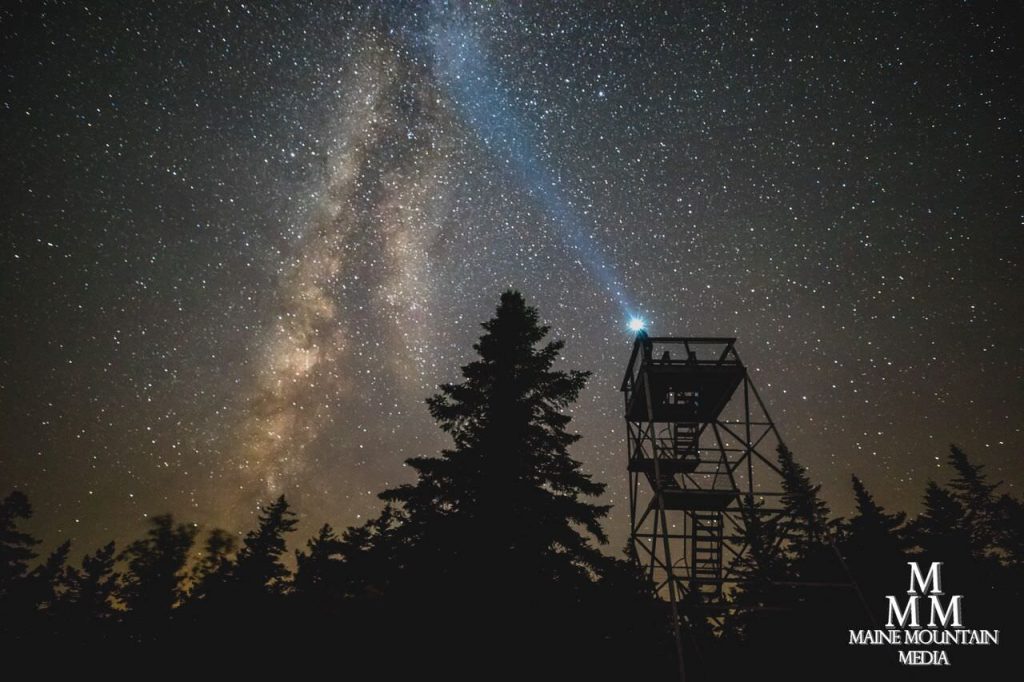
Foreground Exposure
Everything discussed until now will help you achieve technically sound images of the stars, but this article is about nightscapes and a massively important piece of that is your foreground subject in your image. The stars are the same every night around the world, so it’s up to you to be creative and incorporate some compositional elements making your photo stand out from the crowd.
Since it’s night time, you’ll need some light (though not too much) to capture nightscapes. Using the light from the moon will beautifully light up your scene but remember, the stars will be harder to capture this way.
As mentioned earlier, a popular technique is to take two different exposures of the same scene (try to do this before adjusting the tripod in any way, otherwise lighting the images will be harder), then combine your 20 second exposure of the sky with your 120 sec exposure of the land.
Low level light can be employed with very dim lights (often battery powered LED) set up on light stands around or throughout the scene, so that the foreground will be lit up enough to see while still matching the exposure necessary for the sky.
I’ve used phone screens, car headlights, brake lights, battery powered Christmas lights, and all kinds of stuff so get creative!
Conclusion
Nightscape photography is one-part landscape photography, one-part astrophotography, and a dash of studio lighting. There are infinite possibilities and combinations of elements, so try not to limit yourself and just go out and have fun with it. In other words, your nightscape photography settings can vary greatly depending on the lighting conditions and the look you want to go for.
The biggest and best piece of advice I can give you:
Make absolutely sure your camera is still.
If there is one thing you must get right, it is keeping your camera still. Long exposure photography only works if the light is coming into your camera from the same place throughout the entirety of the image.
Then again, maybe there are creative ways that you could break that rule.
Also worth noting is that a big part of success with nightscape photography comes in the post-processing phase. We go more in-depth on that in our article on how to remove light pollution in astrophotography.