P Mode in Photography: When and How to Use it
Just got your first camera and wondering what that ‘P’ on your mode dial is? Understanding program mode is one of the first steps in the natural evolution of getting out of auto mode and learning to take control of your camera.
While program mode does have severe limitations compared to manual mode, learning to use it will help you to basically take a baby step through the process of going from fully automatic mode to manual mode.
And not only that, there are plenty of instances when it’s appropriate to use even once you’ve mastered manual.
So in this article I’ll talk about what program mode is and when you can/should use it.
First, what is program, or ‘P’ mode on a camera?
P mode is what I would call an automatic camera mode but with more customizability and control than what you get with full auto mode. I think of it as auto mode without having the camera pop up its flash, although it is a little more complex than that.
When a camera is set to P mode, you choose the camera’s ISO and the camera does the rest by picking an aperture and shutter speed that it sees fit after taking a meter reading. But you actually have the option of simplifying things even further by putting setting your ISO to automatic so that your camera chooses what it thinks is best for ISO, aperture and shutter speed.
That is one of the benefits – being able to choose your ISO when you need to, essentially making the mode ISO priority mode. If you specifically need to shoot at say, a low ISO in order to get good image quality and low grain, P mode is a great option. Likewise, if you’re shooting in a dark setting, you can set your camera to a high ISO so that your camera will shoot at a fast enough shutter speed so that you won’t get motion blur and also possibly so that you don’t have to use the flash.
The drawbacks, however, are that you don’t get any say in how fast your shutter speed is or the size of your aperture.
…or do you?
One of the good things about P mode is that you actually do have some control over your aperture and shutter speed that you don’t have with auto mode. What it is is basically manual override for your aperture and shutter speed settings.
Say you’re in P mode and you want to get a blurred background and some bokeh, you’d crank your aperture to the left to widen it, let the camera choose your shutter speed and get that effect. Or, say you want to get some motion blur in your shots. In that case you could adjust your shutter speed to the left to slow it down and let the camera choose your aperture.
It’s also worth noting that within P mode you have the option of manually setting your white balance (or you can put it in auto and have the camera choose it for you which I recommend most of the time) and you can choose the metering mode you want to use. Additionally, you can choose the type of autofocus you want to use, whether it be a single point or say, a 3d tracking mode where the camera makes all the focusing decisions for you.
Differences Between Auto and P Mode
I’ve already touched on these differences a bit but just to reiterate, P mode differs from auto mode in a few ways.
To me, the most glaring difference is that P mode doesn’t force you to use flash. It also gives you more control over your settings by letting you manually override the ones you want to adjust. Lastly, it gives you more options when it comes to focusing and white balance.
When Should You Use P Mode?
Like with everything in photography, whether or not you choose to shoot in P mode is ultimately your call and is up to you to decide.
Some situations when I use P mode include:
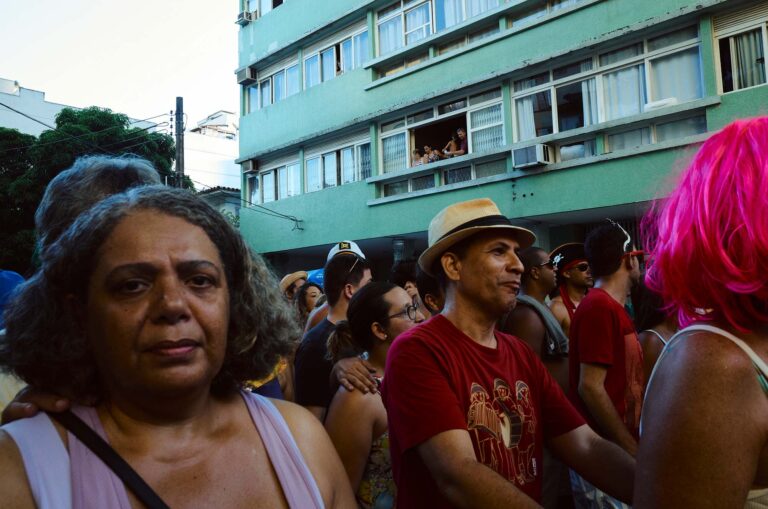
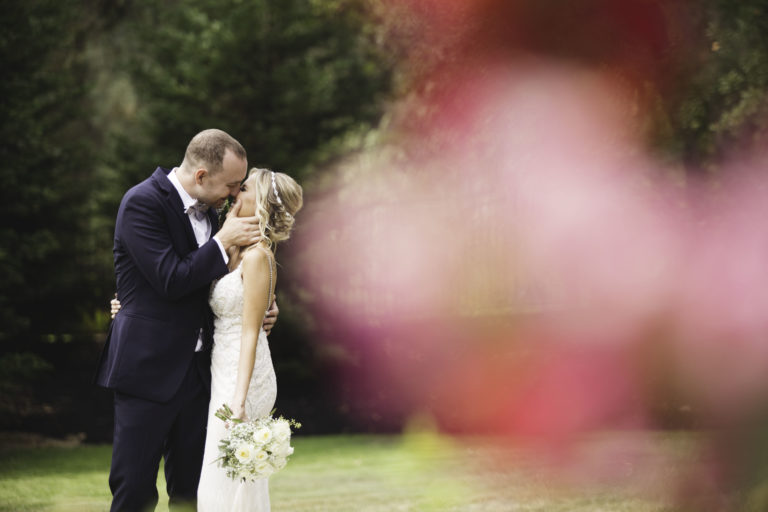
1. When I’m doing wedding photography or other photojournalistic-type photography. When you’re doing any type of photojournalism (which is the same style in which I shoot weddings) you’ll constantly be finding yourself in fluctuating lighting conditions. Going from inside a dimly lit church out into bright afternoon sunlight is a huge difference, and sometimes you simply don’t have time dial in your settings manually. Or say you’re going from outdoors to photographing the bride and groom’s entrance to their reception venue with dancefloor lighting. It’s in these instances when I’ll occasionally switch my camera over to P mode so that I don’t miss the action. If you’re a working photographer, your clients or employer are going to be infinitely more concerned that you get the shot than with what mode you shot it in.
2. When you need to get a baseline exposure. I mostly just did this when I was starting out in photography and had a harder time getting correct exposures. But what I would do if I couldn’t get a decent exposure manually was to put my camera into P mode, take a shot, and note the exposure settings my camera chose. I would then switch my camera back into manual mode and dial in my settings further. If I wanted to get for example, a silhouette look, I would take an exposure in P mode and then use that as a starting point to darken my exposure by minimizing my aperture and making my shutter speed faster. Like I said it’s not a technique I use anymore but it’s always good to have options in photography.
3. When you’re casually shooting. There’s nothing wrong with being lazy in photography every once in a while. If I’m hanging out with family or friends, heck yeah I’ll put my camera into P mode. If you’re out at a bar having drinks or something, you’re far less likely to want to mess around with your settings to get the right exposure. Especially if you’re in weird or constantly changing lighting conditions. P mode doesn’t give you the precise control that you have with certain other shooting modes, but it allows you to shoot stress-free and easily. At the end of the day, when you’re photographing/documenting time spent with friends and family, it’s far more important to get the shot than to get the “perfect” exposure. If you’re trying to get the perfect exposure every shot, you’re just going to be way too preoccupied to capture those special moments. If you botch an exposure, it’s not the end of the world – you have plenty of leeway for fixing these things in post anyway.
Should You Use P Mode After Mastering Manual?
Learning how to operate your camera in manual is essential to becoming a well-rounded photographer. If you take your photography seriously, it’s a given that you should learn manual and know all the ins and outs of your specific camera.
But does that mean you should never use automatic/semi-automatic modes like P mode anymore?
In my opinion, I would say a resounding no. P mode absolutely has its place in your arsenal of photography techniques even once you’ve completely mastered manual.
I already listed several specific reasons for using P mode. But another thing I’d like to mention is that P mode is just a tool to get to a certain result. You could get to the same result by shooting in manual mode, aperture priority mode or any other mode. Maybe even beast mode.
The point is, is that in photography there’s no reason to be rigid and dogmatic about using a certain camera mode. I’ve heard many a photographer ramble on and on and give their spiel about why you should only shoot in manual, no exceptions.
Photographers who think this way are the exception, rather than the rule, but I’ve definitely come across a handful of them.
And in my opinion, they’re just wrong.
There’s nothing wrong with shooting in P mode under circumstances that call for using it. So if you find yourself in a tough spot when you’re out shooting, there’s no shame in putting your camera into program mode. Again, it’s the shot that counts – not what mode you shot it in.
Do Professional Photographers Use P Mode?
Did you know that ‘P’ Mode actually stands for ‘professional’ mode?
Jokes aside, I actually attended a wedding photography conference where a very good wedding photographer made this joke; and who also sang the praises of using P mode in photography.
This particular photographer talked about how often P mode has saved his ass when photographing weddings. I think the biggest point he made was knowing when to switch to P mode.
He used a specific example of how he would be photographing a bride in front of a window getting her makeup done (a strongly backlit situation) and turning to photograph the bride’s mother excitedly entering the hotel room (a much darker scene) to capture their reactions. If you had left the camera at the same exposure settings as you had them for photographing the bride in front of a bright window and then turned to photograph the scene of the bride’s mother entering the room, the photo would likely be very underexposed.
That’s not to say that you should always have your camera set to P mode. It’s more like a failsafe. If you find yourself in a situation where you’re going from one lighting condition to something that’s completely different, P mode is a great option to have. You can quickly change your shooting mode from manual to P mode and back again in these situations.
Manual mode is great for getting a precise exposure – the exposure that you want, not some random exposure the camera decides for you. But what we deal with a lot in photography a lot is a lack of time. Going from super dark to super bright situations in photography is just something that as humans it’s just going to be hard to get.
That’s not to say that it can’t be done – but when you go from one extreme lighting condition to the next, it often can’t be done by adjusting just one setting, for example greatly increasing or decreasing the shutter speed. A lot of times you’ll have to adjust two settings or more to get the right exposure. And the more settings you’re forced to adjust, the longer it takes so it’s something to keep in mind.
We’ve got a ton of technology at our disposal these days. Why not use the technology we have to get us to a certain result?
I think a lot of professional photographers in these tricky situations opt for using aperture or shutter priority, including me, but there are definitely benefits to putting it in P mode and letting it rip. There’s always a chance that when you put your camera in aperture or shutter priority that you’re going to choose an aperture or shutter speed that forces your camera to compensate poorly in the other two components of the exposure triangle.
For example, if you choose a small aperture it might force your camera into shooting with a slow shutter speed, resulting in blurry image when you want it to be sharp. Or it could force your camera into shooting at a really high ISO, leaving you with a very grainy look.
And likewise, if you’re shooting in aperture priority and you choose a fast aperture to freeze the action, it could force your camera into shooting at an aperture wider than you really want or at too high of an ISO, resulting in thin depth of field (when maybe you actually wanted everything in focus), or graininess, respectively.
These are specific instances in which theoretically, P mode could potentially give you a more well-rounded balance than if you had shot in a mode like aperture priority or shutter priority. P mode does a pretty good job of avoiding the extreme ends of any one of the settings of the exposure triangle.
P mode can and absolutely is used by professional photographers and one of the great things about it is that it lets you focus all of your attentions on composition, arguably the most important aspect of photography. There’s no shame in using it.
You won’t hear any brides or newspaper photo editors go “wait, was this shot in P mode?! I can’t accept this garbage!” That’s just not happening. They have no idea what mode an image was shot in. They just want to see strong images that evoke some sort of emotion or feeling.
What mode a photo was shot in is completely irrelevant. A great image is a great image.
How Do You Put Your Camera in P Mode?
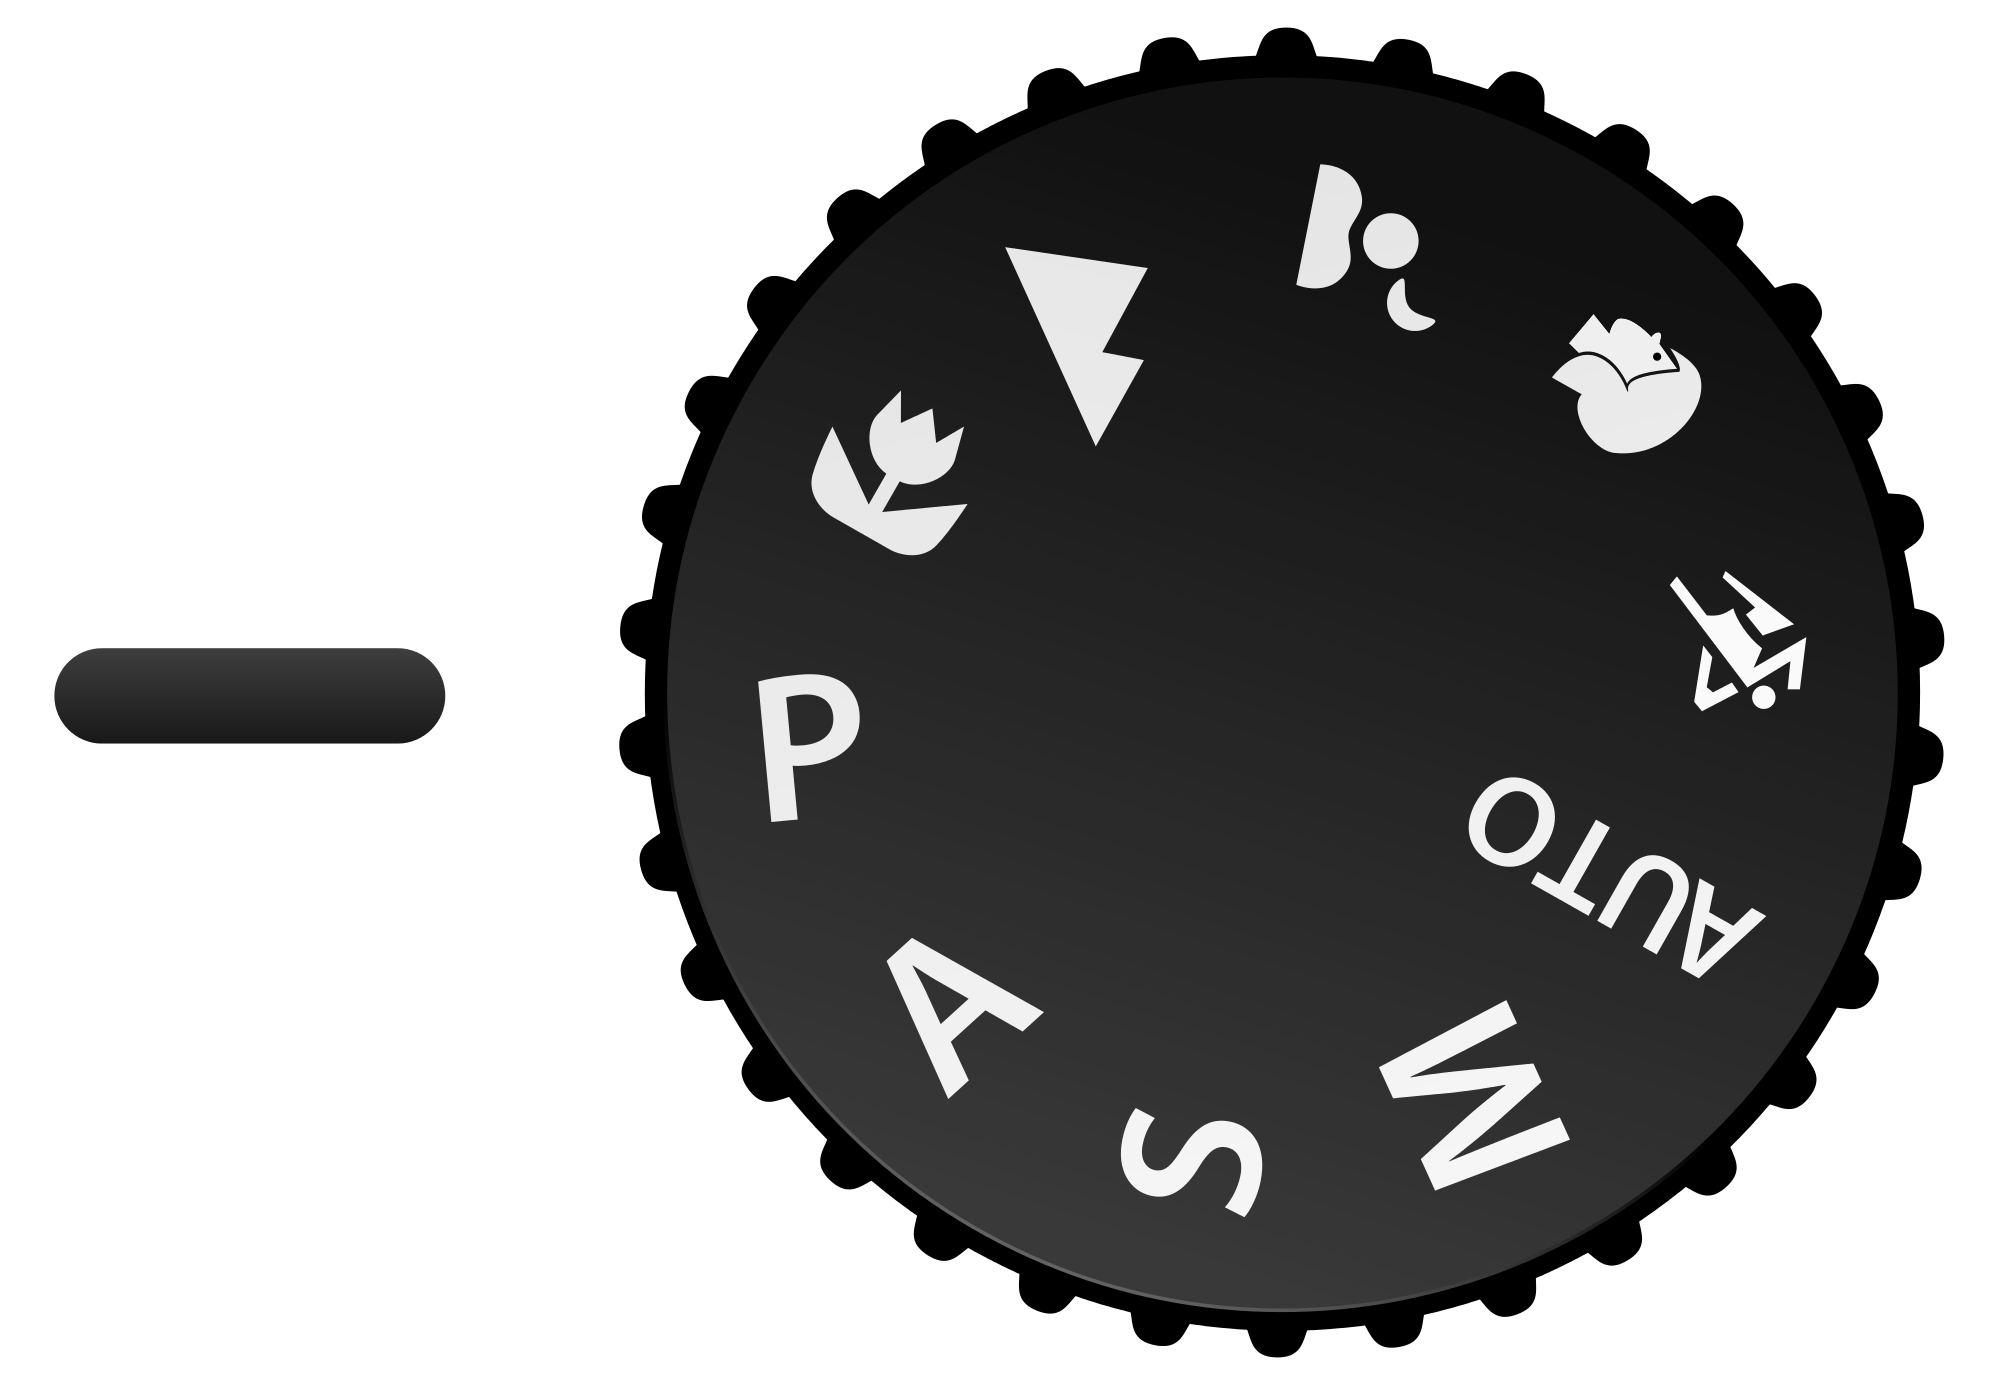
If you’ve never messed around with your camera’s mode dial, it’s the circular knob-looking dial on the top of your camera. Mode dials differ from manufacturer to manufacturer and even camera to camera within the same brand.
Some cameras don’t even have what you would normally think of as a mode dial.
Although the design of mode dials differ slightly, they all generally have similar basic functions. The most common settings you’ll find on mode dials across the board with these settings in common: manual mode (marked by an ‘M’), ‘P’ for program mode, ‘A’ for aperture priority and ‘S’ for shutter priority. ‘U1’ and ‘U2’ modes are also common – which stands for ‘User’ and are completely customizable so you can put in whatever settings into these modes and the camera will keep them stored for you.
Lower end models will also have scene modes that have a little picture of the conditions they’re supposed to work well in. Mountain symbols are for landscapes, flowers are for macro work etc.
In order to get your camera into P mode, the most common setup is to have a button directly in the middle of the dial, which you need to press in to be able to scroll through each of the modes available to you on whatever particular camera you’re using.
Scroll the ‘P’ to the line or arrow that indicates what mode the camera is set to and you’re good to go – you’re free to fire away and P mode will get you a decent exposure without you having to adjust any other settings. Or at least get you in the ballpark of where you need to be.
Final Thoughts
P mode, or program mode, is a great camera mode to use under certain circumstances, regardless of your skill level. If you take photography seriously, then you should know how to use far more than just P mode, but that doesn’t mean it can’t have a place in your repertoire.
You should understand how to shoot in manual as if you could do it in your sleep – and know when is a good time to switch it over to program mode and let the camera do more of the work for you.
If you’re unsure of any of the terms used in this article, be sure to check out our photography glossary.