Camera Settings for Nature Photography: Explanations and Recommendations
Of all the photographic genres, the “nature” niche may be the least specific. After all, just about anything that isn’t man-made fits into this category. Given that, any discussion on camera settings for this type of photography would be pointless, right?
Right – and wrong. While you’re certainly not going to use the same settings for everything in nature, conditions will be similar in many situations.
In this article, I’ll be pointing out some of my recommendations for various situations. All of these will be arguable, but I’ll offer explanations too support my suggestions, too.
Fair enough? Alright, then; let’s get started!
What is Nature Photography?
Just for fun, let’s start by defining nature photography.
I’m going to borrow a little bit of wisdom from the Photographic Society of America. Their rules regarding entries in their competitions state: “…the use of the photographic process to depict all branches of natural history, except anthropology and archaeology…”
Well, that clears things up, huh? Basically, that says that anything natural can qualify as a subject. Their explanation goes on to state that entries can be divided into two subcategories: “Nature” and Wildlife”.
Wait – what?
We’re told that Wildlife includes anything in its natural habitat, including botanical (plant) life. However, if you photograph something in a zoo or a botanical garden, it only falls into the Nature category. Oh, and by the way, humans don’t count.

Has your head exploded yet?
Okay, I’m messing with you a little bit, although the PSA does state everything I’ve mentioned above. Read the entire definition here, if you like.
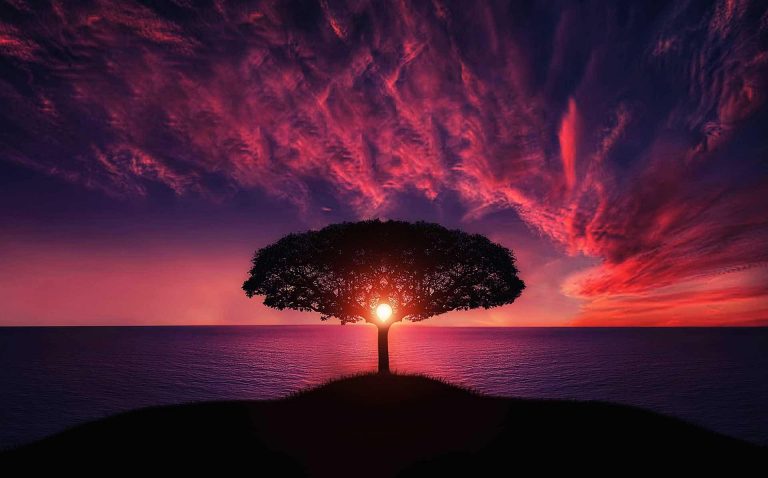
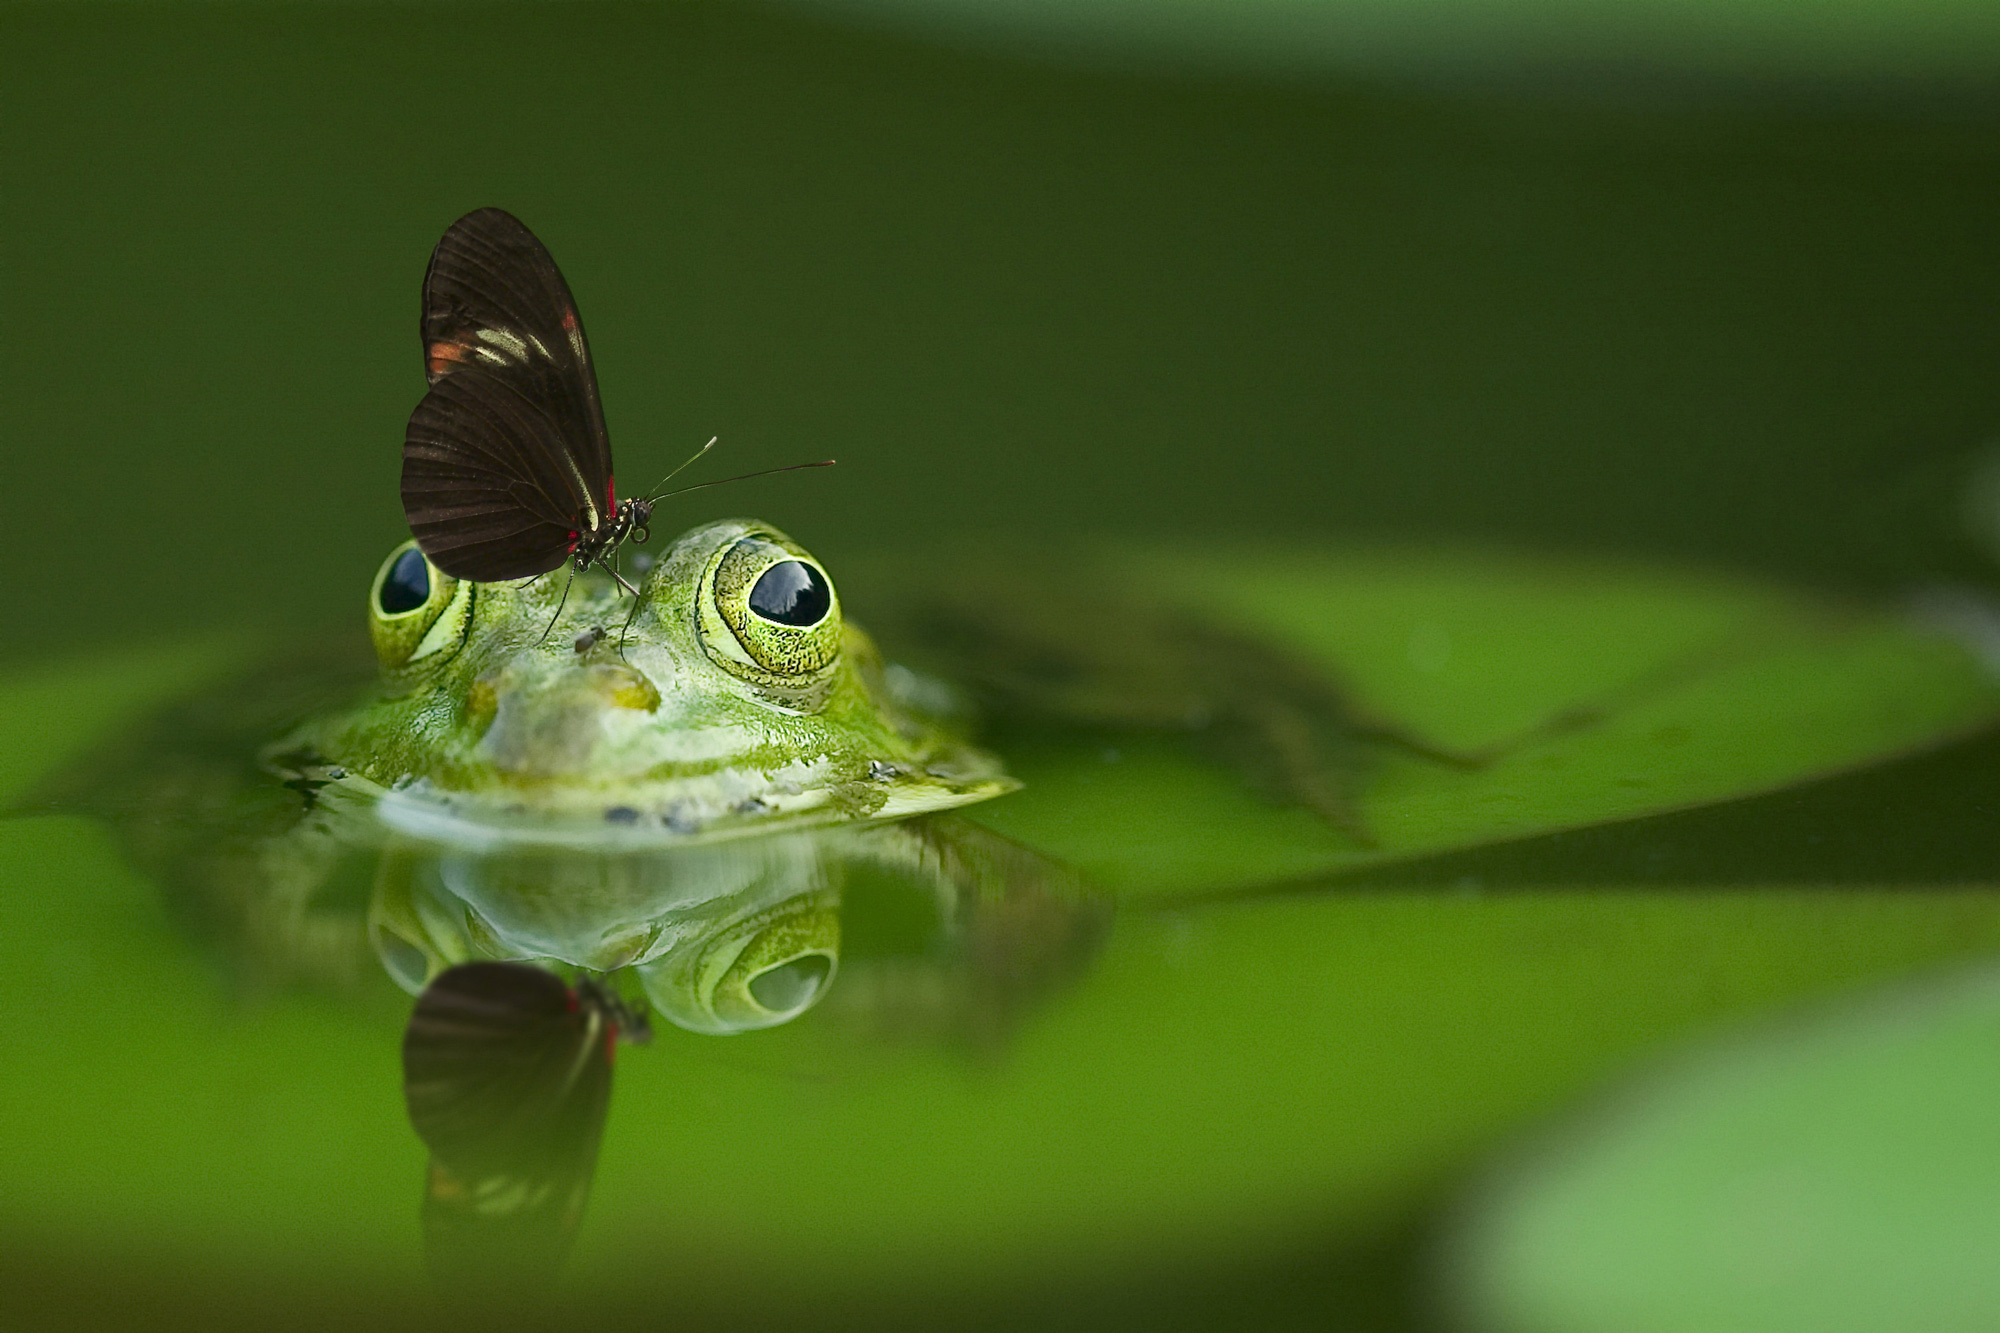
My point is simple: nature photography is a very general niche and probably best defined by the person behind the camera. For the purposes of this article, though, we’ll consider it to mean shooting landscapes, flora and fauna in whatever manner you choose.
What Settings are Important?

Obviously, the three elements of the Exposure Triangle are going to be your main concern. I’m not going to dive into a full tutorial on exposure here. Instead, let’s review how each of these elements affects your photo (in addition to controlling exposure):
ISO: As you increase the sensitivity of your camera’s sensor to light, you also increase its sensitivity to noise. The higher the ISO setting, the more noise you’ll have to deal with in the post processing stages.
Shutter Speed: The amount of time your shutter is open has the greatest effect on motion blur. Fast shutter speeds tend to freeze motion, while slower speeds will blur movement.
Aperture: The size of the aperture determines the depth of field in your image. Wider apertures will result in shallower depth of field and vice-versa. In very general terms, as you stop down your lens diaphragm, you increase the range of front-to-back sharpness in your image.
Understanding how these three settings work together to control exposure is, of course, the basis of most any novice-level photography tutorial. In this instance, however, we’re going to be concerned with using them as creative controls.
Creative Use of ISO
This is probably the easiest setting to consider when you’re photographing nature. In MOST cases, you’ll want to opt for the lowest practical ISO setting. Remember, however, that we’re discussing creative controls.
If a harsh, grainy appearance will enhance the mood of an image, by all means, crank up the ISO setting. Bear in mind, though, that noise reduction almost always results in some loss of sharpness, so don’t push things too far. You can also add noise in post processing, so the lowest setting that will work with your chosen shutter speed and aperture is almost always best.
NOTE: Color noise is usually generated in shadow areas as a result of sensor heat during longer exposures. This type of noise is rarely beneficial to a nature photo. Increasing your ISO setting slightly to shorten exposure times can actually be a better choice if your scene has lots of dark areas.
Creative Use of Shutter Speed
Your first thought in nature photography is probably to use fast shutter speeds for wildlife and slower ones for landscapes, flowers, etc. That’s fairly solid reasoning.
Freezing motion with wildlife often requires shutter speeds of 1/1,000s or faster. Even with seemingly still subjects, a head shake or twitch can blur the eyes of a subject. A little camera shake can also ruin the shot. Most wildlife photographers consider 1/500s the minimum for sharp photos of animals in the wild.
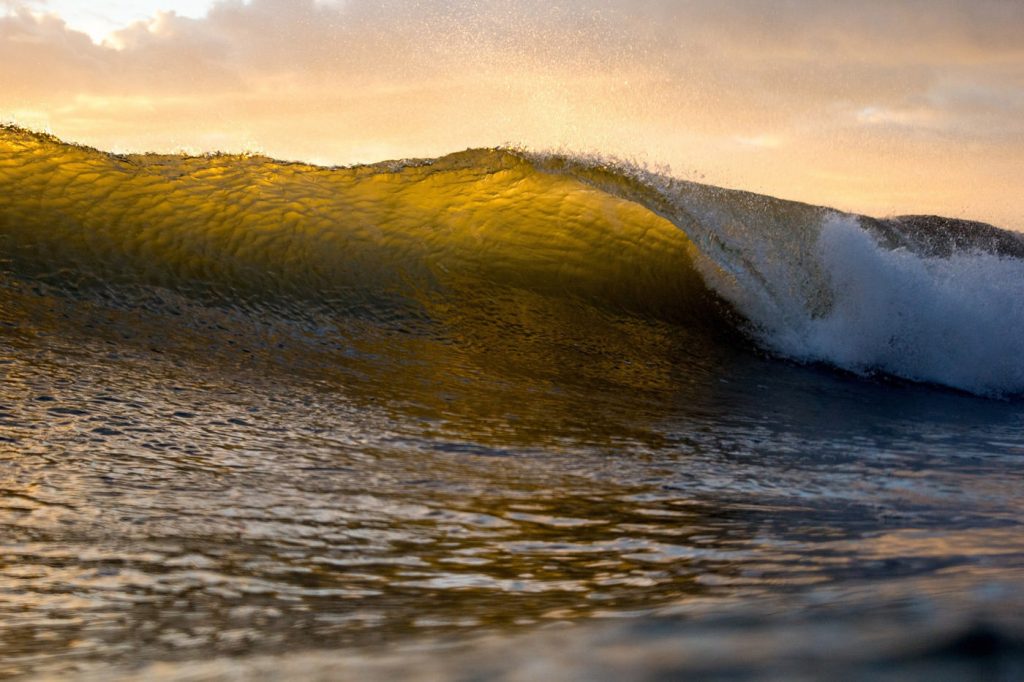
Landscape photographers often lean more toward slower shutter speeds, since they’re more likely to have the camera on a tripod. They’re also more likely to allow longer exposures to add some interest to clouds, water and other moving elements in the frame.
On the other hand, what if you want to create a more dynamic shot of wildlife in motion? In that case, you may want to consider a slower shutter speed and pan with the subject. A windy day can wreak havoc with shots where the subject is something like a flower, so a faster shutter speed might be the better choice. You might even find yourself freezing a water splash in a macro shot with a fast shutter speed.
Creative Use of Aperture
Landscapes should have extreme depth of field.
A wide aperture will help keep your shutter speed high for wildlife photos.
A single subject can be isolated with very shallow depth of field.
All of the statements above are true, given the right circumstances. All of them can also be poor choices.
For instance, shallower depth of field can enhance the sense of depth in a landscape photo by adding atmospheric perspective. Increasing your aperture size too much can cause loss of detail in a wildlife shot. The same thing can happen when trying to isolate a subject like a single flower in a field of flowers, etc.
Now, if you were expecting cut-and-dried answers for these settings, I apologize for the confusion. The fact is there are none here, any more than for any other genre. That’s the reason we have three ways to control exposure in the first place.
There are some camera settings, however, that will 1) allow faster access to the most likely adjustments in a given situation and 2) help you maximize the potential of your shots. Let’s discuss those.
Exposure Modes
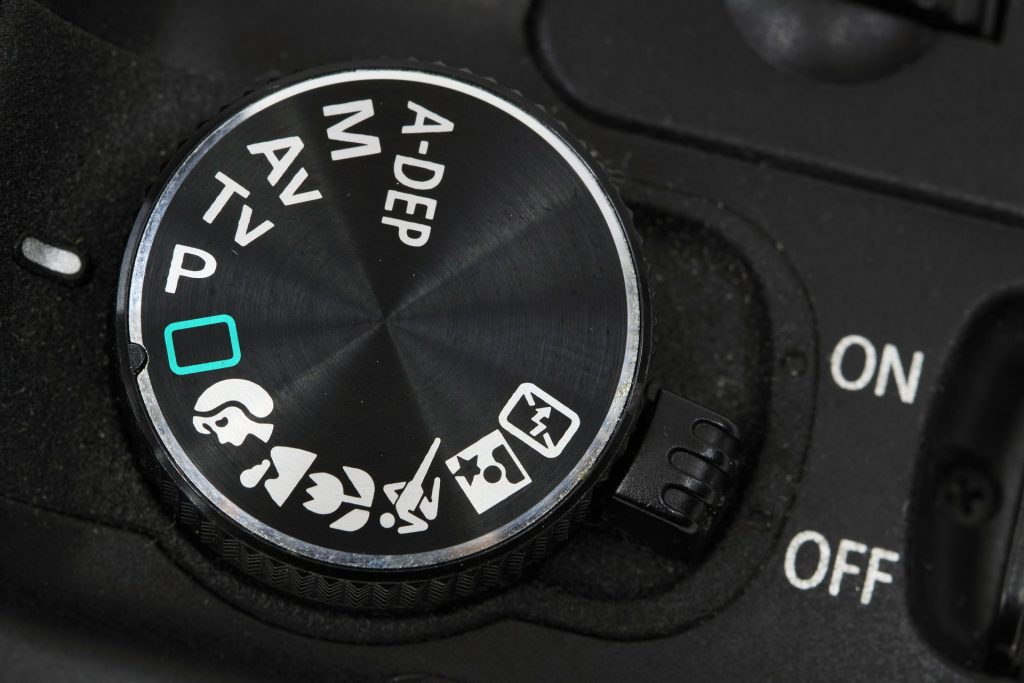
One of the best ways to facilitate being ready for the shot is to select the right exposure mode. It’s not difficult to determine the most likely setting in a given situation.
Let me first say that any serious photographer should understand exposure and be able to select the proper settings manually. Next, I’m going to come right out and say that there’s absolutely no reason not to use your camera’s auto-exposure modes, at least the two most versatile, Aperture Priority and Shutter Priority.
I’m not a fan of Program mode, or the “intelligent” creative modes on modern digital cameras. However, a photographer who knows how to use (and override) the A (Av) or S (Tv) modes on a camera isn’t giving up creative control, but utilizing a tool. In either of these modes, it’s up to you to select the ISO setting and one more of the three necessary parameters.
Aperture Priority mode requires you to select the ISO setting and aperture size, and lets the camera software adjust the shutter speed to achieve the “correct” exposure. In most cases, this is a good choice for landscape and botanical subjects, when motion isn’t likely to be an issue. Why? Because you control the depth of field, which will probably have the most impact on this type of image.
Shutter Priority mode gives you control over the ISO setting and the shutter speed, and the camera adjusts the lens aperture. If you’re shooting animals, this may be the best choice, since motion is likely to be a concern. You can set a high enough shutter speed to reduce motion blur caused by camera shake or the motion of your subject.
Manual Exposure (M) may be your best option in some situations, too. For instance, when the light is very low, as in twilight shots, the exposure meter in your camera is easily fooled. High-contrast scenes can also present problems for auto-exposure systems. Most modern digital cameras offer Metered Manual mode that provides a visual exposure meter, to help you determine the “correct” exposure.
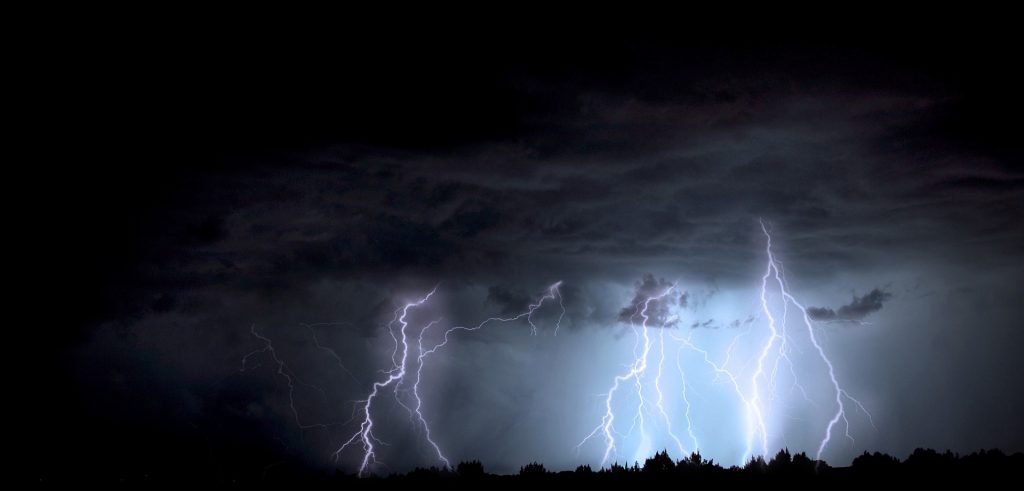
Bulb (B) mode can be very useful in nature photography as well. In the most basic sense, Bulb mode holds the shutter open for as long as you hold the button on a remote or cable release. One of my favorite uses for this mode is lightning photography, but there are other scenarios where it can be a great creative mode, too.
Exposure Compensation
You’ve probably noticed that I’ve been using the term “correct” in quotes in the paragraphs above. That’s because the exposure settings chosen by your camera will be based on an algorithm that isn’t always applicable.
I’ve already mentioned low light and high contrast situations, but there are others that can cause your camera to select the wrong settings, too. It’s up to you to learn to recognize those lighting situations and learn how to adjust for them.
Manual Exposure, is, of course, one option. Another, faster option is to use the exposure compensation setting on your camera. It’s almost always easy to select and adjust, so you can use it while shooting in Aperture Priority or Shutter Priority modes to “push” or “pull” the exposure as needed.
Auto-Exposure Bracketing
While we’re discussing exposure compensation, it’s worth mentioning that bracketing your exposures is often a good practice in nature photography.
Exposure bracketing is usually associated with HDR imaging, and that’s sometimes a good way to process nature images. It’s also very useful in tricky lighting situations. It gives you the option of selecting one of the under or overexposed frames or blending the exposures to achieve a well-balanced image.
Exposure Lock
One of my favorite tools for shooting nature is the exposure lock. Generally, you center the area you want your camera to expose for in the frame, then (usually) press the shutter button halfway to lock in a setting. You can then hold the button and re-frame your shot and the camera won’t adjust the exposure settings.
This is a marvelous tool for quick adjustments in difficult lighting situations. It provides an easy and consistent way to expose for highlights, shadows or midtones, to achieve what you want in tricky lighting situations. You can also use it to create silhouettes or other effects your camera’s exposure system won’t normally provide.

Metering Modes
Before we stray away from exposure, it’s worth taking a moment to consider the metering mode you use for your nature shots. I’m only going to touch on it briefly, because: 1) it can be a very complex subject and 2) most photographers use a “set it and forget it” approach for this setting.
For the most part, I’m one of those photographers, because I don’t like to change the way I evaluate a scene when looking through the viewfinder. I prefer to shoot in Spot or Partial metering mode and use the exposure lock as described above to determine which area of the scene to expose for.
I’ll explore metering modes in depth in a future article.
Focus Settings
Here’s another area that can get complicated quickly. I’m not going to go into Active and Passive focus modes here. I’m also not going to tell you how many AF points you should have active or their arrangement. There are too many options, too many possible situations and too many personal preferences in this arena. I have my own preferences and will let you find yours.
Modes
Aside from manual, there are 2 focusing modes that I think are worth discussing:
Single-Area/One-shot mode is the preferred setting for stationary subjects. When your camera locks in the focus at a certain point, it won’t change that point if you re-frame the shot or your subject moves.
Servo/Continuous mode is intended for moving subjects. After you’ve set the focus on something, the camera will try to keep that object or area in focus if it or the camera moves.

Most recent models also offer a hybrid mode that will automatically sense motion and switch to continuous focus mode.
The choices here should be fairly obvious, based on what you’re shooting. Many photographers prefer to leave their cameras in servo mode when shooting nature and only switch if the camera has trouble achieving focus. Keep in mind that this can be problematic of you move the camera after focusing.
Back Button Focus
Nearly all modern digital cameras will give you the option of setting a button on the back of the camera to activate autofocus, instead of the normal half-press of the shutter button. You’ll find differing opinions on using this setting and many reasons to support both.
I prefer to use the back button focus option in nature, for one reason: It allows me to use that button to select the areas I want to focus on, while leaving the half-press to lock the exposure on a different area if I want to.
Other Settings
There are dozens of settings that could be discussed when it comes to shooting nature, but there are also several choices for most of them. What’s more, any argument for the best choice is relative to the photographer and the shooting situation. There are only a few other settings that I believe should be touched on and I’ll go through them quickly:
RAW vs. JPG: Always shoot RAW when photographing nature. The extra latitude you’ll have when processing your photos is worth the extra storage space. If you want to make it easy to upload quick shots, use the option to save your files in both formats.
White Balance: Obviously, this can change when the lighting changes. If you tend to forget to change your WB setting, get in the habit of leaving it set to Daylight when you’re out capturing Mother Nature. It’s easy enough to correct color temperature when necessary, especially if you have a RAW file to work with.
Continuous Shutter: This isn’t the right choice for everyone, but if you have a fairly light shutter finger, leaving your shutter in Continuous or “Burst” mode may help you capture just the right moment in many nature shots. Keep in mind that this consumes both storage space and battery a bit more quickly.
Disclaimer
In wrapping up, I think it’s important to remind readers that I’m an “old school” photographer. My recommendations here are based on what works for me, after a very long time in the field.
On the other hand, I’m perfectly content knowing that there are always alternative methods and different schools of thought. I’ve even been known to incorporate new ideas and methods into my routines when I find them useful.
My point is, all of the advice in this article may not work for you; in fact, it’s not all meant to. Remember, nature photography is a creative process and that makes it a very personal one. If you don’t agree with a suggestion, please feel free to ignore it. Take any of the advice you find worthwhile and throw out the rest with my blessing.
As always, have fun shooting and communing with nature!