Aperture in Photography: Explained in Simple Terms
Aperture makes up part of what I like to think of as the exposure triangle, the other two components being shutter speed and ISO. In this article I’ll focus on what is aperture in photography and how it affects photographs.
So what is aperture in photography?
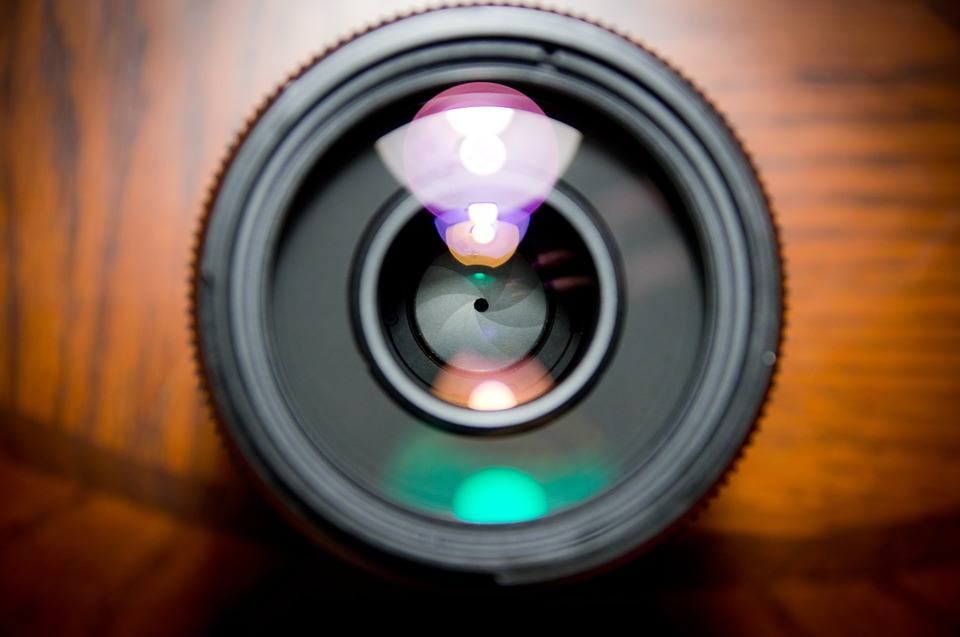
The easiest way to think about aperture is that it’s simply an opening or hole within a lens (which you can change in size) and lets in a given amount of light into a camera.
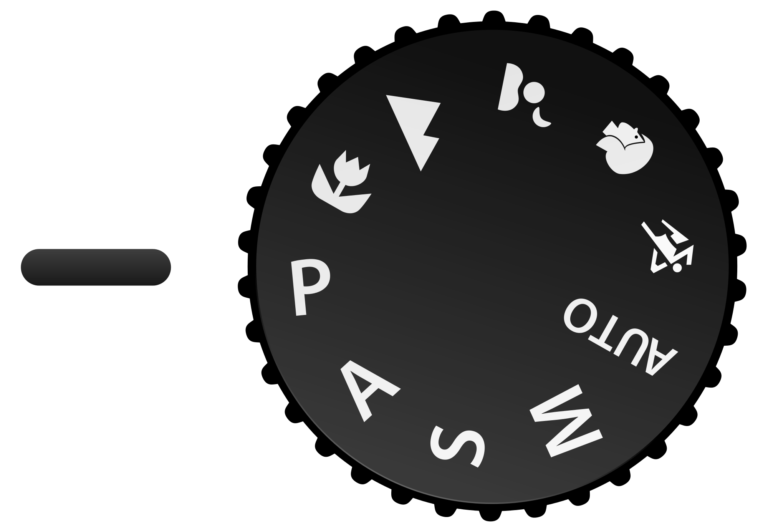
With modern digital cameras, you can adjust the size of your lens’s aperture through the controls on your camera. On many cameras, you make this adjustment with a wheel on the front side of the camera, positioned in front of where your index finger is likely to sit.
When you adjust your aperture to make it smaller, less light is allowed into the camera. And conversely, adjusting your lens to make it bigger lets more light enter the camera.
How Aperture is Measured – Camera Lens F-Stop Explained
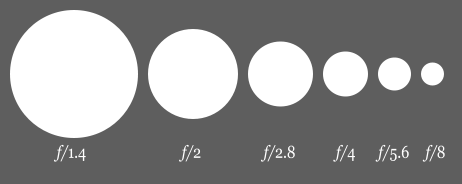
Aperture is measured by what are called f-stops. F-stops indicate how big or small the size of your aperture is.
A “standard” range of f-stops may include:
f/1.4, f/2, f/2.8, f/4, f/5.6, f/8, f/11, f/16, f/22, f/32
Although, most lenses/cameras also offer you the ability to set your lens to third-stops in between the full stops. So you’ll also come across apertures such as f/1.8 or f/6.3.
But in regards to full stops, going from one to the next either doubles or halves the amount of light you’re letting into the camera. Increase the size of your aperture a full stop and you double the amount of light you let in. Decrease your aperture and you cut in half the amount of light you let in.
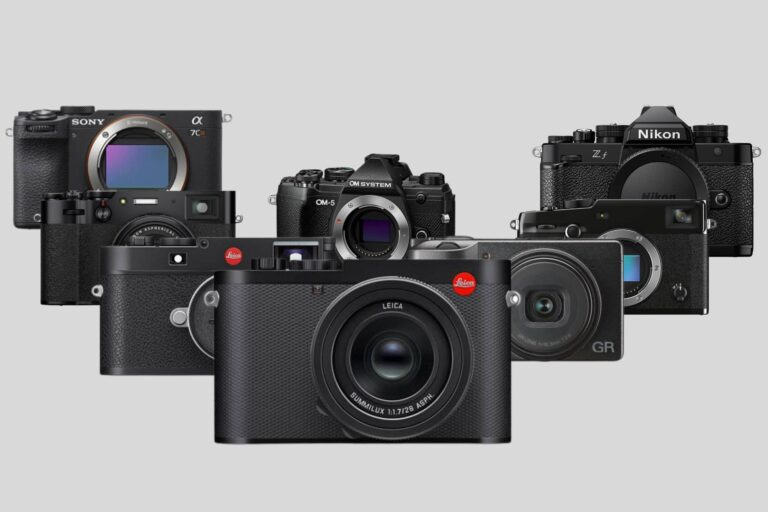
Different lenses have different maximum and minimum apertures
Worth noting is that both maximum and minimum apertures can vary from lens to lens. That means you’re limited in certain ways. As far as I know, pretty much all modern lenses stop down to at least f/16, which is perfectly sufficient for most photographer’s purposes.
What makes more of a difference is a lens’ maximum aperture. Photography will often place you in dark situations that will test the limits of your gear—and having lenses with wide maximum apertures will help you to get enough light into your camera in order to get an exposure.
Technology is changing this somewhat because higher and higher ISOs are available to us. Regardless, it’s still advantageous to have as wide an aperture as possible not only for low light situations, but also for getting photos with a shallow depth of field, which I’ll talk about more later in this article.
A Counter-Intuitive terminology
When you’re just starting out in photography, one thing that trips a lot of photographers up a bit is that f-stop numbers given to aperture size seem backwards:
The bigger the aperture, the smaller its corresponding f-stop number.
And
The smaller the aperture, the larger its f-stop number.
So as a comparison, f/1.4 is a very large aperture, whereas f/32 is a very small one.
To many beginning photographers, this understandably seems backwards. It can trip you up in the beginning, but after some practice and repetition you don’t even have to consciously think about it.
Just remember:
Large f-stop number = small aperture
Small f-stop number = large aperture
Photographic Effect of Changing Aperture
Adjusting your aperture isn’t just about letting more or less light into your camera. Adjusting your aperture also has an effect on the depth of field of your photos.
If you’re not familiar with depth of field, here’s a quick outline of what it is:
Depth of field refers to the amount of area within a photo that is in focus. A large depth of field means that the majority or all of a particular photo is in focus. Shallow depth of field, on the other hand, means that very little is in focus.
Depth of field can be used in a variety of ways as a stylistic choice that you as the photographer make depending on what type of effect you want. It’s important to keep this in mind when composing, as it will be a defining characteristic of your photos.
Your choice of depth of field is often dependent on the type of photography you’re doing. Landscape images, for example, look great when everything is in tack sharp focus, so if that’s what you’re going for, you would shoot with a small aperture.
On the opposite side of the spectrum, portraits look great with a shallow depth of field. It’s especially helpful to shoot portraits with a shallow depth of field when you’re dealing with distracting or ugly backgrounds—you can throw them completely out of focus so that the focus is on your subject. You’ll even see portraits where the subject’s eyes are in focus but even their ears are out of focus. These types of pictures were shot with a large aperture.
Shallow depth of field, like anything, can be overused. Many beginner photographers, after learning that they can focus on one thing in their image and blur everything else out and get beautiful “bokeh” (the quality of the out-of-focus areas of an image) forget that not everything needs to be or should be shot wide-open, i.e. shot at a lens’ widest aperture.
For instance, rather than shooting a headshot portrait wide open at f/1.4 and getting only your subject’s eyes in sharp focus, it might be preferred to shoot it stopped down a little at f/2.8 so that you can get your whole subject in focus. Preferences in depth of field can vary from one photographer from another, but it’s important to shoot with intention rather than get random results.
It’s also important to note that aperture choice is not the only thing that affects depth of field—distance to subject also has an effect on it. The closer you are to your subject, the thinner your depth of field will be. The further you’re away from your point of focus, the more will be in focus.
Being able to control depth of field is one of those things that will really set you apart from other photographers. It’s something that all professional photographers understand, but not all amateurs/hobbyists. Even if you just do photography for fun, once you understand this concept it’ll open up a lot of doors for creative control and even make photography more fun for you.
Conclusion
There are two main things to remember about aperture in photography. The first is that the wider your aperture, the less depth of field you’ll have in your photos. So if you want a blurred out background, use a wider aperture. If you want everything in focus, use a small aperture.
The other thing to keep in mind is that the wider the aperture you use, the more light you let in. The smaller the aperture you use, the less light you let into the camera.
If you’re unsure of any of the terms used in this article, be sure to check out our photography glossary.