What White Balance to Use for Night Photography
First of all, there are many different settings you’ll want to be familiar with before going out to shoot the stars. You can certainly check out my article on “Nightscape Photography,” to see some of this information, but there are many other sources to learn this information. Most importantly though, photography in general, and certainly photography at night, will involve a lot of trial and error.
Your photography will be ever-evolving, so to say there is a “right” or “wrong” way to shoot photography is a bit of a misnomer. That being said, in this article I’ll discuss some best practices that have shown good results for me in the past. If you’re looking for a good place to start, then read on, but again, I urge you to push the limits of what your cameras, and you, are capable of.
White Balance
As a term, white balance is the overall coloration of your image as it will appear. In general, the “correct” white balance of an image will present colors as if they were not affected by their light source at all. By that I mean a white t-shirt will appear white, even if the light in a dark room is casting off the shirt potentially making it appear more yellow than normal. Think of it like this, make the colors in every image look like it would if you were standing looking at it with your naked eye, outside on a sunny day.
White balance is important because in images, if the general coloration of your image is “incorrect,” people will have a harder time relating to the image and it will generally be regarded as less appealing.
I put “correct” and “incorrect” in quotations because there is no objective right and wrong in photography, it is up to the artist to decide how they would like their image presented.
Color Temperature
Color temperature, as opposed to color tint, is a term related to the overall hue of your image as it relates to the scale from very yellow hues ranging to very blue hues. If you want to truly understand color temperature as it relates to photography, you’ll have to study up on thermodynamics (which is way over my head), but some basic, practical knowledge will be enough to get you started for now.
Color Temperature is expressed on the Kelvin scale and will read as a number, usually in the thousands. To give you an idea of what settings you’ll commonly see, daylight is commonly regarded as 5500-5800 Kelvin (K). Overcast days will be higher on the scale somewhere between 6000-8000 K. Indoor lighting with incandescent lightbulbs will be around 3200 K.
Color Tint
The other half of White balance is Color Tint. This is the scale from Red to Green and will commonly be adjusted in smaller increments than adjustments made to temperature. Uusually if an images color temp needs adjusting, you will find yourself making correlating adjustments to tint along with temp.
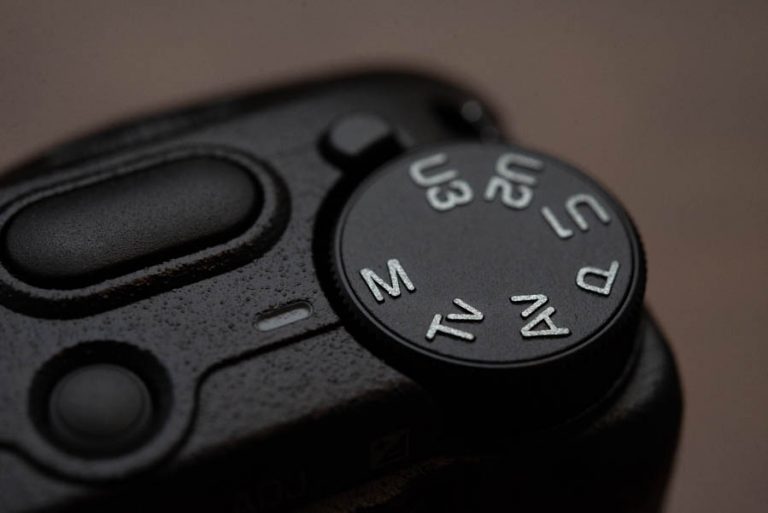
Always Shoot RAW
Most modern digital cameras will provide a few different shooting options to the user. The default setting of most cameras is to write files to the memory card as JPEG files (.jpg). A JPEG is an image file type that is compressed. By compressed I mean that the information received by the camera is not all included in the JPEG file. Much of the color information and light information will be shaved off the file so that it is presented as is, and can be saved at a much smaller file size.
A RAW image is exactly that, the raw, unaltered image information recorded by the camera sensor. This is important because sometimes you will nail an absolutely perfect image; your exposure, and colors will be perfect, you can export it and send it to your local printing lab to have a 20×30” print made. You can hang that print in your gallery and it will sell for top dollar. There will however, be times when your image isn’t perfect and that is when the RAW file becomes necessary.
Dynamic Range is a term referring to the range from dark tones to bright tones and every shade of light in between. A JPEG file has much less dynamic range than a RAW file and when you try to adjust your image in editing software (or in camera), you’ll find yourself very limited. The same will be true for colors.
When you shoot a RAW file and process it, you’ll find that instead of adjusting your white balance in terms of +1 or -1 you’ll see that your editing software actually gives you a color temperature scale expressed as values on the Kelvin scale. Though the native white balance of the image as it was captured will still be the truest color of the image, editing software and impressive file information will allow you to adjust anywhere along the Kelvin scale without losing much quality.
If you shoot dramatically high or low on the scale when recording the image and have to adjust several thousand up or down on the scale, you might see some degradation in color quality, but the difference in quality will be negligible in most cases and imperceptible in cases of minor adjustments. As opposed to JPEG adjustments to color temperature, you’ll find the difference is incredible.
Color tint will be expressed the same by your editing software as if it were a JPEG, but a side-by-side test of tint adjustments made to a JPEG and the corresponding RAW file will reveal that the RAW file responds much better to changes in tint.
Is it OK to Shoot with Auto White Balance?
In short, yes. Because of these abilities afforded to you by shooting RAW, you might be happy just shooting in “auto white balance” mode so you can focus your attention and time on other things like focus and exposure. Auto WB will get you close in most cases and you can make those minor adjustments later. I urge you to set your camera to shoot JPEG+RAW so you get both a raw and compressed version of the same image and do your own test to see the differences I’ve discussed.
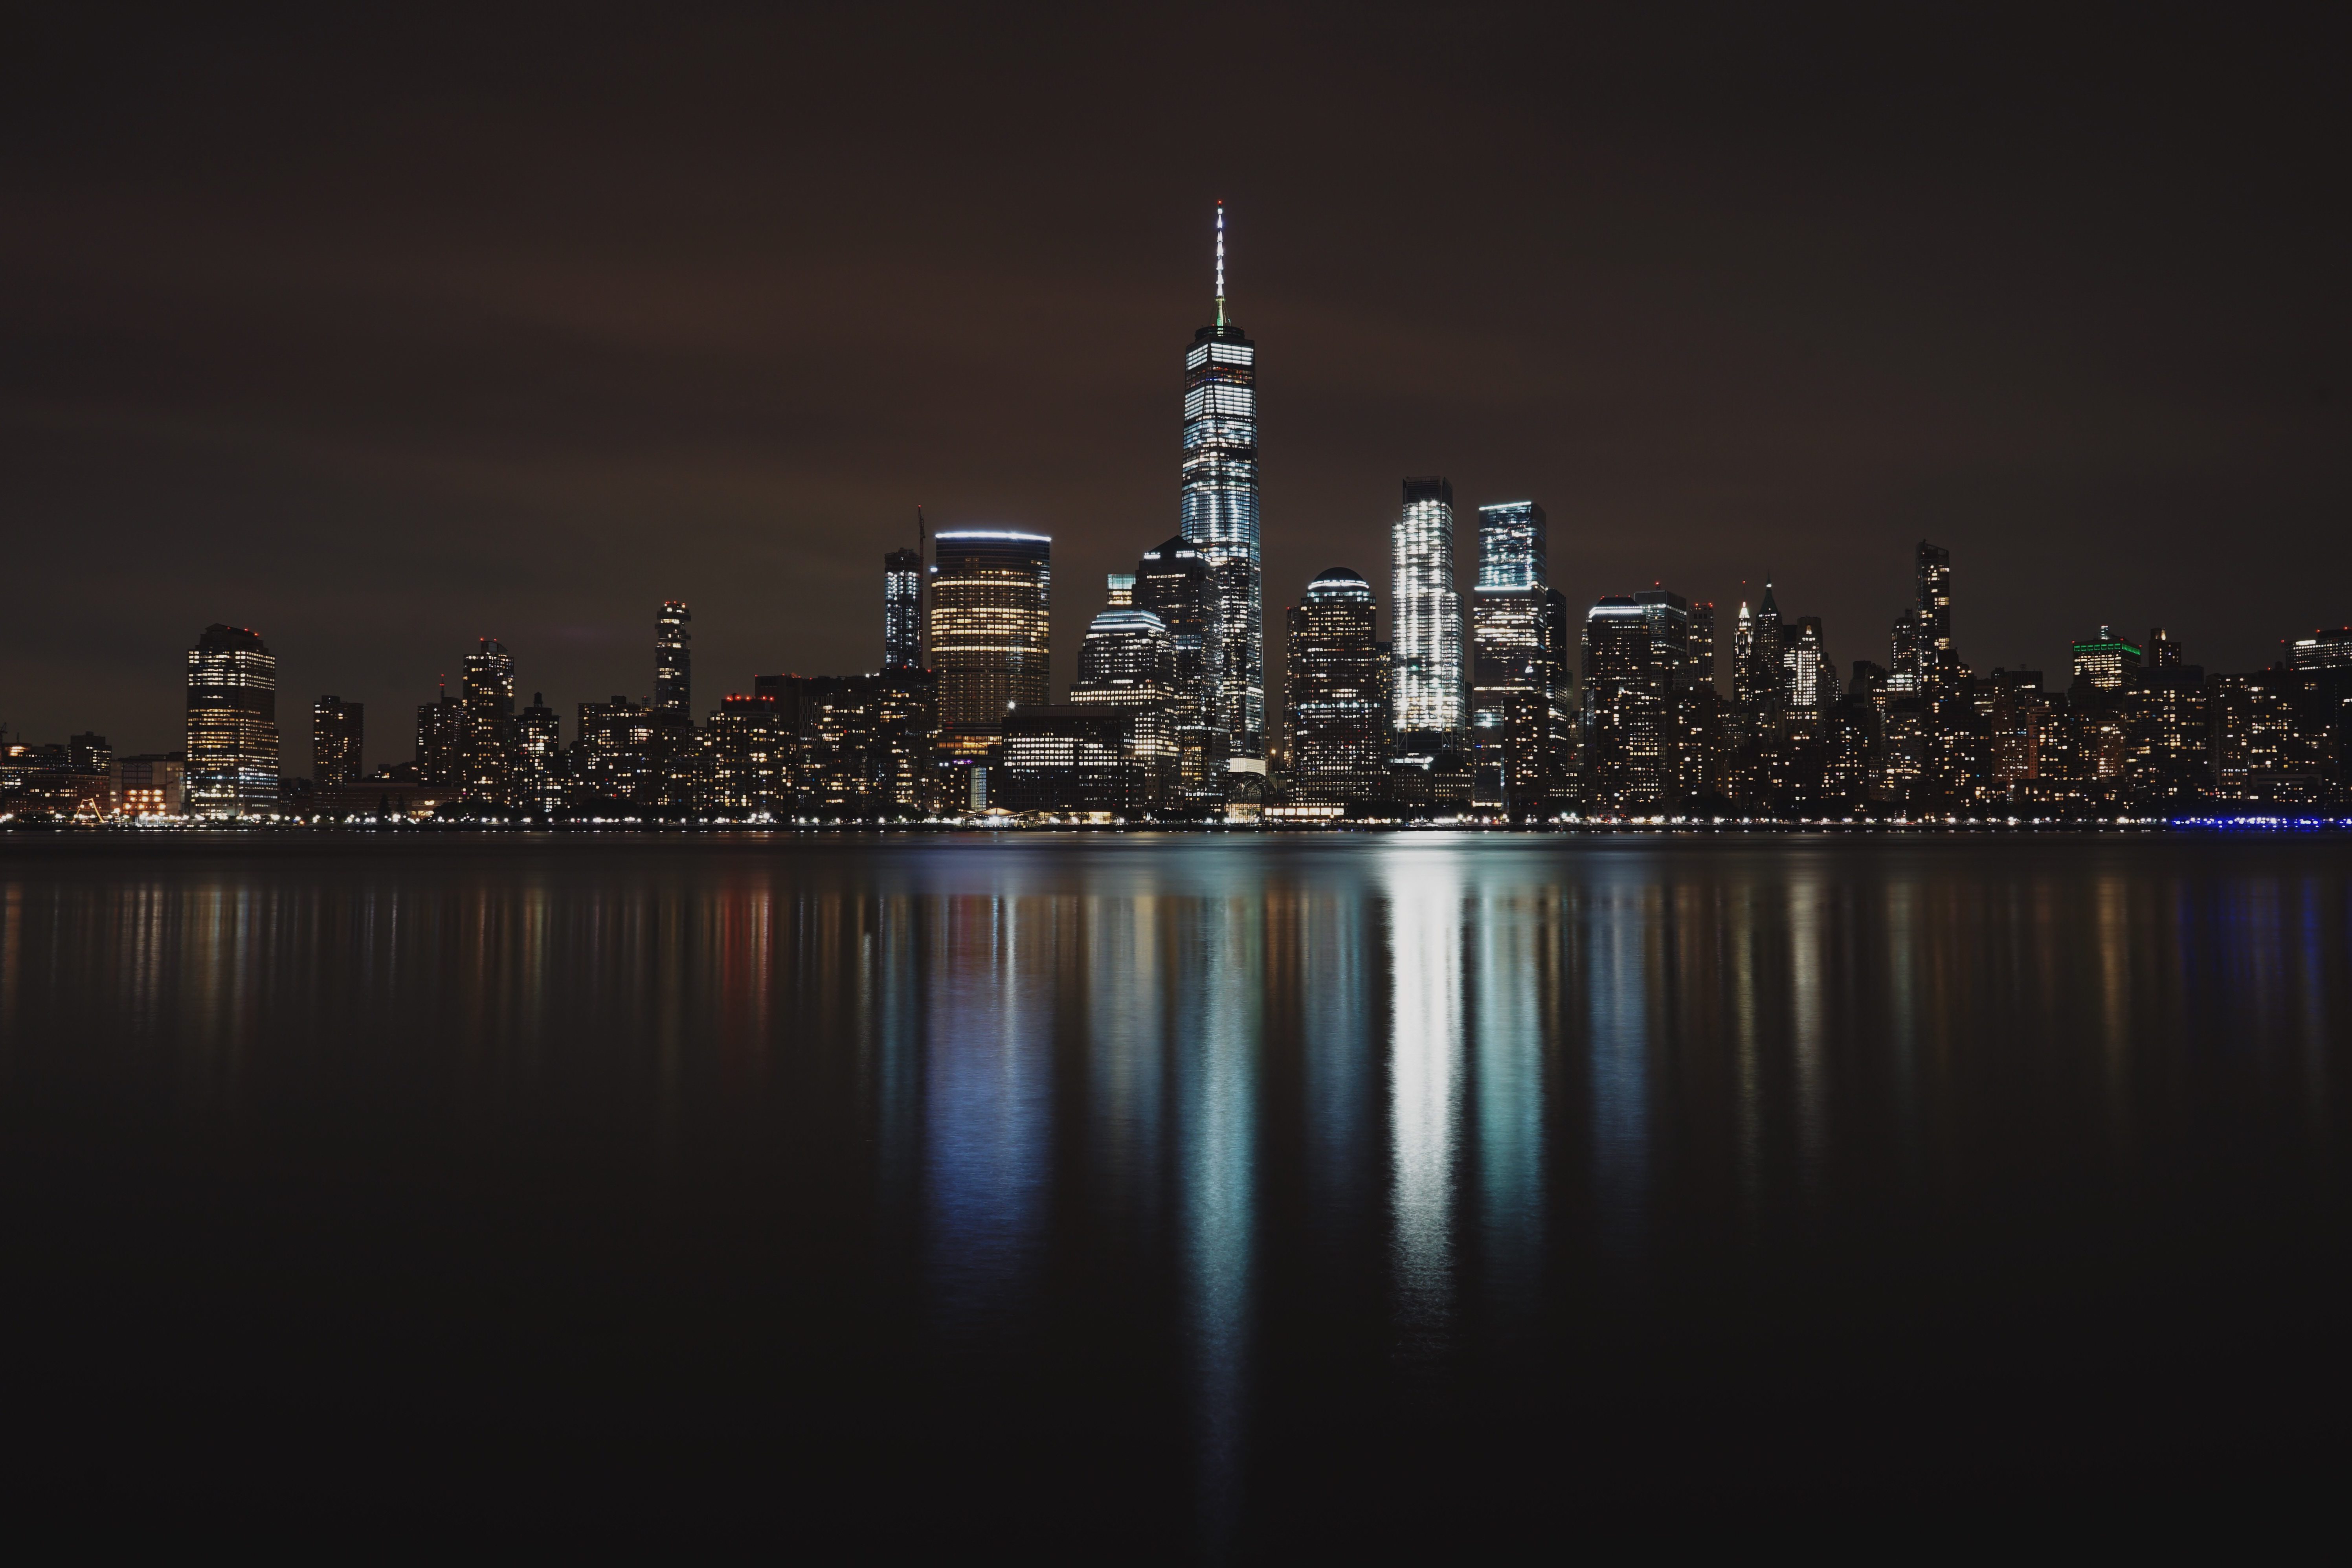
Color Temperature at Night
Moonlight is around 4000-4200 K and the stars will present well in your image if you set your image around there. Because there are so many factors in night photography, I’ve had good results at 2500 K and some of my favorite night scape images are set as high as 7800 K. The point is, you’ll have to do what makes you most happy with your image. But if you want to set a custom white balance and you have no idea where to start, begin with 4000 K and make necessary adjustments from there.
Conclusion
This article was intended to be about white balance when shooting at night but realistically, what I want you to take away from this article is to shoot RAW images. Shooting in RAW will afford you so much freedom that during the important moment at 3am on the cold cliffs of new England, or the serene silence standing under the arches in Utah, you can enjoy the moment and make adjustments later. ¬“Correct White Balance,” can be a difficult thing to nail down from an objective standpoint because as mentioned earlier, photography is art, and art is subjective.
So set your camera to shoot RAW, set it to shoot around 4000 K, and see where you end up!