Halloween Photography: A Spooky Guide for Getting Great Shots
If you’ve been doing photography for any amount of time, I think we can all agree:
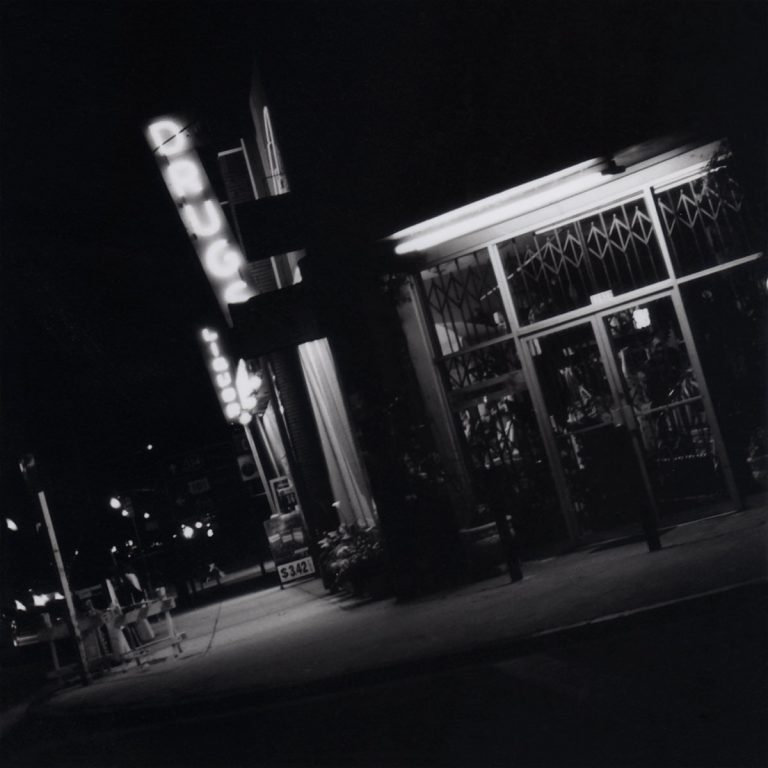
Taking photos at night or in dark environments can be really tricky.
And when it comes to Halloween photography, we all know that the real fun happens after the sun goes down and things get dark and spooky. So are there some things we can do to help us get proper exposures on those dark Halloween nights?
Absolutely. And in this article I’m going to lay out exactly how to get the most out of your camera so that your Halloween photography turns out to be something that you can proudly share with your friends and family for years to come.
It’s obviously not just about camera settings either – there are several things we can keep in mind in order to get good Halloween pictures that capture the mood of the this spooky holiday. Let’s find out what they are.
But first, what camera settings might we need to adjust when doing Halloween photography in dark environments?
To be able to let more light into your camera, you may need to make one or more of the following adjustments:
Open up your aperture:
Making your aperture wider allows more light to reach your digital camera’s sensor, making your pictures brighter. Different lenses have varying maximum apertures, so your lens’s maximum aperture is likely to be in the range of f/1.4 to f/4. The smaller the number, the bigger your aperture becomes.
If it’s really dark, you’ll probably have to open your aperture as wide as it goes. Keep in mind though, that doing so will result in less of your photos being in focus.
Choose a slower shutter speed:
Slowing your shutter speed down increases the amount of time that your shutter remains open, determining the amount of time that light has to reach your sensor. Slow it down and more light will be allowed to enter your camera and increase your shutter speed to allow less light to enter.
Slowing your shutter speed down though, does result in motion blur when it drops past a certain point. If you don’t want motion blur in your photos when shooting your camera hand-held, a rule of thumb is to not let your shutter speed drop below the focal length of the lens you’re using.
In other words, if you’re using a 50mm lens, you wouldn’t want to drop your shutter speed below 1/50s. Likewise, with a 200mm lens, you wouldn’t want to drop it below 1/200s.
But with that being said, motion blur can be used to great effect for Halloween photography, as you can get some ghostly-looking movement in your pictures.
Shoot at a high ISO:
Adjusting your ISO changes how sensitive your digital camera’s sensor is to incoming light. Lower it to darken your photos and raise it to brighten them.
In some situations you may have to shoot at your camera’s maximum native ISO setting to let get sufficiently bright exposures. Remember though, that this has the effect of introducing noise to your pictures.
But for Halloween pictures, who gives a shoot? Grain isn’t always a bad thing, and can give your photos a mysterious old-timey feel that adds to the spookiness of the occasion.
If you’d like to learn more about the exposure triangle and how to use your digital camera, take a look here at our complete guide.
Now that we have a better idea of how to take pictures in low light, let’s take a closer look at some ways you can so some great Halloween photography.
First off, get into the spirit of Halloween!
Now, I’m not saying that you have to go nuts and do some wacky Halloween version of what Clark Griswold does in Christmas Vacation (although there ain’t nothin’ wrong with that!)
All I’m really saying is that your Halloween photography doesn’t have to be limited to just Halloween day. Think about all the Halloween themed events that you do leading up to the holiday.
There’s Halloween parties, haunted houses, going on hayrides, going to the pumpkin patch, costume contests for your kids, etc.
By starting out your Halloween photography a few days early, you really open up your opportunities to document the Halloween festivities going on around you. You can even do a little Halloween photography project, and giving yourself a few extra days gives you a better chance of getting some keepers for your album.
And if you do it every year, you can make it into an even bigger album showing off all the crazy costumes you’ve had throughout the years. If you’ve got kids, it’s a great way to show how they grew from year to year.
How to photograph jack o’ lanterns
Who doesn’t love a good jack o’ lantern? And around Halloween time, they’re all over the place.
But if you’ve tried to photograph them, you may have found that it can be a pain get them properly exposed. Expose too bright and you lose the moody dark look that jack o’ lanterns look like with our eyes. Expose them too dark and all you’ll see are their glowing eyes and mouth.
My recommendation is to expose for the bright holes of a jack o’ lantern. This will most likely give you too dark of an exposure, but it’s a good starting point and from there you can pull it back a little and let a little more light in in your following exposures until you get the exposure you like.
They look best when your exposures aren’t just blackness filling the most of your frame and glowing mouth, eye and nose holes. You want to show detail similar to what your eye sees with jack o’ lanterns, orange exterior and all.
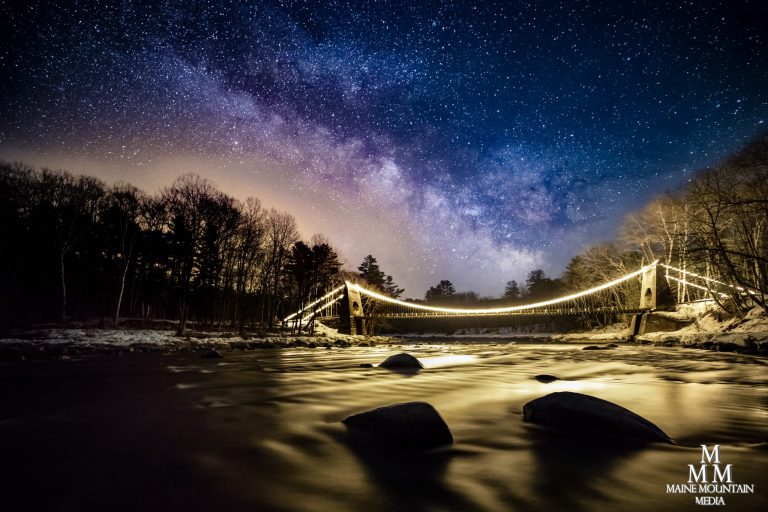
To see jack o’ lanterns all lit up, you’re most likely going to be shooting them at night. Considering this and that jack o’ lanterns are stationary, having a tripod can really come in handy to get them exposed properly with a long shutter speed and without the motion blur you’d get if you handheld the camera.
Document the Day
If you’re going to be suiting up and wearing a costume (and why the heck would you not?!) then consider putting it on a little earlier than everyone else on Halloween day. Why?
That way, you can take shots of your friends and family getting ready in theirs, and show the transformation they go through from being dressed regularly to having their full getup on.
We often just focus on the final result of things, but like learned working with a great wedding photographer who photographs brides getting ready, it’s the little details like showing people dressing up that really tells a story.
Think about taking photos of subject putting on the last little details of their costumes, like ties, hats, other accessories and makeup.
Another great way to document the day is to take posed group pictures of your family/friends in their costumes and individually
Whenever I’m shooting formal portraits of groups at weddings, I start with the whole group and work down from there to smaller and individual portraits. It helps to organize things as you take advantage of everyone being there at the same time and letting the people go who don’t have any interest in taking individual portraits.
It works well for Halloween photography too.
Focus on taking wide, full body portraits of your subjects and then bringing it in closer for waist-up shots and then closer from shoulder up. When you’re taking group pictures, with so many people there’s always the chance that one or more of the subjects will blink.
I’ve found that the best solution for this is simply to take a bunch of pictures. When you’re taking photos at a certain perspective, i.e. full-body group portraits, take like ten pictures all framed similarly. The same thing goes for when you’re shooting waist-up and shoulders-up shots.
This way, you can not only pick the pictures where no one is blinking but also the ones where your subjects have their best smiles/expressions in post.
You can do the same thing for each of your friends/kids/family members – full length portraits to show their full costume, three quarter length and tight headshots.
There’s two ways I like to do this:
1. Focus on finding non-distracting backgrounds to put your subjects in front of to focus on their costume.
And/or
2. Putting them in front or around backgrounds that have a Halloween theme to them.
If you do both, then you’ll have more options to choose from in the editing process.
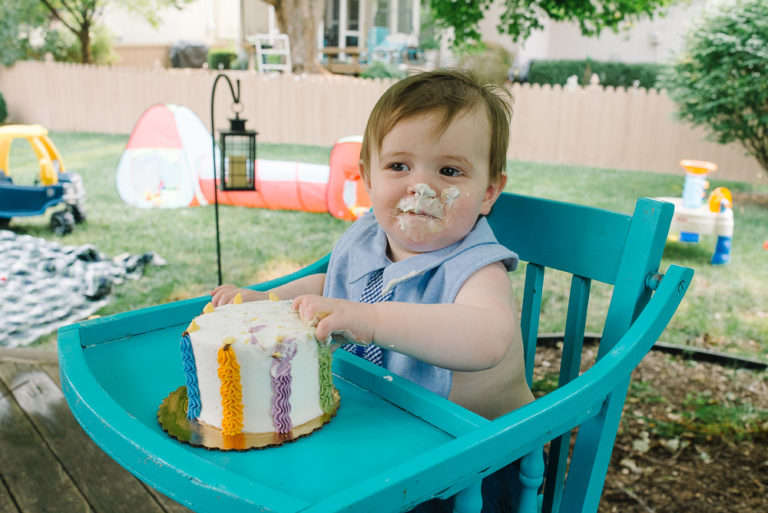
Go Trick-Or-Treating a Bit Earlier
If you’ve got kids, you can be sure that they won’t mind going out to start trick-or-treating a little bit earlier than most. Everyone is still likely to be home to answer the door and the biggest benefit you get is that there is still light out for you to do your Halloween photography without having to resort to camera techniques that lower your image quality.
Take Some Picture of the Whole Scene
While it’s great to document Halloween festivities by taking pictures of our friends and family, what about photos that show a wider angle of the storyWhat I mean is, for example, if you’re at a party, take some pictures of the whole party from a distance and show the house or venue that it’s at. The house, the tables with people sitting at them, the food, drinks, candy, etc. from afar.
You don’t need to take a bunch of photos like this because a couple are enough to show the atmosphere of the event. But a couple of then are great to sprinkle into a Halloween photography album.
It’s also another nice situation to have a tripod, as you can take wide shots showing a Halloween party or whatever Halloween event with a slow shutter speed which will show the event location with a bunch of ghostly moving subjects.
Flash People
Now, you may have gotten the idea that you should disregard the flash that comes on your cameras. And you may have even heard that from me.
But you can get a really nice Halloween photography look shooting straight-on flash if you shoot at a slow shutter speed with flash.
The look I’m talking about is you shoot at a slow shutter speed with the combination of flash and the result is that you get your subjects in focus but the background and lights behind them blurred. It’s a great look for spooky Halloween photography.
Conclusion
That’s it for this post – what do you think about the Halloween photography ideas posted here?
Do you think I left anything out? I would be happy to hear your input if you think there could be something added to this list.
If you’re reading this, then Thanksgiving is not far off, so be sure to check out our guide on Thanksgiving photography too!