11 Street Photography Tips for Better Street Shots
Street photography is hard. At least not if you want to do it well and create a body of work you can be proud of.
If you read interviews with history’s great street photographers, a common refrain among them is how hard it is.
To do street photography, you may take a walk in the park, but it’s no walk in the park if you catch my drift. It ain’t easy! It just ain’t, Jack.
So enough with the talk about how hard street photography is. Here are some street photography tips you can consider to make it a little less hard.
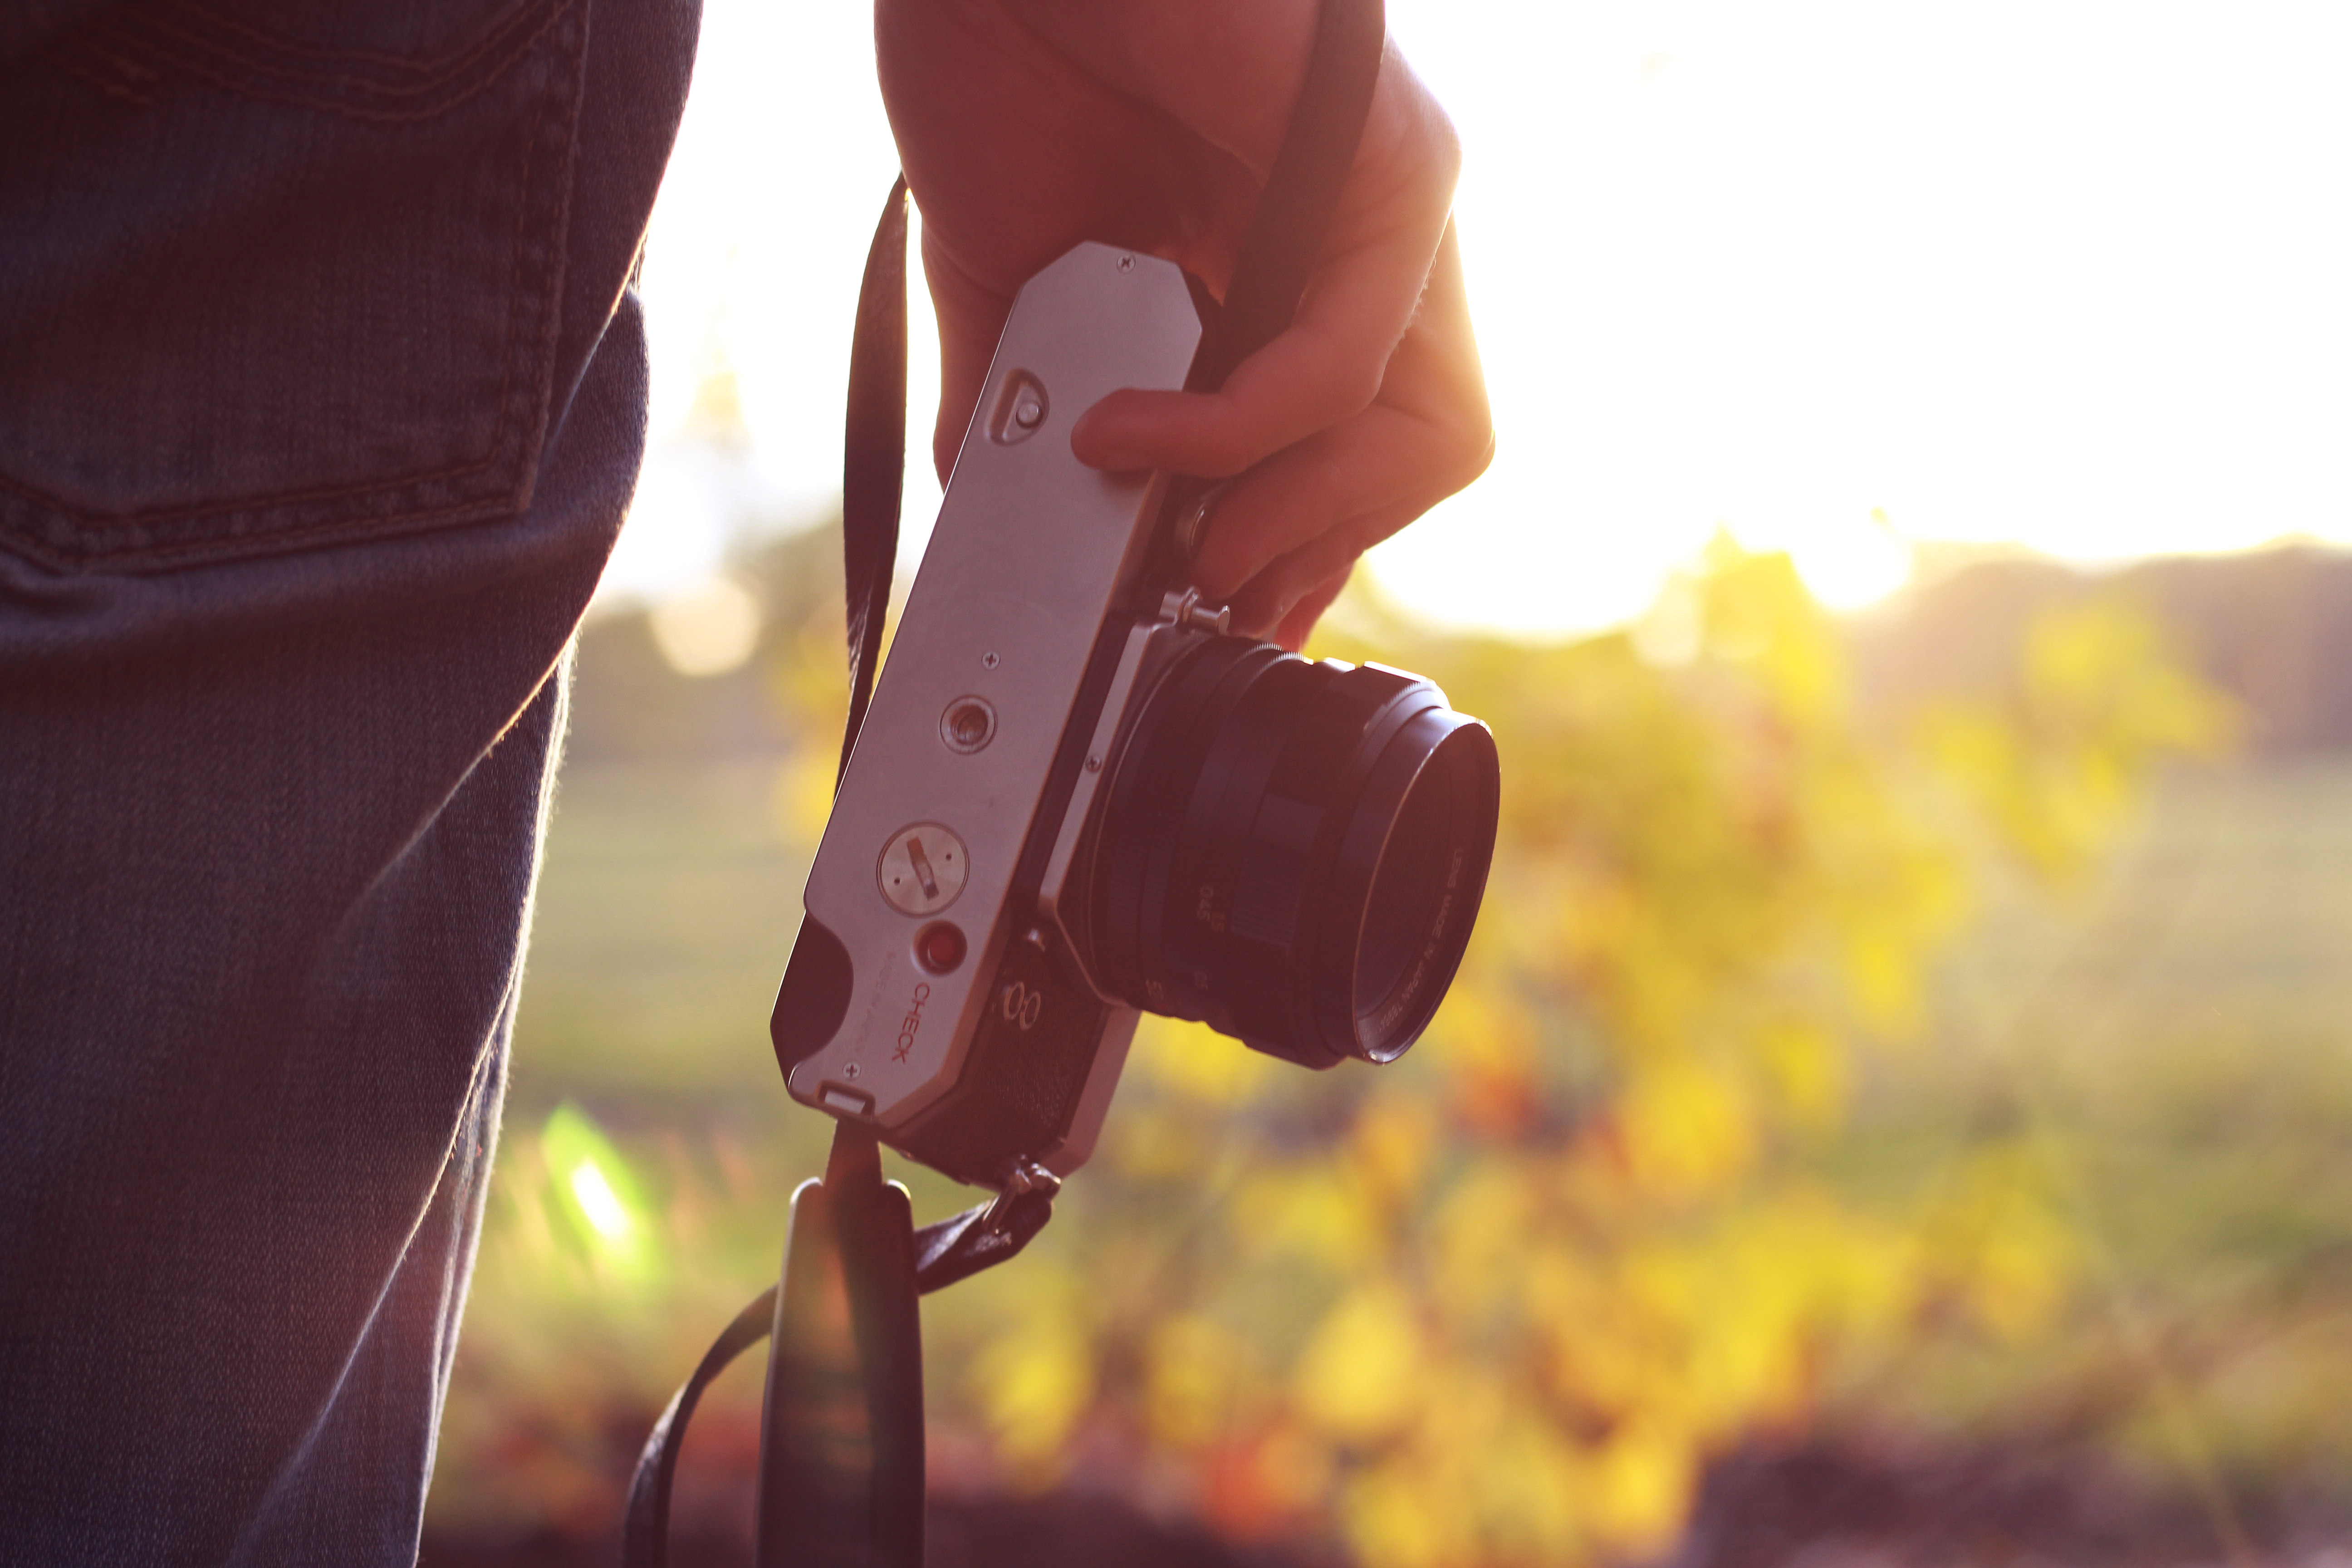
1) Choose The Right Street Photography Gear

You can’t do street photography without a camera and a lens, so I can’t do a street photography tips article without mentioning gear. Some love their gear while others just see it as a means of artistic expression. I fall somewhere in the middle — I think the street photography gear you use is important to achieve the look you want while giving you some inspiration to photograph, but you shouldn’t obsess over it.
I prefer to go out shooting with the smallest amount of gear possible. Usually, that means just a camera and a lens and nothing else.
Luckily, street photography doesn’t require you to have a lot of gear. You can do everything you need in street photography with just a camera and lens. I personally like to take just one focal lens, because then I’m not distracted with whether I should photograph this or that with other lenses. Taking extra lenses with you means you have more stuff weighing you down, and changing lenses can distract you and cause you to miss shots. I like shooting with minimal street photography gear because it helps to clear your mind and just focus on observing and reacting to what unfolds in front of you.
When it comes to focal length, I prefer relatively wide-angle lenses. Wide-angle lenses make the viewer feel like they’re in the scene as you would see it in real life. They’re also more versatile than other focal lengths because they’re not limited in tight spaces. With a wide-angle lens, you can always crop in if you need to but you can’t crop out with a longer lens.
My favorite focal length for street photography is 35mm but I also really like 28mm lenses. These focal lengths provide a slightly wide angle of view similar to what the human eye sees, so requires you to get relatively close but makes for photos that feel like you’re there in the scene. 28mm lenses can be pretty wide and make photos with more surrounding context. The 24mm focal length is too wide for my taste, but I think any focal length is worth trying to see if you like it because there’s a lot of subjectivity in this.
If you don’t like having to get close to subjects or you like a more minimalist or abstract street photography look for your photos, a longer focal length may suit you better. There are a lot of compact and affordable 50mm lenses that fit the bill for this style of photography. 85mm can work as well, but the compression from lenses longer than that are going to give you a faraway look that isn’t appropriate for street photography in my opinion.
If you’re trying to decide on a lens, take a look at my picks for the best street photography lenses.
For camera bodies, there are a ton of options to choose from these days from film to digital. I prefer using compact, rangefinder-style camera bodies for street photography. I find that the smaller my camera, the more likely I am to take it with me. If you’re looking for ideas as to what body to use, I put together a page with my recommendations for the best street photography cameras currently available.
2) Know Your Camera Settings Second Nature
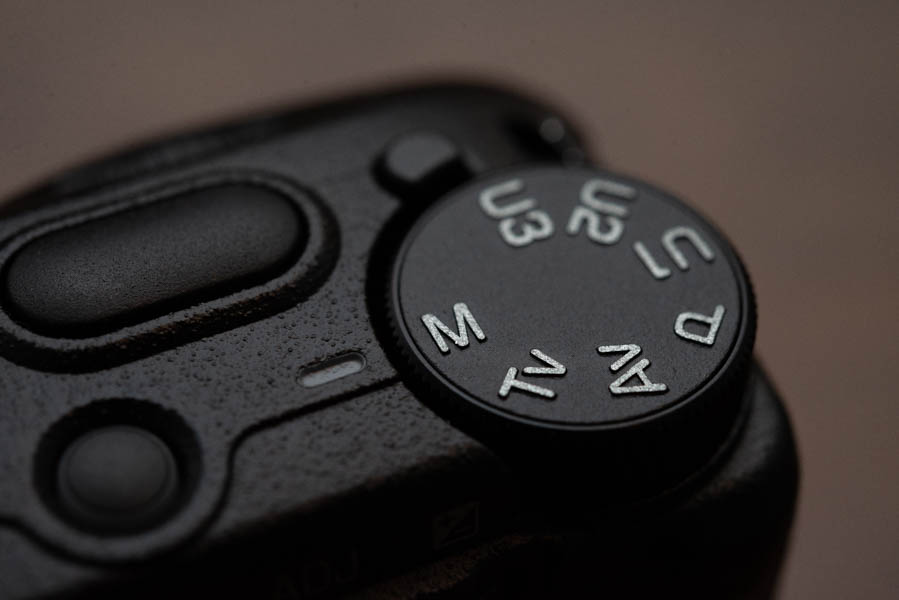
The better you know how your camera settings work and your camera’s layout, the less time you’ll waste trying to get your exposures down while out on the street. It’s good to know how to shoot your camera in full manual and all the other metering modes, as they can come in handy depending on the circumstances.
I want my camera to be as much of an extension of my eye as possible so that I can just focus on what’s important. If I have to adjust my camera settings for street photography, I want it to be as quick as possible, which means knowing my camera inside and out.
Learning how to use your camera in manual mode can seem complicated at first, but it’s actually pretty simple, so I’ll lay out the basics here.
The important thing to know for street photography or any other type of photography for that matter is the exposure triangle. That’s aperture, shutter speed, and ISO.
Aperture is the opening of the lens that lets light into the camera. The smaller the number, the larger the aperture opening, and therefore, the more light will enter the camera. Aperture also affects depth of field. A small aperture results in more depth of field and vice versa.
Shutter speed refers to how long the shutter mechanism opens for light to enter the camera. A fast shutter speed lets in less light than a slow shutter speed. A fast shutter speed will freeze action whereas a slow shutter speed can result in motion blur.
ISO is the sensitivity of film or the sensor of a digital camera. Lower ISOs capture less light and have less grain. High ISOs capture more light but have more grain.
I think it’s important to know these settings like the back of your hand before you get out to do street photography. You can also use semi-auto modes like aperture priority for street photography, but knowing all your settings in manual will help you decide when and how to use other modes.
3) Study Street Photography by Great Street Photographers
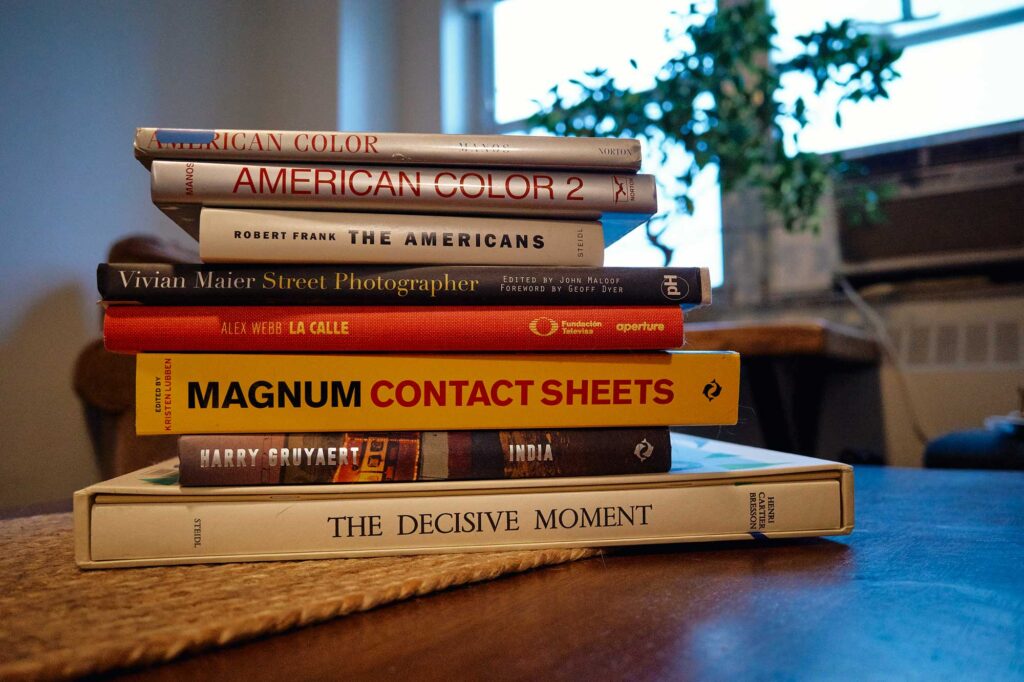
One of the best street photography tips I can give is to consume the work of respected street photographers. The masters of street photography are respected because they put in the time and work to develop a curated body of work with their own style. I think one thing missing from a lot of the street photography you’ll be exposed to on social media is a lack of elimination in the editing process. When you look through a book from one of history’s great street photographers, you’re seeing their best work, not their outtakes.
If you want to learn from great street photographers, get their books. Physical books are more tactile and tangible than viewing street photography on a small digital screen and larger prints let you better explore the entire frame of a photograph.
Street photography books give you insight into how street photography can work as a collection of images rather than just standalone photos. This also gives you insight into how a photographer went about selecting their photos to create a cohesive narrative of a place or theme.
If you’re on a budget or have limited space for books, then, of course, there’s nothing wrong with studying the greats online. The important thing is that you discover what street photographers have done before you and take away the visual lessons you can learn from them that resonate with you the most.
Doing this will also help you decide on the street photography style you want to aim for with your work. I think this is a big part of the battle when you’re starting out in street photography because if you don’t have a direction you want to go in for your photography, you end up taking a lot of photos that you’re not going to like. If you have a stylistic idea in mind of what you want your photography to be though, you have a better idea of what to look for.
4) Get Out on The Streets and Photograph

This is a blatantly obvious street photography tip, but you can’t make street photographs unless you get out in the streets. I say this because I need to hear it myself sometimes. The work I want to create won’t produce itself — I have to get out there and make it.
The work I want to put out into the world won’t happen when I’m scrolling through social media or whatever else I do to waste time.
More times than I can count, I was doing something unproductive when I could have been out doing street photography. You have to motivate yourself and put in the work if you want to have any results that you’ll be proud of with street photography.
All the street photography tips in the world won’t help if you don’t get out there and photograph. One of the great things about street photography is that it encourages you to get out of your house and into the real world. That can’t be said for hobbies like video games or whatever. In today’s age, it’s easy to live in a bubble where you don’t get out and experience life. Many people spend a lot of time watching TV or scrolling through social media in their free time. When you look back on your life in your older years, do you think you would be content with having spent your time on social media or do you think you would have less regrets if you spent it out in the real world? I know the answer for me.
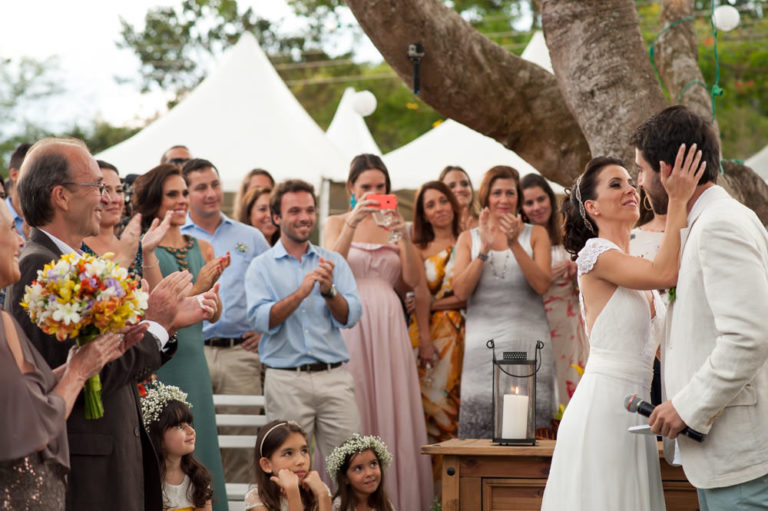
5) Include Context in Your Street Photography

There are always exceptions to the rule, but my view on street photography is that it shows people in the context of the places they inhabit. That means showing people and the scenes you photograph them in.
The way to get both subject and background focus is to use a small aperture for street photography. I try to shoot between f/8 and f/11 because these are relatively small apertures that don’t suffer from diffraction, diminishing your image quality. With most lenses, you can shoot up to f/11 without reducing your image quality much.
I generally shoot at the highest aperture possible given the light and my camera/lens’ performance to get everything in focus with the best image quality possible.
In addition to using smaller apertures, I also look to include background elements in my street photography. By this I mean, buildings, signs, and the environment surrounding subjects. This goes against what a lot of photographers do for things like portraits, where you’re isolating the subject in the composition and blurring the background. Once you’re developed your style, you may disagree, but I find this less visually interesting than including the environment that human subjects are living in.
As with most street photography tips, this is subjective. I think it’s a good idea to try incorporating more background in your compositions but you may prefer another style and that’s OK.
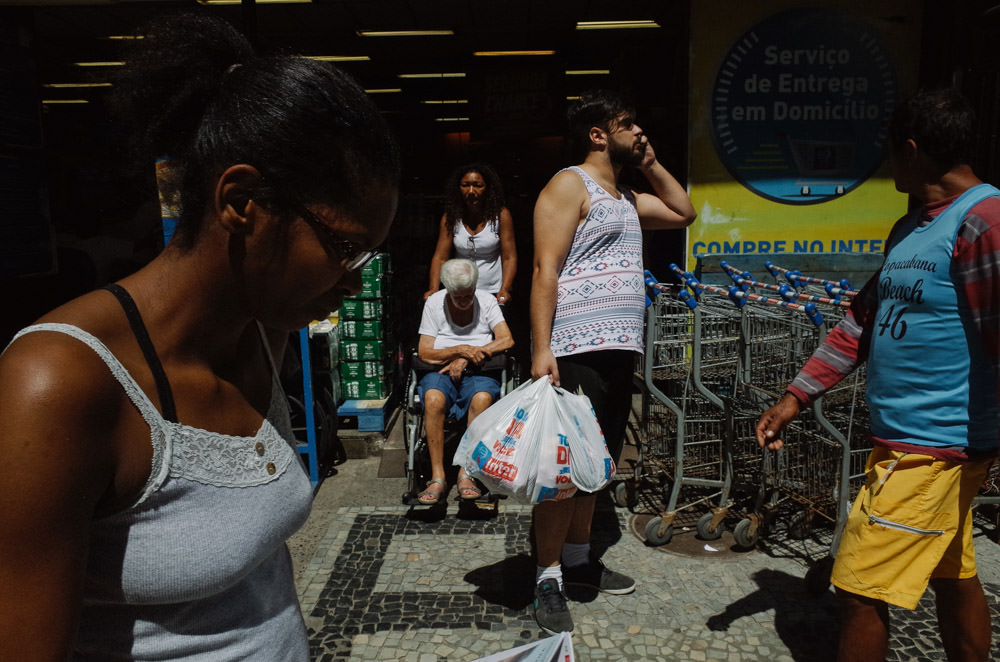
6) Seek out Good Light

A big weakness of mine, when I started out in street photography, was not putting any thought into finding good light. I would just go out and shoot and not think about the light.
Now that I know more of what I like in terms of light, I would rather shoot in pockets of light rather than in flat bright light or in total shadow. Even if I’m shooting in midday “bad light”, at least I can use this to my advantage.
To give you a better idea of what I mean, I like to shoot frames that are partly in sunlight and partly in shadow, which creates a nice contrast between the light and dark parts of the frame.
Of course, I can’t mention light in street photography without talking about photographing at certain times of the day. You’ll hear a lot of recommendations to photograph during the golden hour at sunrise or sunset, which does make for beautiful light. However, you can still make great street photography at other times of the day. You may even prefer the look of harsh midday light or the twilight at dusk just before sunrise or after sunset.
I think the important thing is to figure out the type of light you prefer and photograph at the right time of day accordingly, or find ways to make the most of light at the times of day that you’re less fond of.
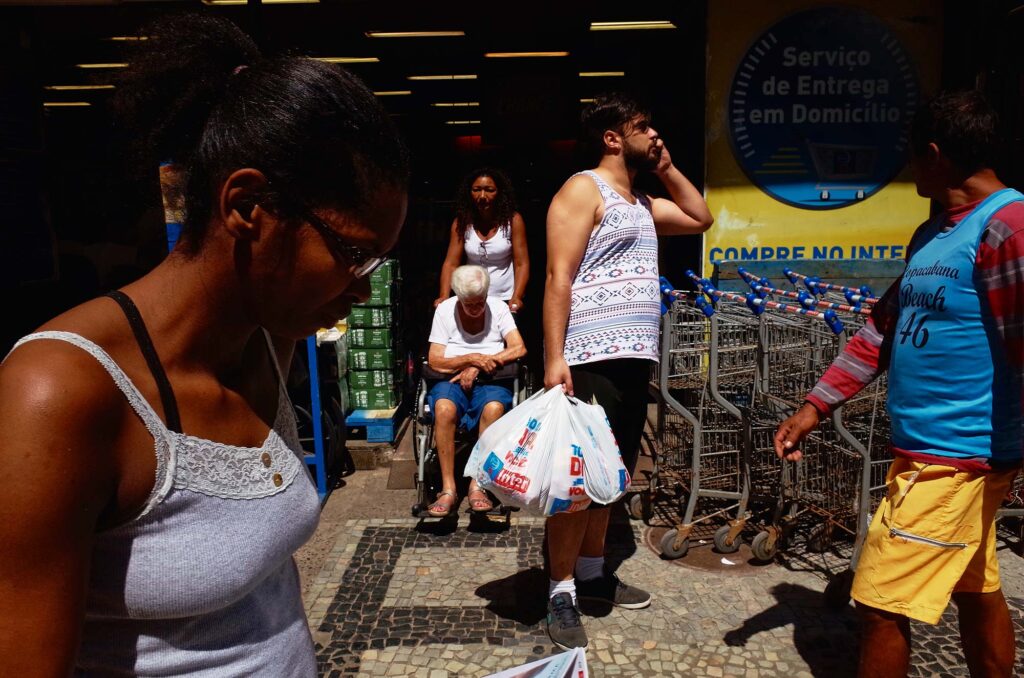
7) Use Storefronts As Backgrounds

One thing I’ve found that I appreciate from photographers I admire is relatively uncluttered backgrounds and compositions. It’s not always the case, but one way they do it is by putting some thought into their backgrounds.
A good way to have more defined backgrounds is to photograph subjects towards storefronts and other buildings, as opposed to the street or where the background is going to be a mess of people.
Photographing toward the street can work, but the background will be further away, making it harder to get clean compositions. You may also like the messier/more cluttered look to your photos. There are exceptions to this for me, as some of my own keepers go against this. For me though, putting some thought into what the background is going to be before I frame my photos gives me a better success rate.

8) Edit Sparingly
When it comes to editing my street photos, I like to keep things relatively minimal. I’ll adjust color, sharpness, and exposure to bring out the look and feel I want. I think using a bit of dodging and burning to highlight certain areas is fine.
But for me, heavy editing—like removing or adding objects—doesn’t have any place in my street photography. Street photography is all about capturing real, unfiltered moments as they happen. Going too far in post-processing can mess with that sense of authenticity that makes these shots feel real. It’s not that I never touch up my photos, but I try to let the scene speak for itself.
In my book, over-editing goes against the spirit of authenticity of street photography. I don’t do things like removing objects or inserting things that weren’t in the scene. The use of A.I. in photography in general makes me feel uneasy, especially considering these models were trained on our photos without our consent or compensation, but this especially goes for street photography.
9) Use Layers


Layers are one of the things I look for to add depth and interest to my street photos. They invite viewers to take in the whole frame, not just the main subject, and take them through the scene in a way that feels like a journey.
When I think about layers, I’m looking at how different elements—people, objects, backgrounds—interact with each other, often moving in different directions. That contrast creates a sense of movement and energy in the shot. It doesn’t mean the composition has to be overly complex, though. Even simple scenes can have layers that add visual intrigue.
The key is paying attention to layers while you’re shooting and when you’re editing. By doing that, you naturally start to create more engaging photos that draw people in and hold their attention a little longer.
There can be many layers to a photo. But you can’t control all of them, so it helps to simplify things and think in terms of foreground, middle ground, and background. What works for me is focusing on one subject and building the other layers of the frame around that.
10) Show Only Your Best Photos
It takes a lot of discipline to show just your best street photography work. I struggle with this myself. It’s easy to go out, take some photos, and upload them to Instagram and other social media platforms. There can be value in doing that to build an audience for your street photography I suppose. But if you don’t have any restraint about it, you’re just adding more mediocre photography to the mountain of photography already on the Internet.
Today’s digital photography landscape is in stark contrast to what great photographers in the early days of street photography lived in. In the past with film, you didn’t have the instant gratification of seeing your photos or the easy access to platforms where you could publish your work. Photographers had to go through the painstaking process of curating, editing, and working with a photo editor and through an editorial process before publishing their work.
Times have changed and I’m not saying it’s a bad thing. But I think it’s something to take into consideration before clicking publish and putting something out into the world with your name on it.
11) Have Patience — You’ll Need It
The previous street photography tip leads to this one.
Being a street photographer can test your mental fortitude. Some days I get a photo I really like. Other days I may even get a few. But most days I come back with nothing and I feel like an uninspired failure.
In Daniel Arnold’s Walkie Talkie interview with Paulie B., he says something along the lines of how street photography makes you develop an intimate relationship with failure, which I think is as apt a description as it gets.
The majority of the street photos you take will not, or should not, make the cut. Street photography is a numbers game, and it’s OK to come home empty-handed.
So when you come back home for what feels like the millionth time without any photos you’re satisfied with, that’s just street photography. Hit the pavement and try again.
My Last Thoughts on These Street Photography Tips
I did my best with these street photography tips to not come across as some type of guru with all the answers. I definitely do NOT have all the answers. What works for me may not work for you, or it may not jive with your style.
The thing about street photography and any art form is that it’s very subjective. I’ve put a lot of time and thought into street photography so I think I have something to share, and I think it’s worth taking into consideration diverse perspectives to strengthen your street photography. But I think you should ultimately take what I say and what any other street photographers say with a grain of salt. Take what works for you, discard what doesn’t, and create your own style and voice.
I hope these street photography tips were useful for you. Let me know what you think. Cheers, and happy photographing.