How to Name and Organize Your Digital Photos [So you Can Keep Your Sanity]

Naming and organizing your photos is a crucial and often-overlooked part of your workflow as a photographer. It’s a bit tedious, but neglecting this step can make it difficult to locate photos.
The key is to determine what information is important, and then to use it to consistently name your photos and the folders where they are stored.
I will take you through the process I use to name and organize my own photos. If you’re looking to improve your organizational system, perhaps this will help.
Naming the Files and Folders for Your Digital Images
For clarity’s sake, let’s use an imaginary photo shoot to illustrate the way I organize my files. Let’s say it was a portrait session with the Smith family that took place on January 15th, 2018.
So, the shoot is finished, and it’s time to process the images. First, I must import the files. I include the following information in the name of the folder where the files will reside. This information, with some minor tweaks, is the basis for the name of every file and every folder I have.
Date – I use the YYYY.MM.DD format. Include the year first, then the month, then the day. This allows the folders to be organized chronologically, which is very helpful when searching for photos. It’s not necessary to include a period between the year, month, and day like I do, but I find it to be a more organized look.
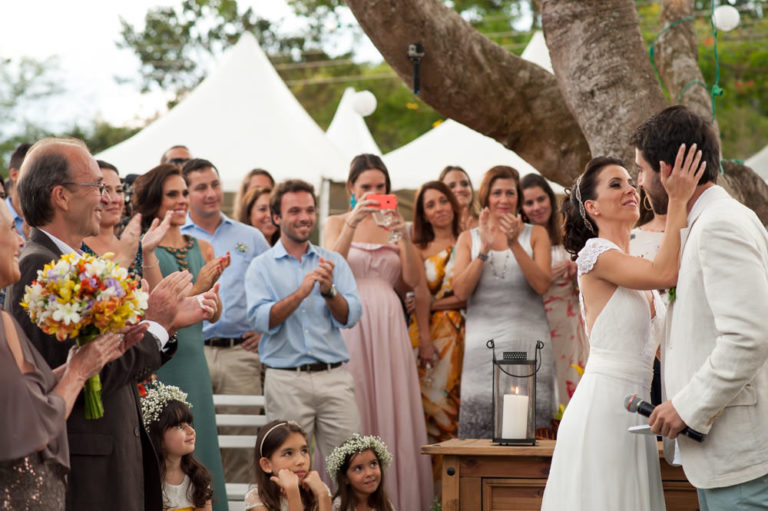
Subject Name – This is pretty straightforward. Decide what makes the most sense to you. For family portraits or wedding photos, some variation of the clients’ first and/or last names should do the trick.
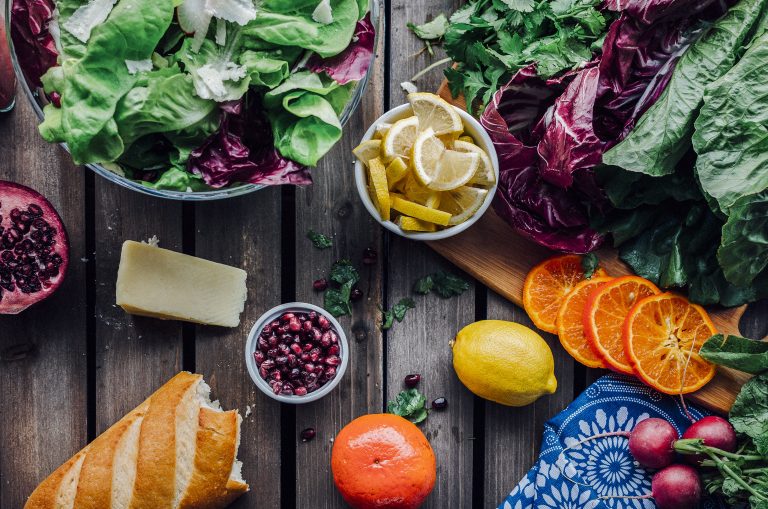
Type of Photo Shoot – I include the type of shoot because it helps me keep things organized, but if you only work as a photographer in one capacity, this information might be unnecessary.
Company Acronym – I include this in order to keep my images identifiable. I use ARP, for Amelia Robertson Photography.
File type – You’ll likely be working with multiple file types, and you’ll want to keep images separated accordingly. Include this information to make it easy to access the file type you need.
So, the folder containing freshly imported, RAW files from my photo shoot with the Smith family will look like this:
2018.01.15_Smith_FamilyPortraits_ARP_RAW
I must also name the files. You can use the same name as your folder, with the addition of a sequence number.
When importing the files, set the file number to 0001. While you won’t know how many photos you’ll end up taking during each shoot, you can assume it will be more than 1 and less than 9999. Use 4 digits for your sequence number to keep things consistent.
The image name will look like this:
2018.01.15_Smith_FamilyPortraits_ARP_0001.NEF
Notice that while I only added a sequence number to the end of the file name, there’s another bit of information there. That’s the file type. I shoot Nikon, so my images have .NEF at the end. If you shoot Canon or another brand, it will look different for you.
Regardless, it’s not something that you add on, but rather something that is included automatically.
Next I cull and perform minor edits. These files are then converted to JPEGs and put in a folder called:
2018.01.15_Smith_FamilyPortraits_ARP_jpg
The photos located in this folder are called:
2018.01.15_Smith_FamilyPortraits_ARP_0001.jpg
Again, for the file names, I choose to start numbering my files from 0001.
I send these photos to the client. The client chooses the photos they want, and I then perform edits on these photos. These files are exported to a folder named:
2018.01.15_Smith_FamilyPortraits_ARP_selects
The files within are named:
2018.01.15_Smith_FamilyPortraitsSelects_ARP_0001.jpg
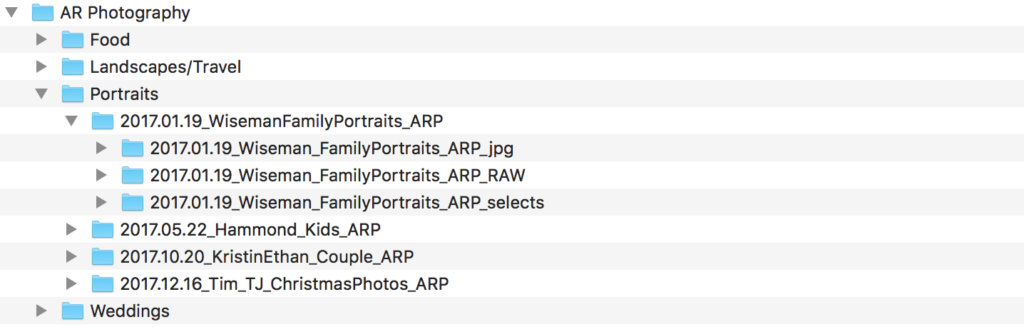
So now, I have three folders. I place these three folders in a folder called:
2018.01.15_Smith_FamilyPortraits_ARP
This is a master folder for the photo shoot, and contains subfolders with the RAW images, the JPEGs sent to the client to choose from, and the images with final edits. All versions of your files are now conveniently in one location.
So where does this master folder with the three subfolders go? If you don’t already have an organizational system in place, using something similar to this might be helpful.
Create a folder designated to contain all photos on your computer. On my computer, this folder is called, “AR Photography”.
Within this folder, I have four more folders. They are named for the type of content found within. For me, they are called: Food, Landscapes/Travel, Weddings, and Portraits.

The names of these folders depend on the type of photos you shoot, so feel free to do whatever makes the most sense for you.
Now, you have a place to put the folder you created earlier. Because our imaginary shoot was a family portrait session, I would place that in the Portraits folder.
Conclusion
So there you have it – how to name and organize your photos so you’re not pulling your hair out trying to find your files down the line. It’s not the most glamorous or exciting part of being a photographer, but keeping your photos organized is undoubtedly very important.
That being said, there’s more than one way to manage your files. Do you organize your files differently or have helpful tips for other readers?
Share them in the comments section below!