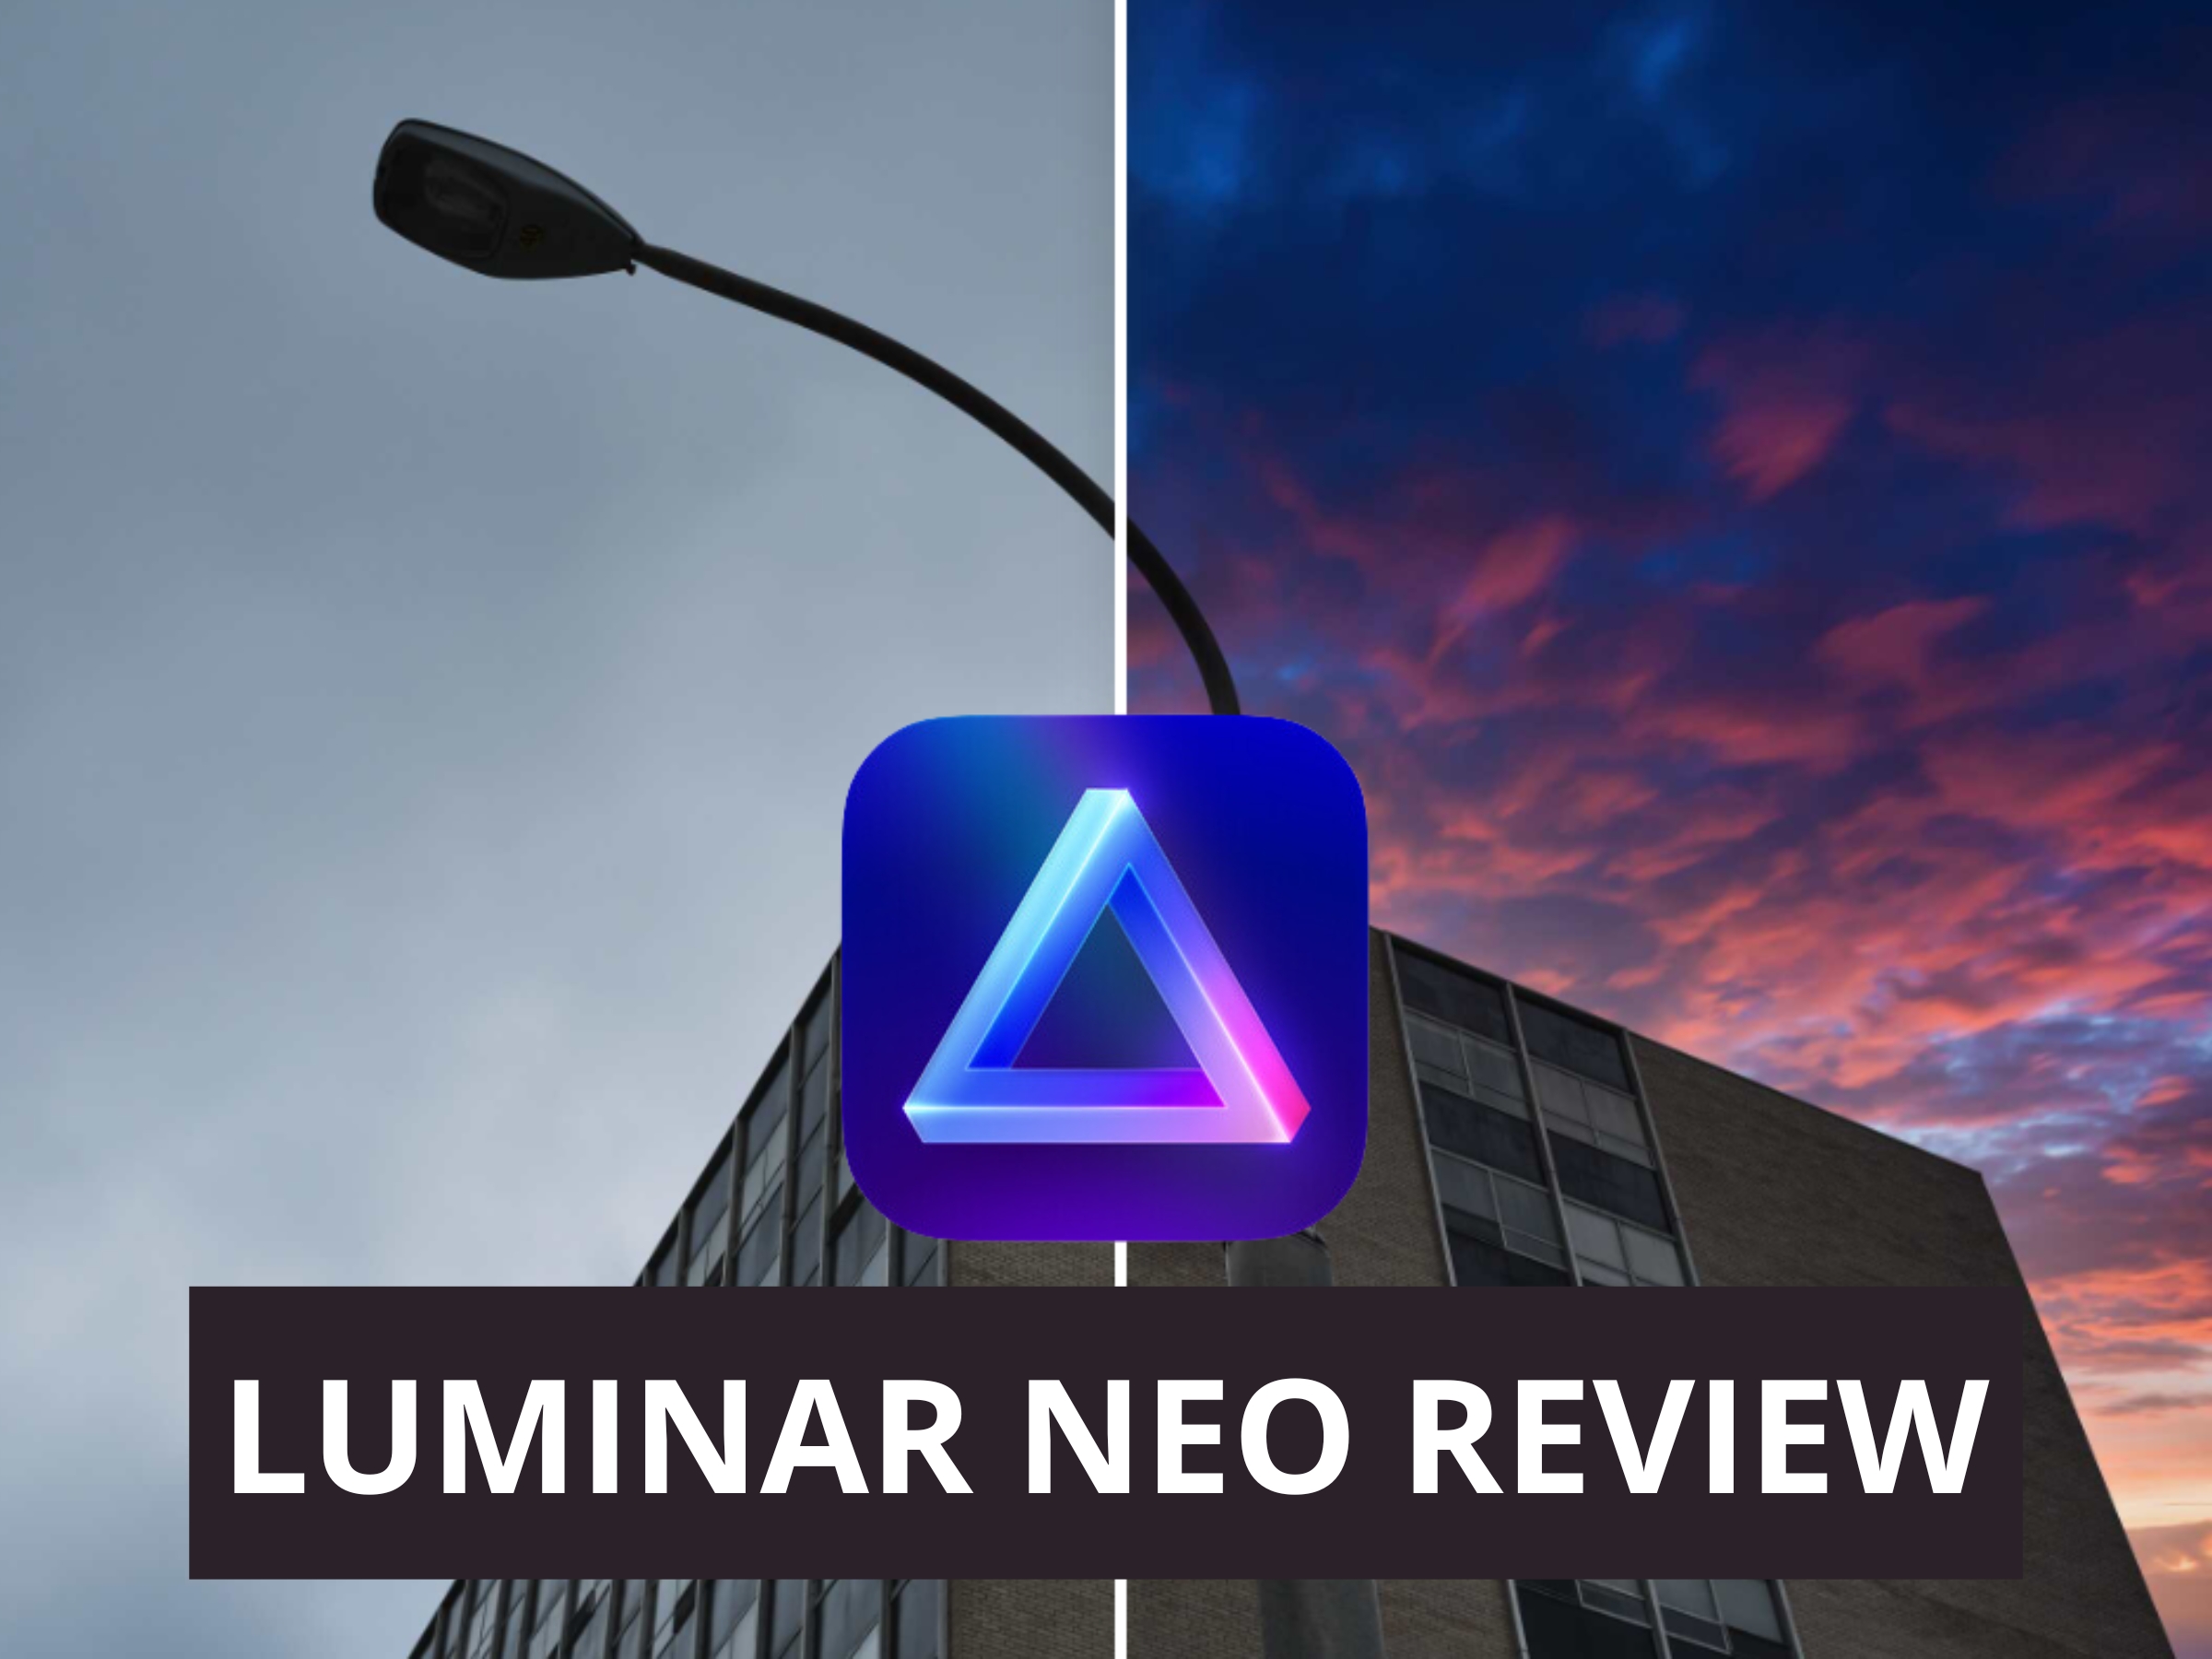
Skylum Luminar Neo Review
I’ve been a photographer for over ten years now, so I had heard of Skylum’s Luminar photo editing apps, but had never tried it until recently. Like many other photographers, I started out editing my photos using Lightroom and, more recently, Capture One.
I’m primarily a street photographer and for that I don’t do any serious photo manipulation — I basically just want to be able to adjust exposure, do color correction, and adjust sharpness, and that’s pretty much it. So some of the features of Luminar Neo aren’t needed for what I do.
However, I sometimes need to edit photos or create graphics for my day job or things here and there for ComposeClick that are a real pain to do in Photoshop (and I’m terrible with Photoshop). So when the team at Skylum asked me to take a look at the software, I was excited to try it out.
In this Luminar Neo review, I go over my thoughts on it as a photo editor as well as some of the more advanced things you can do with it.
Exclusive Coupon Code for ComposeClick Readers
Use this link or coupon code ‘ComposeClick’ to get 10% off your purchase of Luminar Neo.
What is Luminar Neo?
At its core, Luminar Neo is an AI-powered photo editing app that provides a variety of manual editing tools to help you edit your photos. From basic adjustments to complex edits, Luminar Neo has a wide variety of features.
The app has features like Portrait Bokeh and Face AI, which work together to let you easily edit portraits that would be much harder to do in Photoshop. Luminar Neo also offers Sky AI, which lets you easily replace skies in your images with just a few clicks.
One thing I found really cool that I haven’t seen in other photo editors is an option to remove any sensor dust from your photos automatically. This is great because if you’ve ever had dust or oil get on your camera’s sensor, it can be a real pain to go in and remove them all one by one, especially if you’re editing a large number of files. Another feature of Luminar Neo that stood out to me was their object removal tool, and specifically how well it works.
Overall, Luminar Neo is a powerful and versatile photo editing software that offers a wealth of features for creative and artistic edits.
The Interface

When it comes to photo editing software, a clean and user-friendly interface definitely makes your life easier, and Luminar Neo’s definitely does that. The software has three main modes: Catalog, Presets, and Edit, and they work exactly as you’d expect.
Catalog mode is where you access your photo library to browse and sort through your images. I liked how you can flag images as favorites or reject them very similar to what you can do in Lightroom.
The left sidebar displays categories for organizing images, file info, and additional options for sorting and filtering.
The Presets tab works just like Lightroom presets, and gives you the ability to apply filters and styles to your photos. Luminar Neo comes with a few presets, but if you want more, you either have to buy them from their marketplace, elsewhere, or you have the option of making your own. One thing I’ll mention is that I don’t see why they separate the Presets mode from the Edit mode; I think the workflow would be improved if they combined the two and just made Presets a section in the Edit panel. However, if you’re going to apply the same preset to multiple photos, you can easily do that in Presets, and then move over to Edit to make your adjustments to individual photos.
Edit mode, unsurprisingly, is where you make edits to your photos. This is where you’ll find options for adjusting color, exposure, sharpening, and so on.
I wasn’t sure what to expect before doing this Luminar Neo review, and I found the interface is easy to use, intuitive, and laid out in a really logical and visually appealing way.
Luminar Essentials Tools

The Essentials panel is where you’ll find the meat and potatoes of the editing process; just like other photo editors, it’s where you adjust your exposure, blacks and whites, white balance, curves, do your sharpening, noise reduction, and a few more. If you’re coming from another photo editing software, you’ll have no problem picking it up.


Develop
The Develop toolset is where you’ll make your most basic exposure and color corrections. So that includes exposure, highlights, shadows, blacks/whites, curves, color (white balance, saturation, vibrance), sharpening, noise reduction, defringing, and vignetting.
So basically, all of the typical exposure and color correction functions are here in this section. It’s nice having it all here, because in other software, they separate out things like sharpening and noise reduction, which just requires more clicking around, so I like that it’s all grouped together like this.
Erase
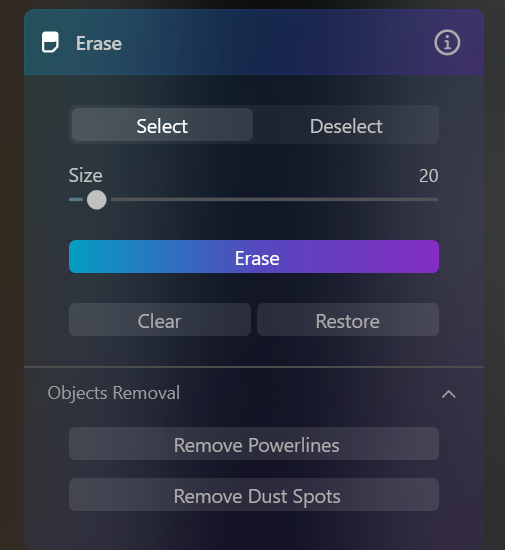
The Erase tool in Luminar Neo makes it easy to remove things in your photos.
The Erase tool uses AI to remove things like blemishes, power lines, and dust spots in just a few clicks. The AI aspect of it is nice because you don’t have to be so granular about making the selection of what you want to remove; the software detects the objects you want to remove and fills the space with what it thinks would be best to fill the space — and does a pretty impressive job of it.


As you can see in the example image above, the tool didn’t remove this distracting person in the background. I would like if it had smoothed that area out better, but I was able to make it look more natural by using the bokeh blur tool:

Remove Powerlines
I’m a street photographer, so I like real, gritty images that show reality. I embrace showing the aspects of our world that many people would deem to be ugly. So this is a tool that I would not really ever use in my photography, but I do see its usefulness, especially for commercial photography.
For what it’s worth, the “Remove Powerlines” tool in Luminar Neo is an impressive functionality that will appeal to many photographers and designers. Doing this manually would be a huge pain, and this tool lets you remove multiple power lines with just a click.
Remove Dust Spots
Removing dust spots from your photos is a tedious and frustrating task. But with Luminar Neo, this is a one-click removal process.
Luckily, the current cameras I use don’t have any sensor spot issues, but I still have a Nikon D600, and it was a big controversy back in the day because that camera had a defect to where the mirror would fling up oil onto the sensor, so it had numerous oil spots on its sensor, even after getting it serviced. The files from that camera took longer to edit because I had to go and find the spots and remove them one by one.
I haven’t seen this in other photo editing software, so I think this is a really cool and useful feature. You just enable it, and it uses AI to go and find any spots and removes them.
Structure AI

Structure AI is a slider that adjusts detail and clarity. I’m not sure how I feel about combing the two, to be honest, but I think it does a good job of adding clarity to images, and it does it in a pretty subtle way.

Black & White
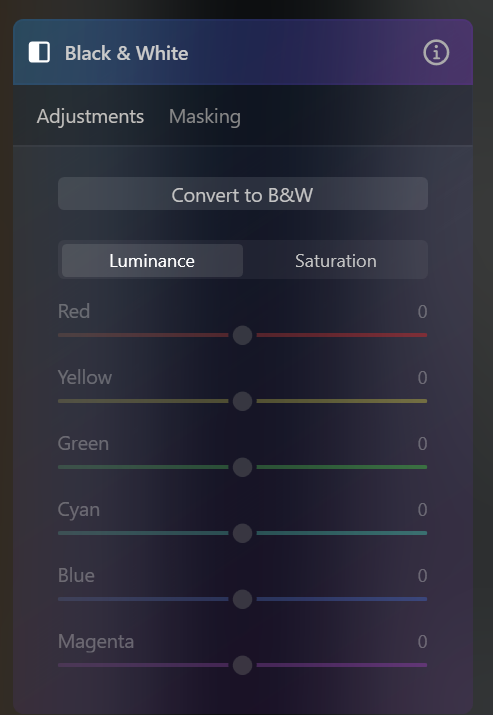
The Black & White tool in Skylum Luminar Neo converts your images to black and white. I like color, so I don’t do black and white photos aside from converting a photo of my personal work if the lighting was terrible/the exposure was way off. But if I were to convert any photos to black and white, I think this tool is as good as any.
You can easily brighten or darken the different colors present in your original image in the Luminance section of this tool.

Details
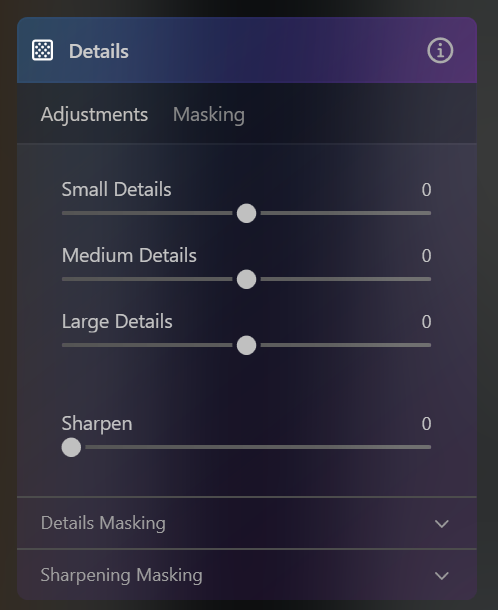
One interesting feature of Skylum’s Luminar Neo is the ability to sharpen areas of images in a slightly more targeted way, because it gives you the option of adjusting small, medium, and large details.
In addition to the size options, the Details feature also offers masking options, allowing users to apply sharpening only to specific parts of the image, such as the subject’s eyes or other important details. This level of customization is nice to have for certain use cases.
Denoise

As you’d expect, this tool is designed to reduce digital noise caused by high ISO settings or low light conditions. It’s as simple as selecting the Denoise tool from the Luminar Neo catalog, and adjusting the sliders for luminosity noise reduction and color noise reduction.
I was pleasantly surprised with this feature, as I think it reduces noise in a very natural-looking way, and it doesn’t look overly smooth like you get with some other photo editors.


Landscape
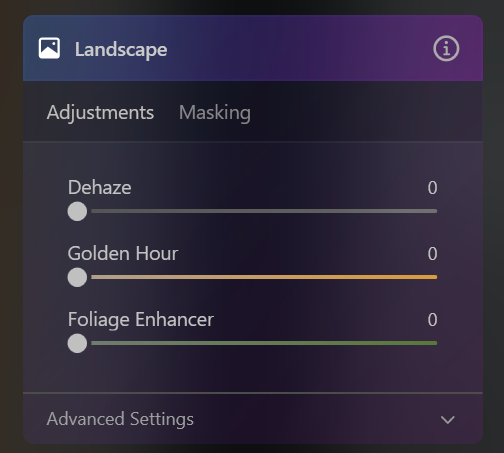
The Landscape panel in Luminar Neo offers three tools: Dehaze, Golden Hour, and Foliage Enhancer. These tools will certainly apply to a landscape photographer’s workflow, but I don’t really know if these tools are aptly categorized, as these can apply to many other types of photography.
The Dehaze tool works by removing the atmospheric haze in your images, giving your photos a more crisp and clear look.
The Golden Hour feature is interesting as well. You can do this in a roundabout way in other photo editing software, but it’s not as easy to achieve as it is in Luminar Neo. As the name suggests, this tool helps you mimic the warm, golden light that occurs during the hour right after sunrise and just before sunset. This feature adds warmth and other aspects typical of golden hour light to your photos.
The third tool is the Foliage Enhancer. This tool aims to help make the foliage in your photos more lush and vibrant by increasing the saturation and detail in the green areas. This tool adds a touch of pop to trees, bushes, and grass.

Vignette
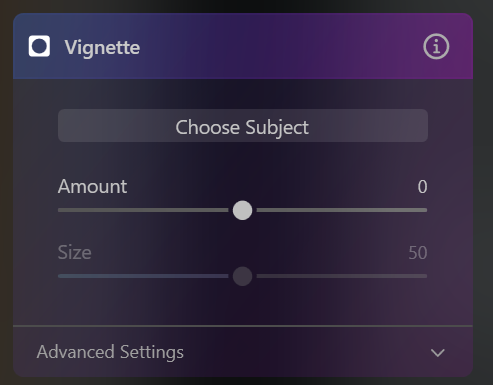
The Vignette tool in Luminar Neo lets you add or take away vignetting in your photos. It gives you options to adjust the roundness of the vignette and feathering for adjusting the transition of the vignette.
When I was using Lightroom, I would use the lens vignetting feature rather than the regular vignetting tool, as I think the lens vignetting tool got a more realistic and subtle result. In Luminar Neo, you don’t have the option for lens vignetting, but it does a perfectly fine job of adding or removing vignetting from your photos.
One cool aspect of the Vignette feature is that it gives you the option to Choose Subject, and after clicking on an area or subject of your choosing, it highlights that subject and creates a vignette around it.


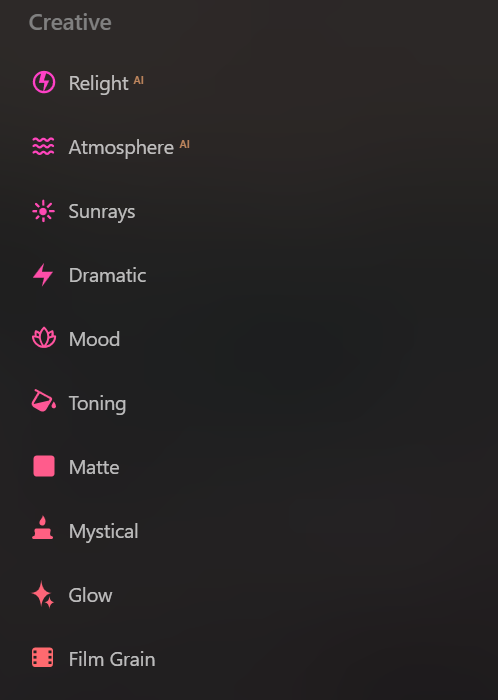
Creative Tools in Luminar Neo
Luminar Neo has an array of AI-powered tools and creative editing capabilities. So it’s sort of like combining Lightroom with Photoshop (but the Photoshop-like capabilities are way easier to use.
Below, I go over the features included in Luminar Neo’s Creative suite of tools.
Accent AI
Accent AI is a slider, and according to Skylum, it adjusts shadows, highlights, contrast, tone, saturation, exposure, and details. I think it works pretty well to add some pop to a photo. It also looks pretty natural.


Sky AI
As a street photographer, I don’t have a need for this feature. I don’t do any heavy manipulation of my street photos.
However, for my day job and some other creative/business things that I do, I can see this coming in handy. Sometimes, the sky is just flat and boring, which can make your portraits or landscape photography somewhat lifeless.
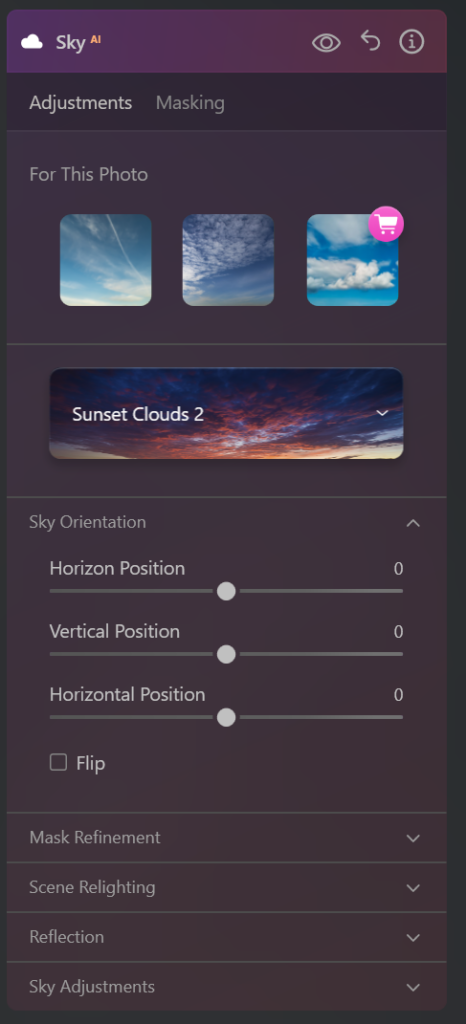
Luminar Neo’s Sky AI feature allows you to replace the sky in your photos easily. In Photoshop, this would require complicated masking and complex editing steps. But with this Sky AI feature, all you need to do is select the sky you want to replace and let the software take care of the rest.
Sky AI comes with a range of built-in sky images, but it also allows you to add your own custom sky replacement images.


Relight AI
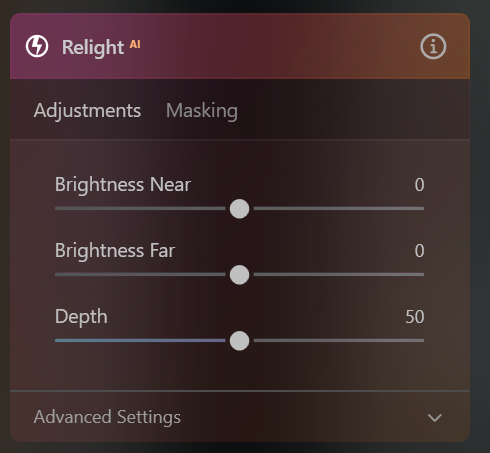
This is a feature that I haven’t seen in other photo editors or would require complex editing techniques. In other photo editors, I’m not sure what the best approach would be to achieve this effect other than doing a combination of dodging, burning, using gradients, etc.
Basically, what it does is adjust the brightness of areas of an image depending on if you want what’s near or far to be brighter or darker. I think this is a really useful feature for when you want to highlight a subject or other part of your image, and darken the areas of an image where there’s less interest.

Atmosphere AI
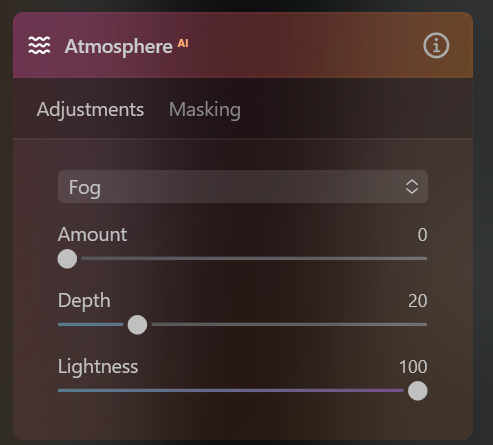
Luminar Neo’s Atmosphere AI allows you to add various atmospheric effects fog, layered fog, mist, and haze to your images. So if you want to add an atmospheric element to your photos, this tool makes it easy to do so.
Atmosphere AI also has the ability to adjust the opacity of the effect for more precise control over the final output to make it subtle or more pronounced depending on the look you’re going for.


Whether or not these effects look natural really depends on your photo. If your photo includes a sky on a sunny day, for example, it’s probably not going to look very natural.
Sunrays
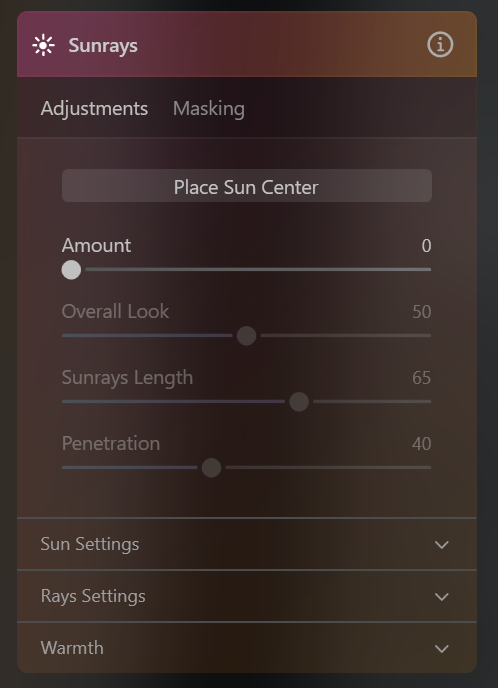
This feature lets you add a sunray effect to any part of your image. You can make it look like the sun is shining through the trees, casting beams of light across your image. The effect is very realistic, in my opinion — as long as you don’t crank the slider all the way.
The Sunrays tool is definitely impressive, but manipulating photos like this is getting out of the territory of photography and into the digital art side of things. I could see using this effect for some sort of commercial work, but I wouldn’t use it if I was just presenting work as photography, but that’s just me.


Dramatic
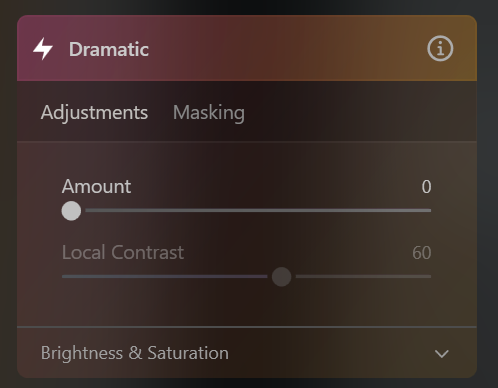
The Dramatic tool in Luminar Neo works by reducing saturation and contrast to give you a dramatic look similar to what you see in today’s drama and action movies. It also gives you masking options that allow you to refine the effect to the level you want.
I prefer a more saturated look to my photos, so this isn’t something I would typically use, but it serves its intended purpose.


Mood

The Mood panel lets you add LUTs (Look Up Tables) to your images. LUTs are more known for color-grading video files. They only adjust the colors of an image, whereas presets adjust more parameters, such as sharpening.
There are some nice-looking LUTs included with Luminar Neo. If you want to speed up your editing process by editing more than LUTs can do though, you may be better off using presets, or starting out with a LUT and creating your own custom preset from it.


Toning

The Toning panel lets you adjust the color toning of shadow and highlight tones. If your shadows have a blue color cast, for example, you can easily correct that here to warm those shadow areas up. You can do the same for highlights.
Matte
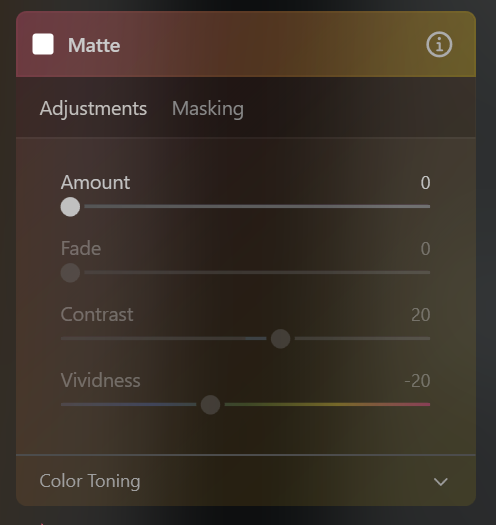
The matte tool in Luminar Neo is great if you like your images to have a matte look to them. I go back and forth on whether I like my photos to have a glossy or matte look. But if you’re going for a soft, muted look with a touch of nostalgia, this tool does a very good job of it, in my opinion. You can use it subtly or go buck wild with it.
The Matte tool comes with the option for masking, so you can apply it selectively on certain parts of your image or adjust its intensity to your liking in the different parts of your image.

Mystical
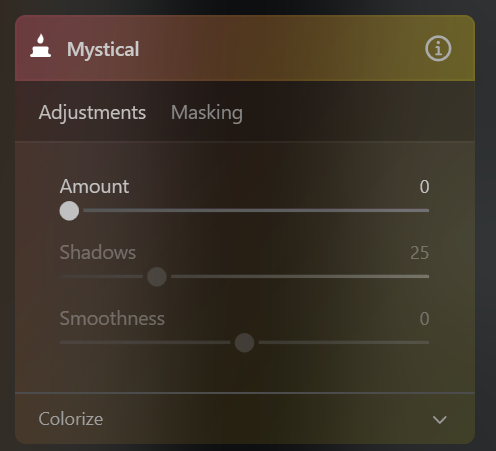
The Mystical tool in Luminar Neo aims to add an ethereal and dreamy quality to your photos. It does this by softening an image’s luminosity and adding saturation and contrast. In the lighter parts of an image, it adds a warm glow. This isn’t something I would use much for my photography but creates an impressive effect and I know a lot of photographers would like this to add a dreamy element to their photos.

Glow
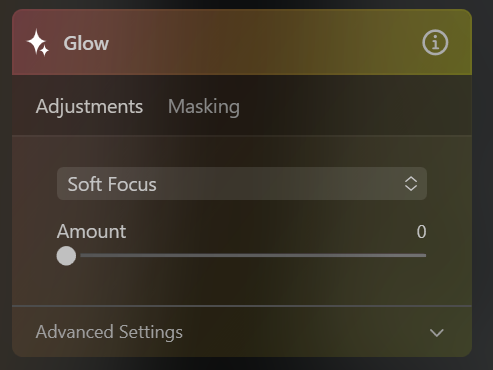
The Glow feature is similar to the Mystical tool, but it works a bit differently. The Glow feature gives your images a dreamy, soft-focus effect that’s more pronounced on the highlights/bright areas of your photo. I’m not exactly sure how it works, but it looks like it softens the detail in the highlights. It also gives you the option of adjusting warmth.
There are four Glow effects that differ slightly from each other: Soft Focus, Glow, Orton Effect, and Orton Effect Soft.

Film Grain
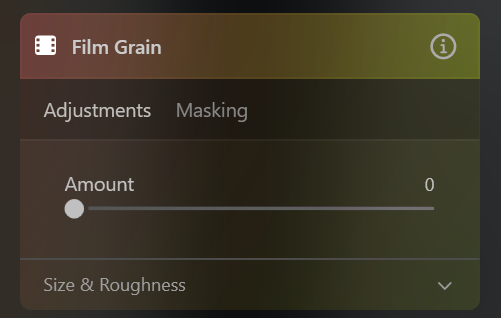
Film grain adds a nice texture and depth to images, and I think it usually looks better than digital noise. So I frequently add a fine film grain look to my images. I find that film grain can cover up bad-looking digital noise, or it can be used to smooth over imperfections from a lens.
If you want the vintage aesthetic in your photos that a film grain look provides, Luminar Neo lets you dial it in subtly, or you can make it more pronounced.

Portrait Editing Tools
Luminar Neo has a suite of tools for portrait editing, from basic adjustments like skin smoothing and an option to add bokeh to your photos. If you’re looking to streamline your portrait editing process, Luminar Neo’s portrait editing tools are very useful and easy to use.
Portrait Bokeh AI
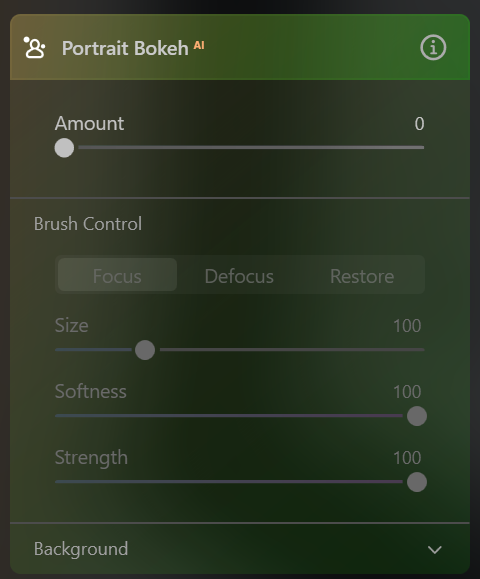
The Portrait Bokeh AI tool is designed to create a realistic background blur known as the bokeh effect while keeping the subject in sharp focus. The tool has a slider the adjusts the amount of the effect you want. You don’t really have to do anything aside from using the slider and it adjusts the amount of blur that it adds to the photo after using AI to determine the subject of the photo. It does a pretty good job of singling out the subject, but it can make errors. If the AI messes up in any way, it has brush sliders that you can use to paint in areas that you want to include or exclude from the bokeh effect.
The result is pretty natural-looking for the most part. I don’t know if the current version of Lightroom has this feature, but I did this manually using masking in Lightroom and it was a very time-consuming process, whereas here, it’s really fast and easy.


Face AI
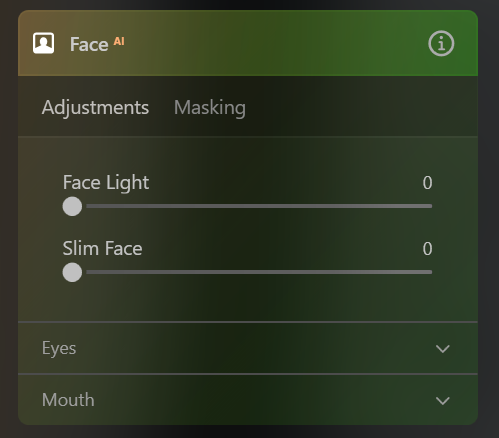
The first feature you’ll see in the Face AI section is face lighting, which allows you to customize the exposure and brightness of the subject’s face. I haven’t seen this in other photo editing tools, and for certain photos, I found it seems like a great way to make sure your subject is the main focus of the image. It gives your subject a bit of pop in terms of lighting, and it works especially well if you were photographing in somewhat dull lighting. In Luminar Neo, it automatically detects faces, whereas in other tools you would have to paint in masking and bring up the exposure from there, which is a much more time-consuming process.
The next option you have in the Face AI section is eye editing. In this tool, you can make minute adjustments to the exposure and detail in the eyes, whiten them, remove red-eye, and remove dark circles under the eyes. I can see this being a really useful set of tools for portrait photographers, and a big time saver.
Face AI also has a mouth section with options to adjust the lip saturation, the redness of the lips, darken the lips, and whiten teeth. These tools all work really well and save you so much time compared to if you have to paint the masking in for all of them.
I haven’t done this much, but on the occasions where I had to do teeth whitening manually, it was really just not an enjoyable experience. For the teeth whitening tool in Luminar AI, it does a good job of isolating the teeth, but I think it should brighten them more at 100%.
Compared to how I was editing certain types of photos 5+ years ago, it’s honestly impressive how easy it is to do this kind of editing in Luminar Neo. In the past, I would avoid making these kinds of adjustments in Photoshop because it could be so time-consuming, but with Luminar Neo’s Face AI, the tedious work is done for you.


Skin AI
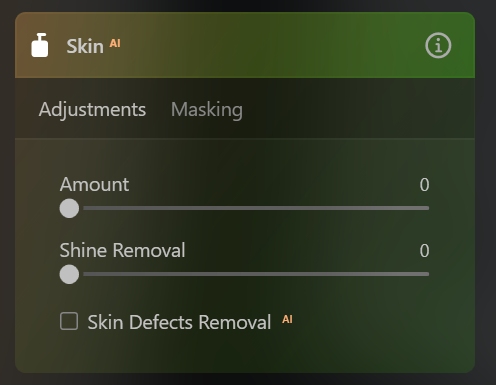
Skin AI aims to make your subject’s skin look nicer in a natural-looking way.
The main adjustment slider applies a smoothing effect to the skin, so pores are less prominent. The other part of the Skin AI tool is Shine Removal, which tones down highlights on the skin, which is useful for photos where the subject has an overly strong highlight on their face.
The last feature of Skin AI is the Skin Defects Removal checkbox, which aims to eliminate defects in the skin. I’m assuming this means things like blemishes and large pores. However, I found that this didn’t seem to do much in practice, so I think this tool is something Skylum could improve.


Body AI
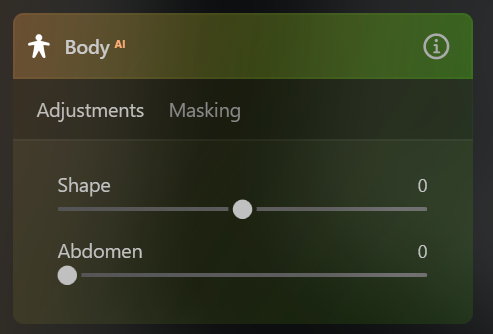
Body AI targets the body and lets you adjust the width of a person’s body. So the obvious use case that most would use this for is to create a slimming effect, but you can also do the opposite and make someone look wider than they really are.
I imagine portrait clients request a little slimming here and there, so this tool would be useful for that, and it’s easy to do with this slider. I’m not into doing this kind of editing, but based on playing around with it, the tool at least makes it look natural.
Unfortunately, Body AI can be quite laggy to catch up with your adjustments, which makes it a bit frustrating to use. But if you were to use Photoshop to do this effect manually, it would take way longer, so it’s a moot point in this case. I think you do have to use some restraint with this tool, as it can distort lines in the photo aside from the person’s body. This really depends on the background that the person was photographed in front of.
High Key
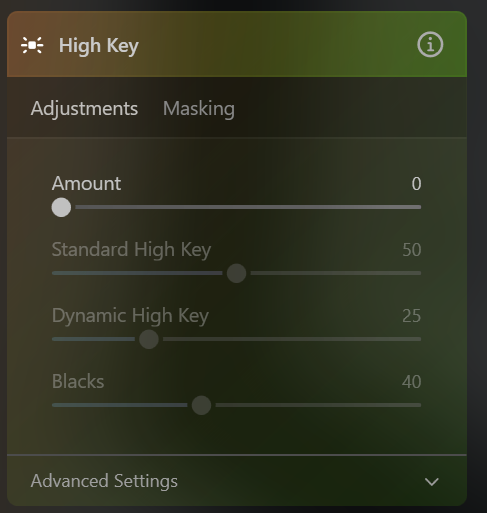
I don’t do fashion or beauty photography, where the high-key lighting is most seen, so this tool won’t be a part of my workflow. I don’t particularly like the high-key look either.
This tool works by increasing brightness and reducing contrast.
Luminar Neo Extensions
Luminar Neo offers additional features to edit your photos such as focus stacking and a supersharp AI — for a price. Below are some of the features in the Luminar Neo extension pack.
What Is a Luminar Neo Extension?
The Luminar Neo extension pack gives you more features within Luminar Neo than the main software has. I go over the features in the extension pack below. I’m not sure how I feel about Skylum separating these features from the rest of Luminar Neo. On the one hand, I think a lot of people wanting to use the software would want some of these features included in the core software. On the other hand, some would want those extra features to be excluded so the core software can be more affordable.
Remove Background AI
With this tool, the software is able to automatically detect your subject and remove the background for you – saving you a lot of time compared to doing it manually.
I don’t remove background for my own photography, but I’ve done it for my day job, and it was a huge pain doing it in Photoshop (back before they had their own automatic background removal tool). So I’ve been doing it in Canva whenever necessary.
However, I do have to wonder why this tool is only available as an extension and not a part of the regular Luminar Neo software.
HDR Merge
This tool lets you combine multiple exposures to create an image with a higher dynamic range.
To use this tool, you need to bracket and shoot several different exposures of the same scene.
Upscale AI
The Upscale Ai feature in Luminar Neo lets you increase the resolution of your photos up to 6X. This would come in handy if you want to print big, crop an image and maintain good resolution, or improve old photos taken on film or a lower-resolution camera.
Supersharp AI
Supersharp AI aims to improve the sharpness and detail of your images with the use of machine learning algorithms.
If you’ve been a photographer for any amount of time, you’ll undoubtedly have some images that don’t quite make the cut because of lack of sharpness or motion blur. This tool doesn’t work miracles, but can potentially save some of those missed shots.
Focus Stacking
For certain types of photography, like macro photography, product photography, or landscape photography, it can be difficult to get everything in focus. This is where focus stacking comes in. With Luminar Neo’s focus stacking tool, you take a series of photos of the same subject, each focused on a different part, and then merge them together to create an image where everything is in focus.
Learn More Buttons Take You to Website
Luminar Neo Pros and Cons
As with any software, there are both pros and cons to using Luminar Neo. Here, I take a look at the advantages and disadvantages of using this software for your photo editing.
PROS
Skylum Luminar Neo has a wide range of features that make it stand out from options. Here are some of the pros that make Luminar Neo a good choice for photo editing.
- Easy-to-use Interface: One of the most appealing aspects of Luminar Neo is its easy-to-use interface. Unlike other photo editing software, there is very little learning curve, and even amateur photographers can get started right away. Its Photoshop-like features in particular are so much easier to use than Photoshop.
- Reasonable Price: Another significant advantage that Luminar Neo offers is its affordable price tag. Luminar Neo’s monthly pricing is similar to other photo editing software. However, there’s a lifetime option for $149, which I think is a really good deal for what it does.
- Great Results: Luminar Neo offers everything you need to match the vision you have for your photos.
- Advanced Features: Luminar Neo is comparable to Adobe’s Lightroom, but it has a lot of features that would typically be done in Photoshop, so it’s kind of like a combination of the two. The features in Luminar Neo that let you do more drastic manipulation of photos are way easier and intuitive to use compared to Photoshop.
- Good Documentation: Within Luminar Neo, each tool has a brief explanation of the tool and a ‘Learn More’ link, which takes you to their website for more information on what the tool does and how it works.
CONS
Luminar Neo has been making waves in the photo editing software world, but as with any software, it’s not without its flaws. Here are some things I think Skylum could improved upon.
- It’s Slow: One of the biggest cons of Luminar Neo is its slow response times, even on my high-end desktop computer. I can see this being frustrating for professional photographers who need to work efficiently and quickly — and every second counts when you’re editing a large number of photos. If I were Skylum, I would make it a priority to speed up the processing of the software.
- AI Accuracy: I think there’s room for improvement when it comes to the software determining the subject(s) in the AI tools. For example, the bokeh tool is impressive, but it can include parts of a subject to blur out, or it can exclude parts of the background that it should blur.
- Limited File Management Features: Luminar Neo has fewer options to organize your catalog and do things like adding keywords and tagging your photos. I do like the simplicity of the option they have now, which is to ‘like’ your photos with a heart. But I’m sure there are a lot of photographers who want more than this. It doesn’t seem like adding more photo management functionality to the software would be all that difficult, so I think that would be a good idea for Skylum to implement. If catalog organization is really important to you but you want to use some aspect of Luminar Neo, there’s a Luminar Neo plugin for Lightroom that integrates the two.
Recommended Computer Specs
I have a high-end computer with a Ryzen 9 chip, 32 gigabytes of RAM, a high-end graphics card, and an SSD. With this setup, you’d think that Luminar Neo would run without any lag. Regrettably, this isn’t the case.
I do think it’s worth mentioning though, that even with some lag, Luminar Neo can still save you a lot of time compared to Photoshop. Some of the AI tools that do edits that would typically be done in Photoshop are much faster overall in Luminar Neo because it does so much of the work for you.
Skylum’s system requirements for Luminar Neo are as follows:
Windows
- Processor: Intel® Core™ i5 or better, AMD Ryzen™ 5 or better
- OS Version: Windows 10 version 1909 or higher (only 64-bit OS)
- RAM: 8 GB or more (16+ GB recommended)
- Disk Space: 10 GB free space; SSD for best performance
- Display: 1280×768 or higher resolution
- Graphics: Compatible with OpenGL 3.3 or later
Mac
- Mac Model: Early 2010 or newer MacBook, MacBook Air, MacBook Pro, iMac, iMac Pro, Mac Pro, or Mac Mini
- Processor: Intel® Core™ i5 or better, Apple M1 chip
- OS Version: macOS 10.14.6 or higher
- RAM: 8 GB (16+ GB recommended)
- Disk Space: 10 GB free space; SSD for best performance
- Display: 1280×768 or higher resolution
My computer has much higher specs than this and there are still speed issues, so I would treat these as the absolute bare minimum. If you’re serious at all about photo editing, I would invest in the best chip, RAM, and graphics card you can afford, as photo editing software, in general, requires quite a bit of processing power.
FAQs About Luminar NEO
Would I Use Luminar Neo Professionally?
After testing it out, I can confidently say that Luminar Neo can handle professional-level photo editing. Luminar Neo has some limitations; its processing speed and file management, for example, but the results it produces are very professional-looking.
How Much Does Luminar Neo Cost?
Here’s the current pricing for Luminar Neo:
- Explore (the basic package): $9.95 per month / $8.25 per month if you buy it for a year
- Pro: $14.95 per month / $9.92 per month if you buy it for a year
- Lifetime: $149
- Extensions pack: $299
Is Luminar Neo Worth It?
If you’re a photographer looking to edit your photos and do Photoshop-like manipulation in an easy way, then Luminar Neo is a great investment. Ultimately, the decision to buy Luminar Neo should come down to your editing needs, budget, and workflow preferences.
Does Luminar Neo work on iPad?
No, Luminar Neo cannot be used on PC and Mac. However, Skylum does have a separate app for iOS, called Imgmi, which offers a similar range of features. This app allows you to adjust basic editing controls, enhancing image exposure and color saturation, as well as some of the AI features that Luminar Neo has, such as removing powerlines and swapping in a different sky.
How Does Luminar Neo Compare to Lightroom?
Luminar Neo beats out Lightroom for certain AI-related tasks, and it has features that Lightroom doesn’t have. However, when it comes to photo management, printing options, and data management, Lightroom has the edge.
How Does Luminar Neo Compare to Photoshop?
When it comes to image manipulation, Photoshop is perhaps the most powerful layer-based software available. However, Luminar Neo is a simpler alternative that can accomplish similar tasks. Luminar Neo is much easier to use and is more intuitive than Photoshop.
Exclusive Coupon Code for ComposeClick Readers
Use this link or coupon code ‘ComposeClick’ to get 10% off your purchase of Luminar Neo.
Final Thoughts
After spending some time with Luminar Neo, it’s clear that it’s a powerful photo editing software worthy of consideration no matter where you are in your photography journey. As with any software, it has its strengths and weaknesses.
On the positive side, the software offers a powerful suite of AI editing tools that can handle complex post-production techniques with ease.
Moreover, Luminar Neo is affordably priced and extremely user-friendly, making it a great alternative to other more complex and expensive photo editing software such as Adobe Photoshop. Its user interface is intuitive and straightforward, while certain edits, such as sky replacement, are made incredibly easy with the software’s AI-powered tools.
However, Luminar Neo isn’t without its weaknesses. The big one is its processing speed — even with my souped-up desktop computer, it can lag for even basic adjustments.
Overall, though, Luminar Neo is a great option for anyone in need of a powerful photo editing software with AI-powered tools and a friendly interface. It’s a solid choice for both amateurs and professionals. It’s also just really fun to use. To sum up this Skylum Luminar Neo review, it’s a photo-editing software worth considering for its AI-powered tools, affordable pricing, and user-friendly interface.