2 Simple Steps to Blur the Background of a Picture Using Just Your Camera
I think it’s safe to say that pictures with blurred backgrounds can be extremely impressive and inspiring.
I know that a lot of photographers just starting out assume that it’s done in post-processing in Photoshop or whatever. But there’s a far better way to achieve a blurred background than by editing it in.
The best blurred background results come from knowing good technique and getting the effect directly in-camera.
So in this article I’ll be explaining two very easy steps you can take to getting this camera blur effect.
1. Use a Wide Aperture
Using a wide aperture is one factor in photography that results in a shallow depth of field. Shallow depth of field in photography means that very little is in focus.
The reason backgrounds become blurred is that they’re out of focus. When depth of field is shallow, there will be some out of focus areas both in front and behind the point of focus of the image.

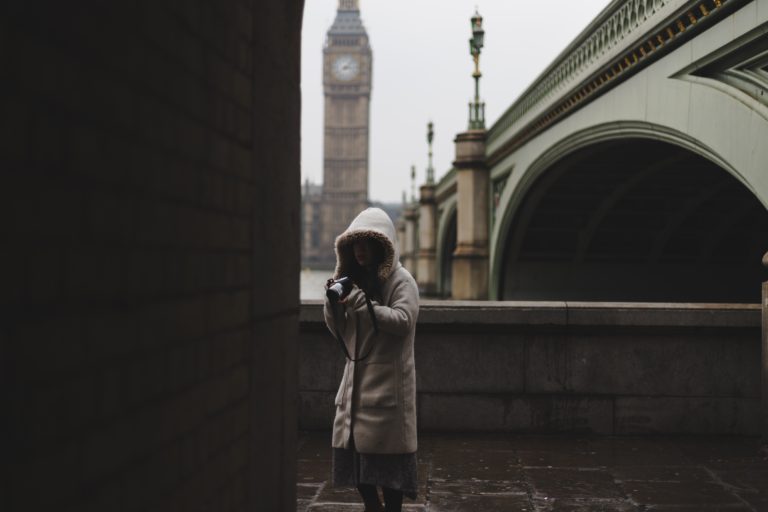
So say you have a subject in the middle of your frame and you focus on that subject, whether it be a tree, landmark or a person in a portrait. If the focus point is on that subject, what’s behind it will be out of focus, or blurry. The subject stays in focus because it’s within the focal plane that you’ve focused your camera on.
The easiest way to shoot with a wide aperture is to first put your camera into aperture priority mode, or ‘A’ mode. Then choose the widest aperture your lens goes down to and you’re essentially ready to shoot from there. But to get this blurred background effect, you don’t need to go all the way down to the widest aperture, it can be stopped down from there.
You can also do this in manual by choosing a wide aperture and then dialing in your other settings from there by what your camera meter tells you.
The wider/larger the aperture, the smaller the f-stop number will be. Maximum aperture size varies from lens to lens and some zoom lenses have variable apertures, meaning the size of the maximum aperture will change as you zoom the lens in and out. A pretty common maximum aperture for prime lenses, i.e. fixed focal length lenses is f/1.8.
2. The Next Step is to Get Closer
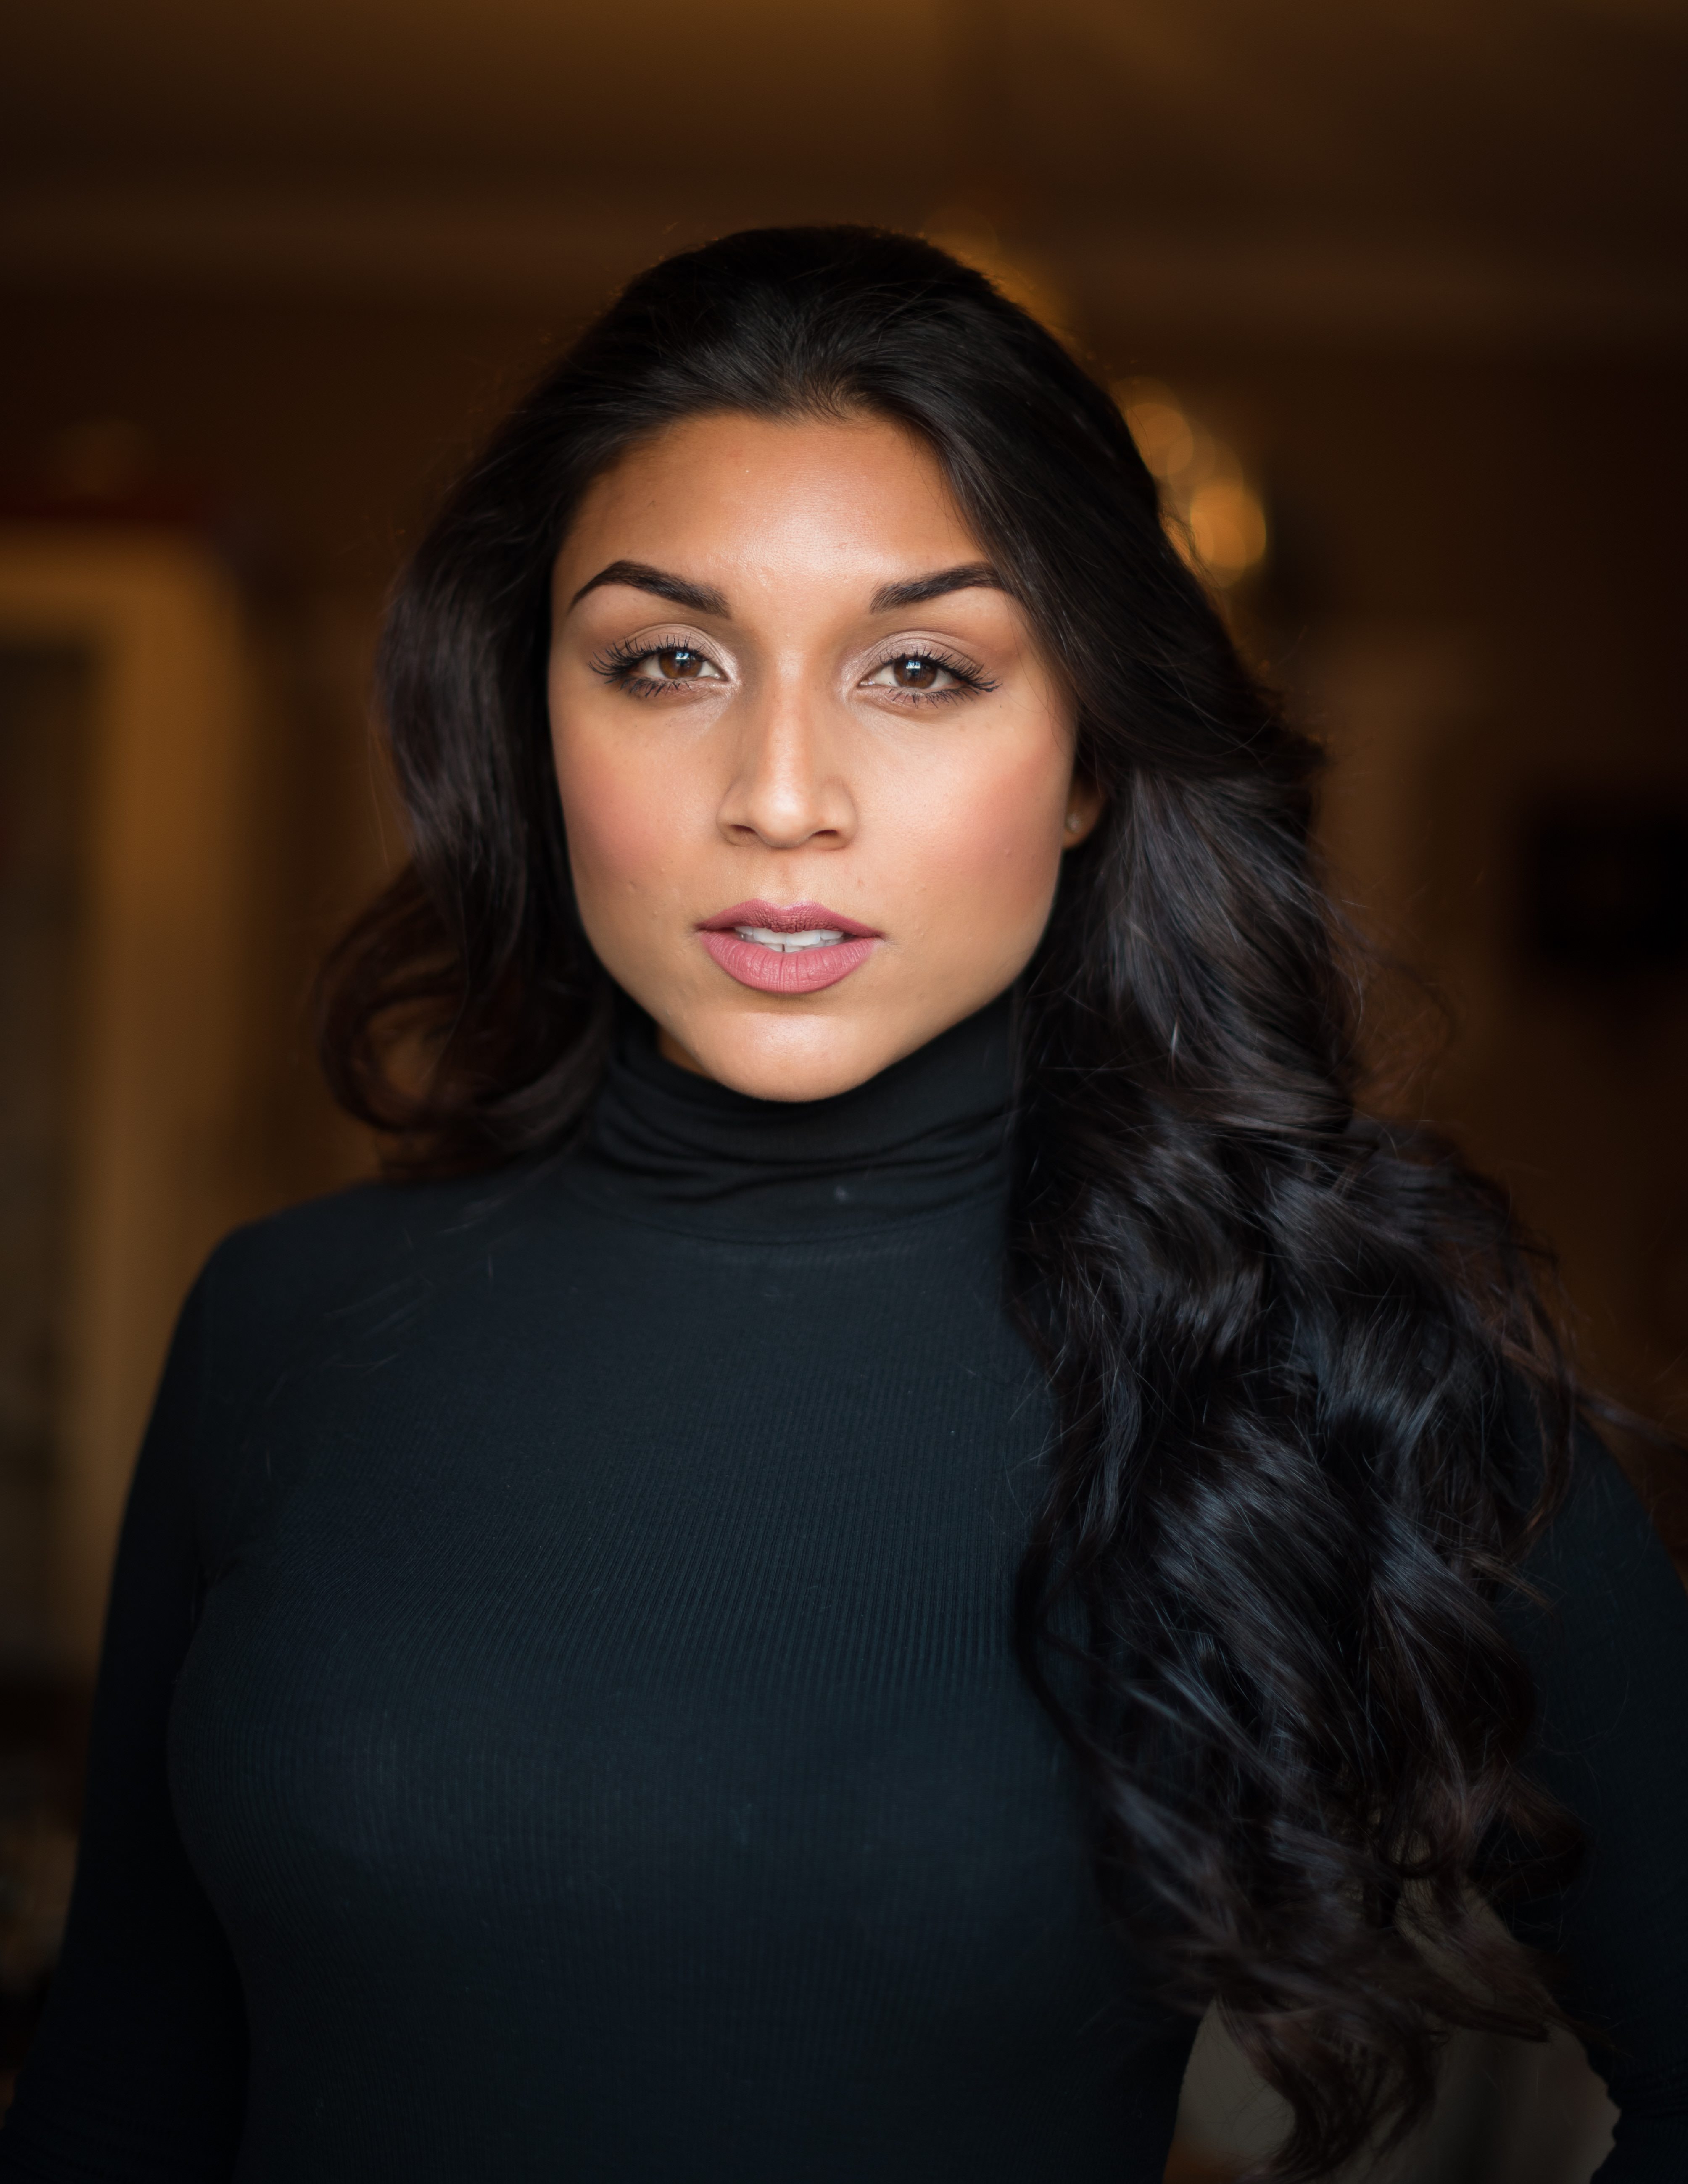
As you get closer and closer to the subject you focus on within your frame, the more the background will be thrown out of focus to get that blurry look.
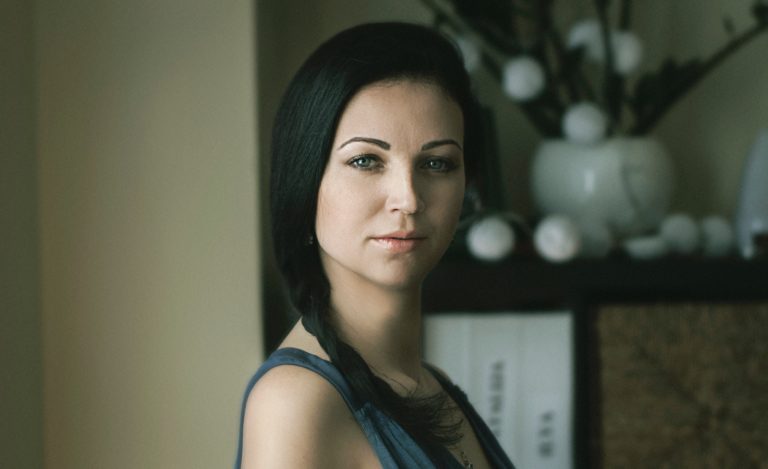
This blurry background look works great for portraits. So if you want your model to be in focus but have the background completely blurry, step closer.
Why it’s better to blur the background out in-camera rather than in post-processing
The simple reason to blur out the background in your camera instead of using something like Lightroom to do it is that it just looks better when done in-camera.
It looks more natural, because it is.
The editing software or apps that attempt to add blur to certain areas of images are trying to mimic the real thing. While some of them do a decent job at adding blur to images, a discerning eye will notice that there’s something “off” about it, especially if you’re heavy-handed with this editing.
Final Thoughts on Blurring the Background of a Picture
Getting a blurred background in your pictures is actually a very easy process as long as you have a camera capable of shooting in manual or aperture priority mode. Not only that, but it looks better than editing in blur later.
Did this help you get to where you can consistently get a blurred background using just your camera? Let me know in the comments below.