How to Make Images Sharper
If you’re new to photography, making images sharper may seem like a daunting task.
However, it’s actually really easy and once you learn how to consistently make images sharper, your photography can improve dramatically.
There are generally two ways of making images sharper, and that’s what we’ll discuss in this article.
How to Make Images Sharper In-Camera
The best way to achieve sharpness in your images is to do it directly in-camera when you record your exposures.
Why?
The reason being is that sharpening your photos in post-processing, as with the vast majority of edits done in post-processing, degrades your image quality. The most common adverse effect from post-processing is the introduction of digital noise, or grain to images, which is exactly what happens when sharpening photos in post.
So how can you make your images sharper using just your camera?
The number one mistake I see casual photographers make is really simple. What I’m talking about is simply not focusing on the subject of the photo.
That may sound obvious to you but I see it happen pretty frequently. And with the camera technology that’s out these days, it’s easy to fall into the trap of thinking that every camera will do everything for you.
But not every camera has automatic facial recognition and things of this sort.
Things vary from camera to camera, so you really need to just get to know your specific camera and find out how it works and what focusing features it has. It’s important to know what types of focusing modes it has.
Within the viewfinder of DSLR and mirrorless digital cameras, one of multiple little squares should show up as you’re taking photos. Those are focus points that show where in the lens’ field of view the lens is focusing.
In a lot of cell phone cameras, there’s just one large square that shows what the camera is focused on. You need to place your subject within your frame how you want it and then tap the screen there with your finger.
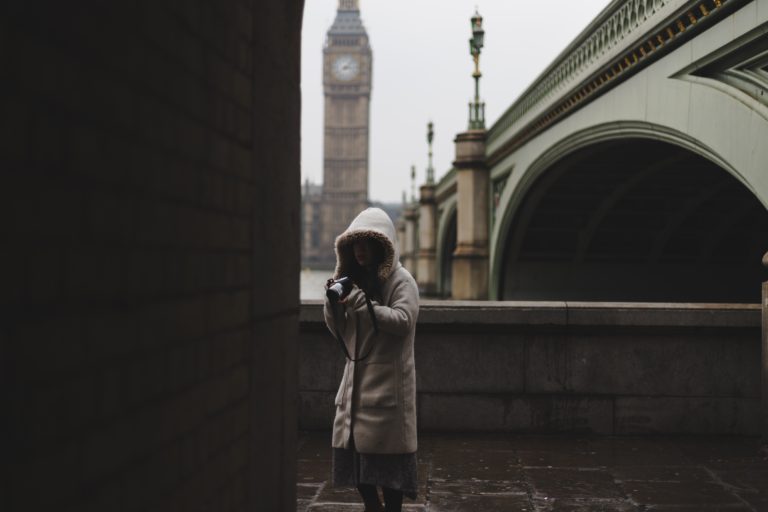
To get the best results, place your focus point where you want the image to be in focus. In portraits, that’s usually going to be on the eye of your subject.
So what’s another way to increase sharpness in-camera?
Increase Your Depth of Field to Increase Sharpness
The other factor that will lead to increased sharpness that you can do just using an in-camera technique is to make your depth of field larger. Making your depth of field larger just means making it so that there is a larger amount of area that is in focus within an image.
This is done by making your aperture smaller.
Aperture is measured by f-stops. The larger the f-stop number, the smaller the aperture. For example, an aperture of f/16 is significantly smaller than an aperture of f/1.8 and the smaller one will result in more being in focus.
How to Make Images Sharper in Post Processing
Aside from making images sharper just using your camera, you can also do it in post processing.
There are a few ways to make images sharper in post but I use Lightroom and I recommend doing it this way, as it’s easy and gets good results.
Once you have your image uploaded to Lightroom, go to the develop module and then make your way over to the adjustments tabs. You’ll see one that says ‘Detail’.
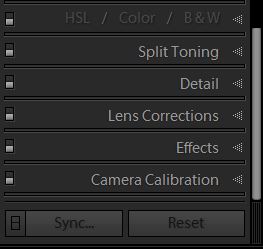
Click on detail and you’ll see an area that says ‘Sharpening’. To sharpen your image, just drag the ‘Amount’ slider to the right.
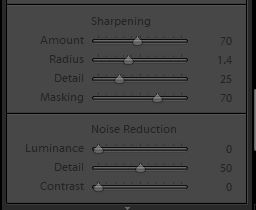
It gives you a number value up to 150 – recommend going to about 110 max. After exceeding that point you start to introduce significant noise.
It’s a good idea to zoom in on your subject to see how sharpening your image is affecting things. Sharpening works great for things like landscapes or sports. But with photography like portraits of women, I go easy on the sharpening, as it can add a harsh look to images.
I think it’s important to be careful with your editing in general, because if you over-edit your photos, it can look really unnatural and ruin the experience of your photos. Before publishing, I like to walk away from the computer monitor for a bit, take a break, and give it one last look.
Conclusion
Knowing how to make images sharper is a big component of getting consistent results in photography. Did you learn something new in regards to getting sharp images from this article? If so, let me know how you applied it in the comments below.