3 Easy Bounce Flash Techniques to Improve Your Flash Photography

If bouncing light in photography is a foreign concept to you, it may seem complicated at first.
But bounce flash techniques are actually extremely simple and can significantly improve the aesthetic results of your flash photography.
What is Bouncing Light in Photography?
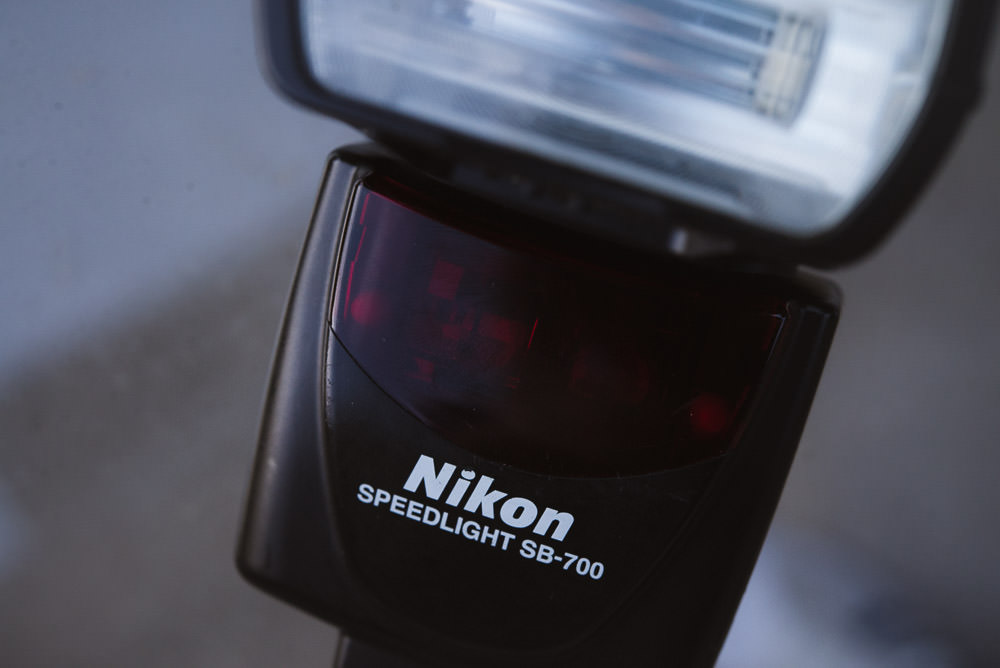
In photography, bouncing light just means taking a hot shoe flash like this:
…and pointing it towards a surface like a ceiling or a wall and bouncing the light off said surface. In order to do this, you need a hot shoe flash because you need to be able to adjust the direction of the light. With built-in flashes, you don’t have that option – you can only direct it straight on.
Why Should we Bounce Light?
Simply put, the reason photographers bounce light is that it looks better in a traditional sense. Bouncing light increases the size of your light source (instead of the light source being the small flash head it becomes an entire ceiling or wall), which makes the light softer and more pleasing to the eye, especially for human subjects.
With bounced light, you don’t get the harsh shadows that you do when shooting a flash straight-on.
Ideal Light Bouncing Surfaces
The ideal surfaces for bouncing light are white ceilings and white walls. These reflect the most light and can help bring in enough light to a scene in low light situations.
The darker the surface of a ceiling or wall, the more flash power you’ll need to light the scene. If you’re taking a lot of shots consecutively, that can lead to longer recycle times in between flashes.
It’s not impossible to bounce off dark surfaces. I’ve had success at wedding receptions bouncing into completely black ceilings. It does take a lot more flash power though and the results are far less consistent.
Bounce Flash Technique #1: Bounce into a Ceiling
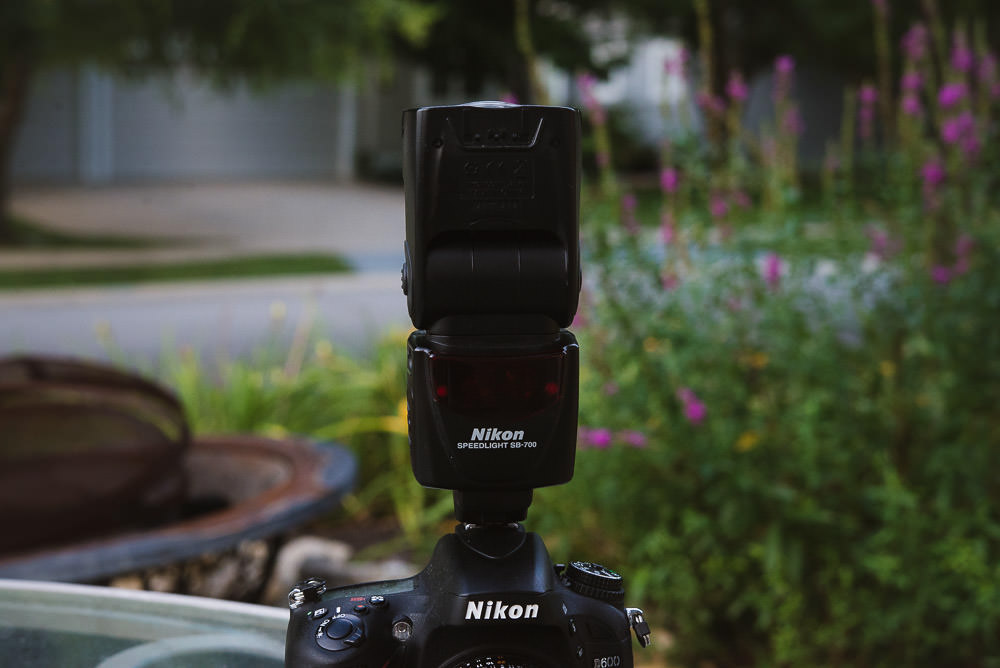
Bouncing into a ceiling means you just point your flash head directly into the ceiling and fire. The is probably the easiest way to start and you can do it combined with TTL, a flash setting on your flash head that will take a meter reading through the your lens and base flash output power based on that reading.
You can do everything fully automatic if you’re unsure of how to dial in exposure by putting your camera into P mode as well.
Bounce Flash Technique #2: Bounce into a Wall
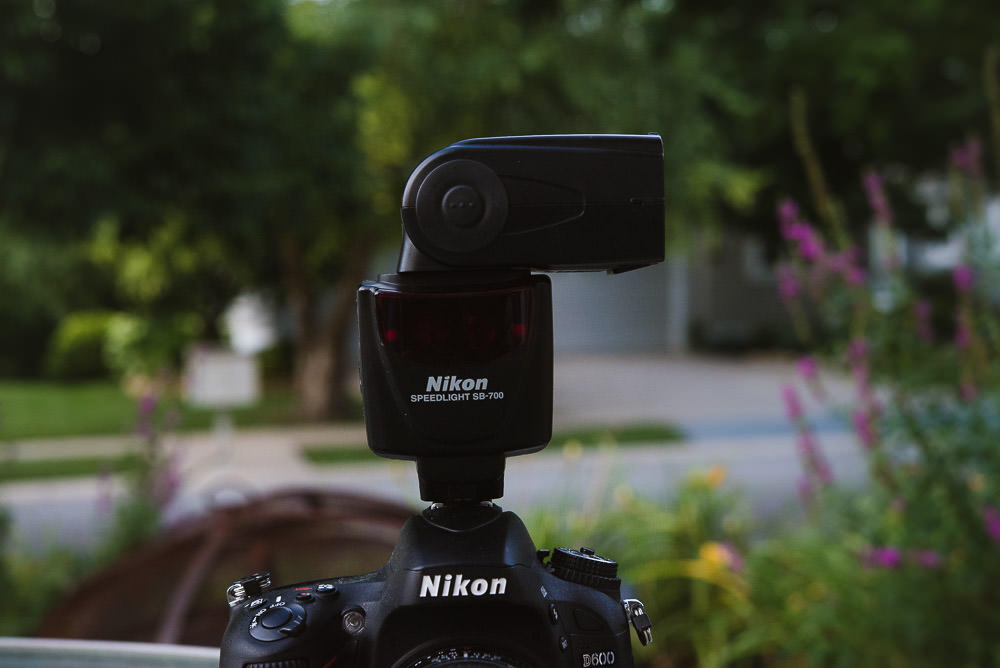
In order to do this, you just point your flash at a ninety-degree angle towards any wall nearby and shoot.
This may or may not result in better lighting than just bouncing light straight into a ceiling but the quality of the light will definitely be different in that it will be lateral.
Bounce Flash Technique #3: Bounce Up and at an Angle
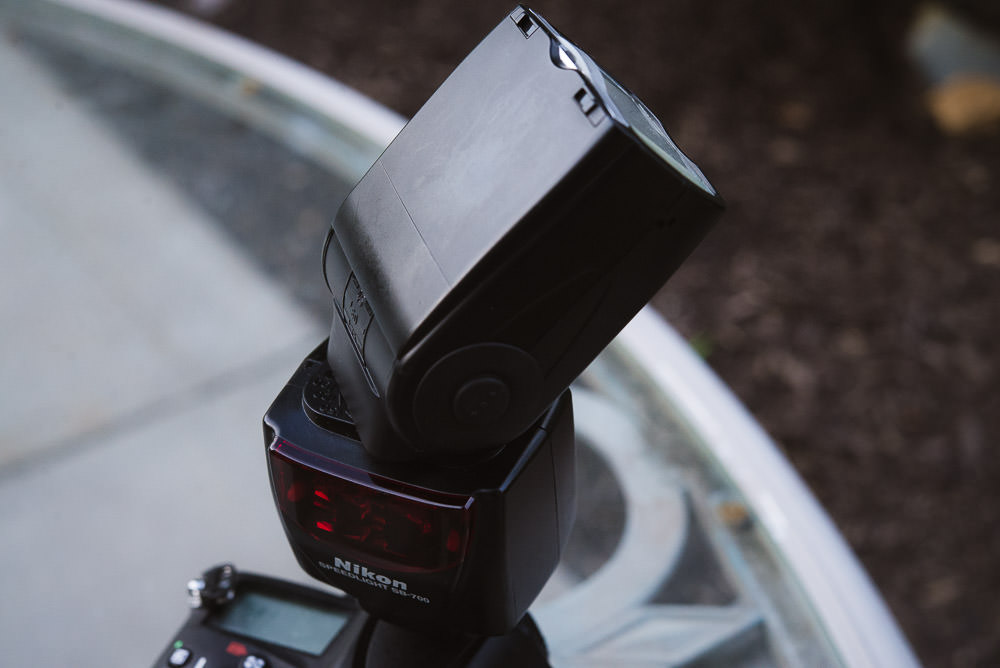
In my opinion, this is the usually the best option out of the three because you get the best of both worlds from the other two techniques: you get the spread of bouncing directly into the ceiling and the lateral directional light you get from bouncing into a wall.
When bouncing into a ceiling you can get some harsh shadows under the chins/noses of people. And when bouncing off a wall, you can get some harsh shadows on one side of the face.
By positioning your hot shoe flash up and at an angle, you often times can get softer, prettier light essentially. However, that comes with a caveat: this technique will not always consistently work in every situation, and same goes for the others.
This all depends on what setting you’re forced to work within, i.e. the location where you’re shooting. One type of ceiling/wall combination could be great for bouncing straight into the ceiling but horrible for pointing your flash up and to an angle.
This is a bit easier to handle when shooting in a controlled environment, but less so when shooting moving subjects in dynamic lighting. The best technique can be constantly changing when shooting in a documentary-style fashion, like many of us do at wedding receptions.
The point is to experiment and constantly be adjusting when need be.
Practice Practice Practice
After reading this, I think you have the main bounce flash techniques you need to be successful doing it. The important takeaway is to go out and practice it – then apply it on the job.
Have any questions on bounce flash techniques? Would you like to add one of your own to the discussion? Let me know in the comments below.