Simple Ways to Improve your Food Photography [To Create Mouth Watering Images]
Food photography is something we see all the time – on billboards, magazine covers, the television, probably on your social media feeds, too.
When done well, food photography can produce enticing, tempting, make-your-mouth-water images. Done poorly, it can produce images that are incredibly unattractive and off-putting.
Chances are that if you’ve ever tried your hand at food photography, you know it can be harder than it looks to make images that truly capture the food you see in front of you.
If you are just getting started with photographing food, here are some simple ways to improve your food photography.
Don’t use your on-camera flash
Light can make or break a photo. Even if you find yourself in a low-light situation, avoid using your on-camera flash. You probably know by now that it causes harsh shadows and glaring highlights. On-camera flash is distracting and just won’t do justice to the food you are photographing.
Instead, manipulate your camera settings in order to create a properly exposed image. Increase your ISO, open up your aperture, and slow down your shutter speed accordingly. You may need to use a tripod in order to make a sharp image, but it will be worth it to avoid using the on-camera flash.
Use window lighting
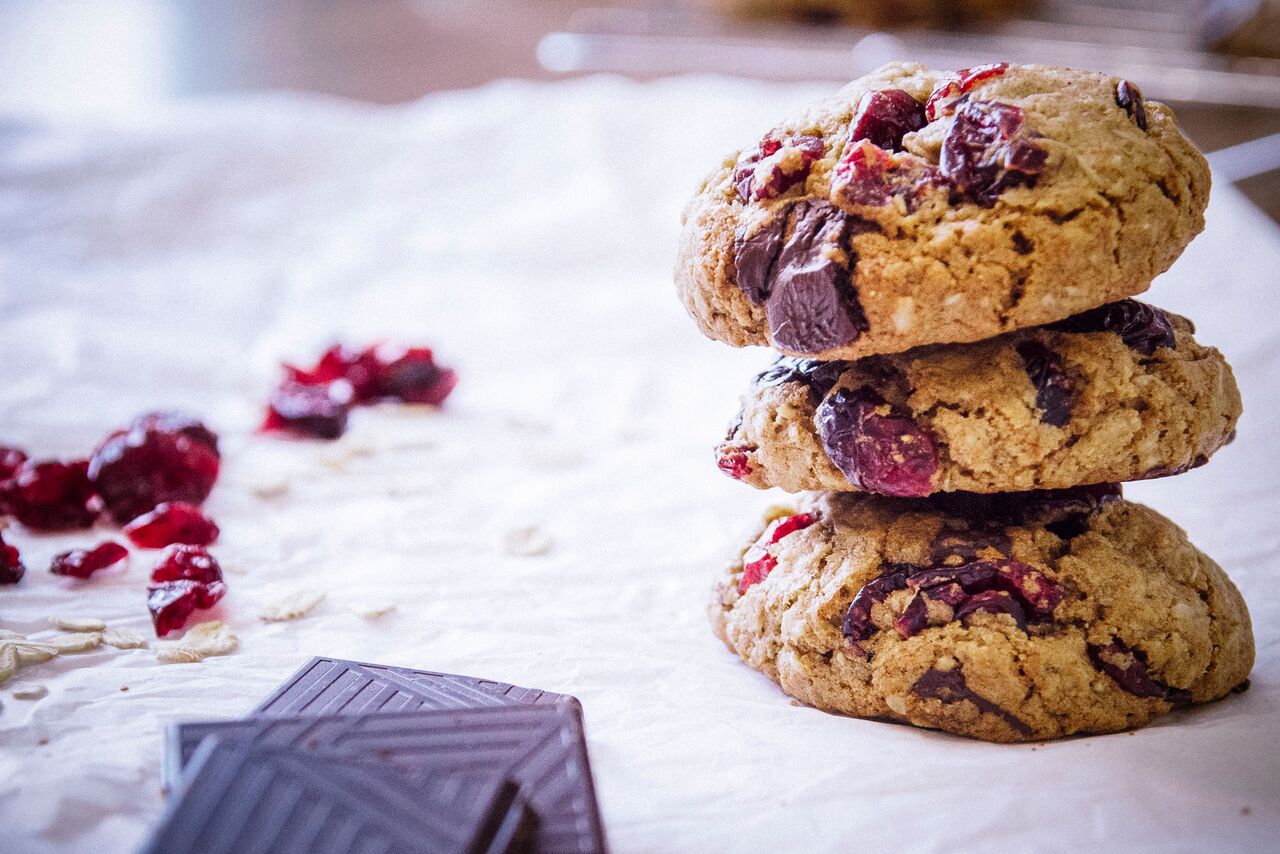
When shooting food, soft and diffused lighting helps to show the detail and texture of whatever dish is in your frame. A great, budget-friendly way to achieve this type of natural light food photography is by using available light filtered in through a window. You can play around with the position of the food relative to the window to achieve different looks, but a good place to start is by using lateral window light.
Position the food in front of the window so that when you are facing it straight on, the window is at your side. If you find the shadows are still a bit harsh for your taste, try hanging a white sheet over the window to diffuse the light further.
This technique (with or without the sheet) produces beautiful light that works for both portraits and food alike.
Style the shoot
When starting out in food photography, your natural inclination might be to place the food alone in the center of your frame. While it’s possible to achieve a pleasing photo in this way, try adding props to the composition.
Think about including the ingredients used to prepare the food you are shooting. In this way, you can add color, texture, and context to the photo. Forks, spoons, or knives can be placed strategically to draw the eye in and lead it to the main dish.
Especially when including these extra elements, consider using a wide aperture to create a shallow depth of field. This will allow you to keep the focus on the main dish, while still adding texture and color in an aesthetically pleasing way.
Conclusion
Food photography can be tricky and there is a lot to learn in order to master it, but these tips should help when you’re getting started.
Do you have any other ways to improve your food photography to share with other readers? Post them in the comments below!