Street Photography ISO: How to Manage Your ISO in Changing Lighting Conditions

Street photography ISO is tricky; on the one hand, low ISOs give you better image quality; on the other, high ISOs let you shoot at smaller apertures and higher shutter speeds.
The key is finding a balance so that you can get the results you want for your style of street photography.
I give my ideas on street photography ISO so you can compare it to what you’ve been doing in this article.
What ISO Is And How It Works
ISO used to refer to the sensitivity of film — the higher ISO film you used, the more light-gathering capability it had, and vice versa. These days, ISO works similarly but it refers to the signal gain of a camera sensor rather than film sensitivity.
The important thing to know for your street photography ISO is that it brightens or darkens your exposure. When you raise your ISO, it will brighten your exposure. Lower your ISO, and it’ll darken it.
In general, it’s best to keep your ISO as low as possible because raising your ISO degrades your image quality. The higher you raise your ISO, the more grain (technically called noise in digital photography) you’ll introduce.
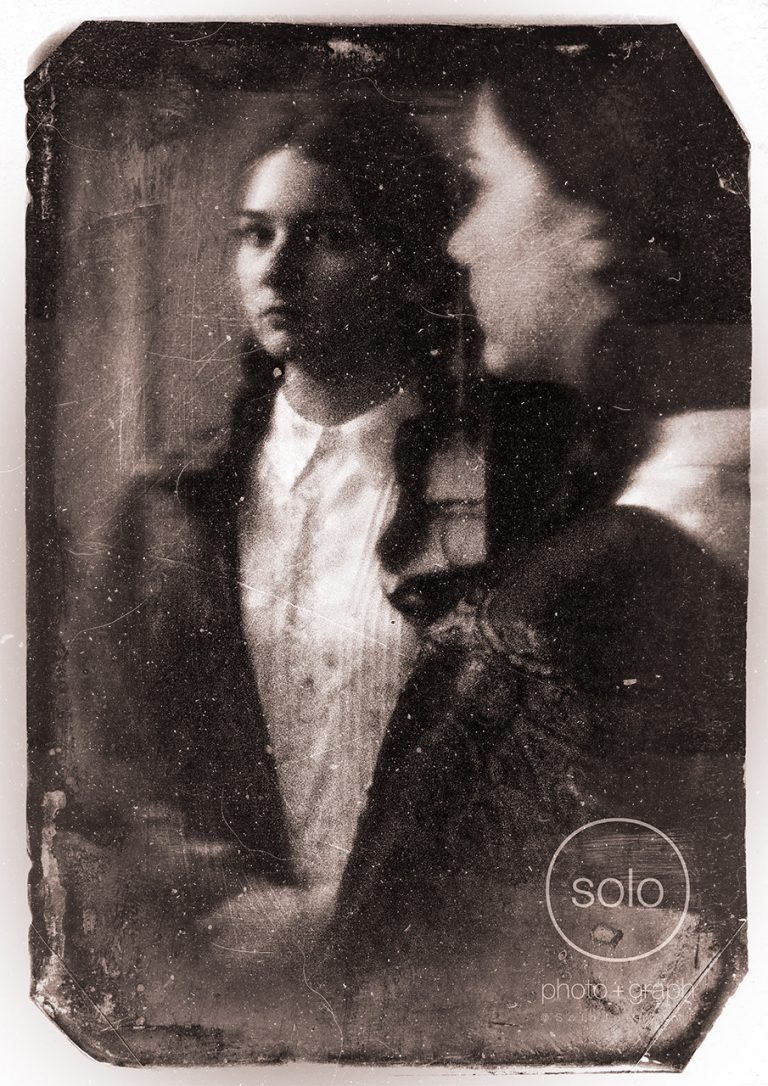
On the other hand, if you like the look of noise, there’s nothing wrong with intentionally shooting at high ISOs for that purpose. If there’s any genre of photography where grain is accepted, it’s street photography. Street photography showcases the gritty nature of life on the streets, so your image quality can be far from perfect.
You can reduce the need for higher ISOs by using a lens with a wider aperture for street photography.
How To Set ISO for Street Photography
Adjusting your ISO varies from camera to camera.
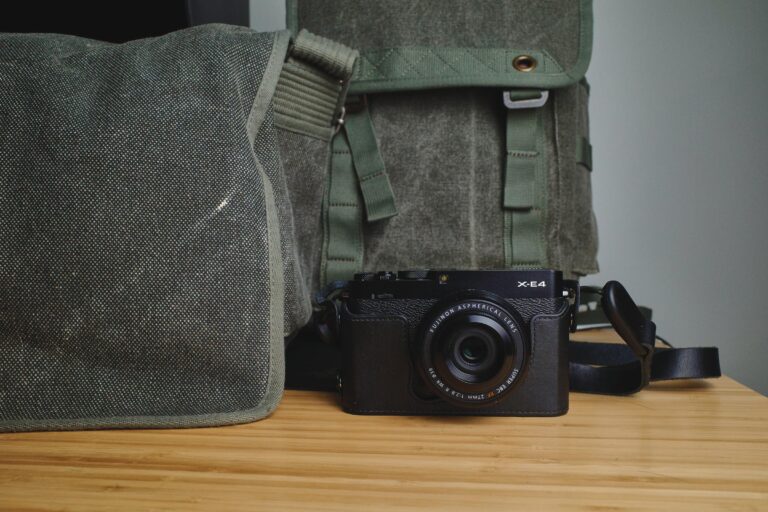
For example, on my Fujifilm X-E4, there’s a function button next to the shutter button that, by default, is set up to display the camera’s ISO values, which you can then scroll through using the joystick.
With my Ricoh GR III though, there’s a button on the wheel on the back of the camera, which you press and then scroll through the ISO values using the wheel.
Those are just two examples out of the many cameras that can be used for street photography.
When I want to manually dial in my street photography camera settings, I usually set my aperture (I like f/8-f/11 to have most everything in focus), I use as fast a shutter speed as the light will allow (1/250s at minimum), and then I adjust my ISO based on what my in-camera light meter tells me.
If you’re having trouble adjusting your ISO for your specific camera, you may need to bust out the ol’ manual or, better yet, Googling it will probably be faster.
Appropriate ISO for Street Photography
The best ISO for street photography depends on your situation; there’s no ISO that’ll work for every lighting condition. So an appropriate ISO for street photography depends on if you’re working with a lot of light or if you’re photographing in dark situations.
If you’re working during the day, then you can use lower ISOs and you can underexpose for street photography. If you like deep shadows, underexposing in bright lighting conditions is a good way to achieve this effect.
On the other hand, if you’re photographing in shadow, you may have to use a higher ISO.
A good standard ISO to use for street photography is ISO 800. This is a relatively high ISO compared to other types of photography, but I like to shoot street photography at small apertures and fast shutter speeds, which necessitates higher ISOs.
ISO for Night Street Photography
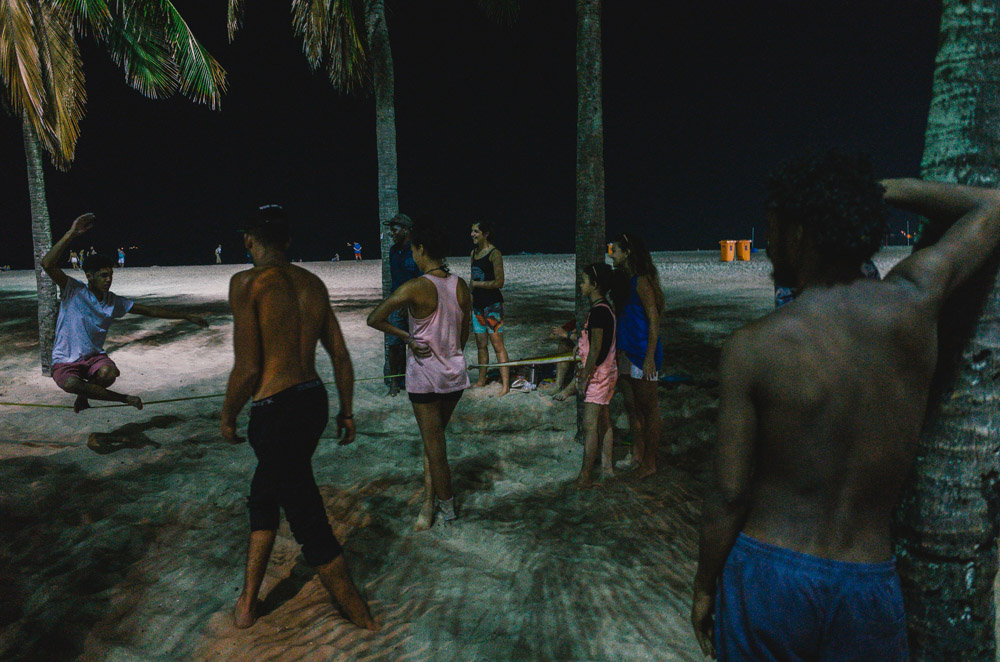
You naturally have to use higher ISOs when you shoot street photography at night because it’s darker. You may be shooting in such dark conditions that it requires you to shoot at a wider aperture or completely wide open and use the slowest shutter speed possible.
Shooting street photography at night makes you think about the highest ISO you’d like to shoot at. I often used to shoot at a limit of 3200 ISO, or even 6400, but at this point, I really don’t have a problem with shooting at 12800.
The thing is to look at image files from the specific camera you use and determine the highest ISO setting you’d like to go based on your preferences. If you find a certain point has too much grain for your taste, then you can use ISO lower than that.
Using Auto ISO for Street Photography
I frequently use auto ISO for street photography. I like to stay at the same aperture (usually between f8 and f11) so that I get everything sharp and in focus and freeze the action by using a shutter speed of 1/250s or faster. Auto ISO is nice because there’s one less thing to think about when taking photos and it lets you focus more on finding good light and composition.
The important thing for using auto ISO for street photography is knowing the limit you’d like to use. Some cameras are better than others when it comes to using high ISOs, so you really need to get acquainted with your specific camera and take a look at the results you get using high ISOs and find out where you’d like to stop at. The higher the street photography ISO you go, the more noise you’re going to get, and you can set your ISO at the point at which you think is acceptable for image quality.
Last Thoughts
The ISO you use for street photography really depends on the results you want. If you want as little grain as possible, then you shoot at the lowest ISO possible. If you want grain or you’re shooting in dark conditions, then you shoot with higher ISOs.
If you want everything in focus, it’s good to shoot at ISO 800 or higher because you need to use small apertures and fast shutter speeds.
Street photography ISO doesn’t have to be a tricky subject; if you want to shoot at small apertures and fast shutter speeds, then you will likely have to shoot at higher ISOs. If you can deal with the consequences of shooting at large apertures and slow shutter speeds, then you can use lower ISOs.
Want to learn more? Check out my street photography tips here.