Street Photography Shutter Speed: Freeze the Action or Create Motion Blur

Street photography shutter speed is highly dependent on what you want to achieve with your street photography. For example, do you want to freeze the action so that it’s like a preserved moment in time, or do you want to create a sense of movement by creatively using motion blur? The response to those questions will give you your answer.
Having a clear idea of the results you want will greatly speed up the process of choosing your shutter speed and the corresponding camera settings for street photography.
In general, if you want to freeze the action, you should shoot at the fastest shutter speed possible. On the other hand, if you want motion blur in your images, you need to shoot with a pretty slow shutter speed.
In this article, I take a look at the street photography shutter speeds that are viable for creating street photography.
Fast Shutter Speed for Street Photography

There’s a lot of room for personal preference in this, but you usually want to shoot street photography at the fastest shutter speed possible. That’s because most street photography is shot to freeze the action and capture the scene without any kind of blur. Obviously, that has exceptions and will vary from one photographer to another.
Most street photography falls into this category, where you freeze people’s actions on the street. You do this by shooting at a fast shutter speed.
But what about a minimum shutter speed for street photography? If you want to freeze the action and avoid motion blur, you need a minimum shutter speed for street photography.
During the day, I try to shoot for 1/500s or even 1/1000s as a minimum shutter speed. If you want to freeze the scene without any motion blur, the faster, the better. The minimum I try to shoot at for street photography is 1/250s. I also shoot at 1/125s and even 1/60s if absolutely necessary. 1/125s is basically the lowest shutter speed you can shoot and expect minimal motion blur.
There’s a general rule for shutter speed in photography that basically says you can slow your shutter speed down to your focal length and get sharp images. So, for example, if you were shooting with a 28mm lens for street photography, you can theoretically slow your shutter speed down to 1/30s and get useable images. I’ve found that works fine if you’re taking photos of static things, but with moving subjects, you can get motion blur from shooting at such a slow shutter speed. So during the day, when there is plenty of available light, 1/250s is a good minimum. You have less say in the matter at night because of the lack of light, so you can drop your shutter speed down to 1/125s. I generally wouldn’t use shutter speeds slower than that unless you’re OK with some motion blur.
Regardless, the good thing about using fast street photography shutter speeds is that you freeze the action. The bad thing is that it may force you to use a wider aperture and higher ISO than you’d prefer.
So if you want to freeze the action in street photography, shoot at a minimum of 1/250s, and only drop down to 1/125s if absolutely necessary.
Stop Walking When Taking a Photograph
If you want to freeze the action, one other thing worth mentioning is to stop walking when you’re taking photos. When you’re walking, you’re moving your camera, and this in itself can result in motion blur, even if it’s not totally obvious. A very fast shutter speed can counteract this, but I’m not always shooting at very high shutter speeds since I shoot at relatively small apertures.
Even if you’re taking a ‘run and gun’-style shot, instead of just walking while taking the photo, you can stop, take it, and then move on. I talk about this more in my street photography tips article.
Slow Shutter Speed for Street Photography
Slow shutter speed has its place in street photography when you’re trying to capture a sense of motion. It can be used to create a sense of movement in your photographs.
If you want to create a feeling of movement in your street photography, then you’ll be looking at shutter speeds around 1/30th of a second and slower. Down to 1/8th of a second is a good range to work within.
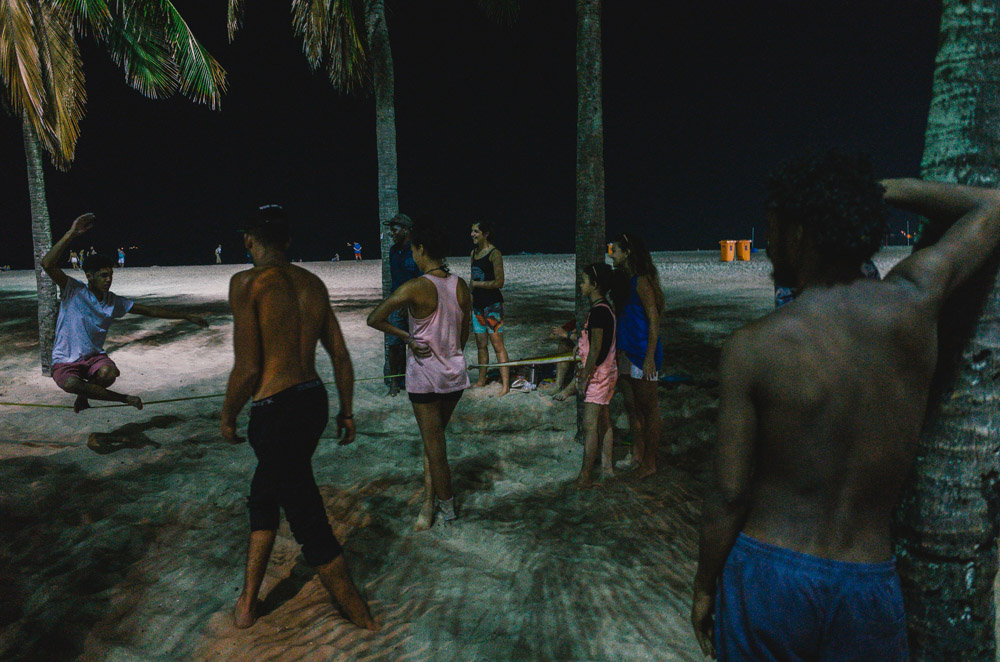
You can combine a slow shutter speed with panning to get a moving subject in focus and have the background in a blur. This is a good technique for street photography at night, especially when it’s so dark that you’re forced to shoot at a slow shutter speed.
Slow street photography shutter speed can be used as a cool effect, but you usually don’t want to use it 100% of the time. You can use it occasionally when it makes sense but don’t force it.
What Street Photography Shutter Speed Should You Use?
Ultimately, the shutter speed you shoot at for street photography depends on what you want as a result.
If you don’t want any motion blur, the slowest shutter speed I would shoot would be 1/125s. But if you can, I would shoot even higher than that.
If you want to make motion blur a feature of your shot, then try shutter speeds between 1/30th and 1/8th of a second.
Last Thoughts
Street photography shutter speed can be tricky to get right when you’re out on the street, but the general idea is simple. Fast shutter speeds freeze the action. Slow shutter speeds result in motion blur.
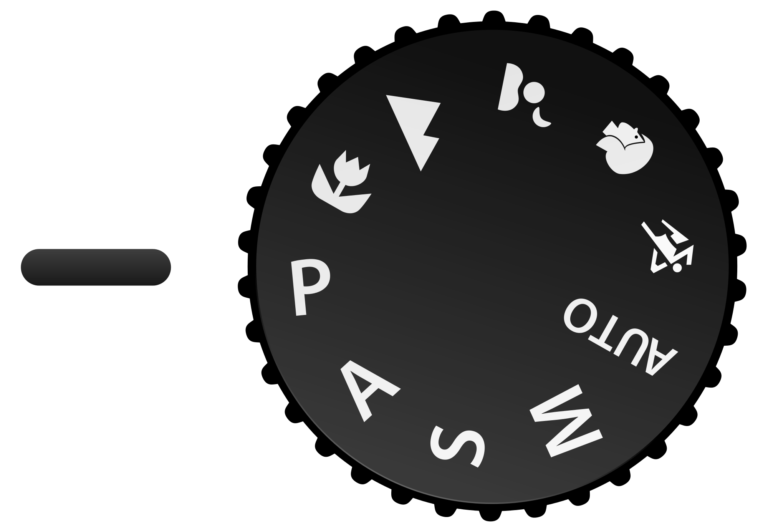
If you’re shooting at night and in very dark conditions, one thing you can do if you want to freeze the action and you’re having trouble getting exposures is to use aperture priority mode for street photography. With aperture priority mode for street photography at night, you can set your shutter speed to the minimum shutter speed that will still give you sharp photos and freeze the action and then let the camera do the rest.
You can also use shutter priority mode in conjunction with auto-ISO. This will make the camera choose both your aperture and ISO, which frees you to focus on finding interesting shots and composition. Of course, using shutter priority mode means you have less control over your aperture and depth of field, but if you’re shooting in the dark, you don’t have much choice anyway.