5 Tips for Indoor Photography: Making Bland Light Look Great
If you’ve ever photographed indoors, you’ve probably noticed that your photos don’t turn out as good as when you photograph in nice bright outdoor light, especially at the golden hour. The reason being is that there’s less light indoors than outdoors—a lot less. The results can be disappointing, as things like underexposure, grain, and unappealing colors can affect your indoor photos because of the lack of light.
So what’s the solution?
Well, there are several things that can help.
If you’re having trouble getting the lighting right or are having issues getting proper exposures when photographing indoors, these tips for indoor photography should set you on the right track.
Why Indoor Photography Presents Challenges
I’m going to start off with the basics here. If you’ve taken pictures indoors before, you may have noticed that your images come out too dark or they’re blurry.
It’s common to have images turn out too dark when shooting indoors because there is less available light than outdoors, where there is usually very bright sunlight. In order to get enough light into the camera when shooting indoors, you have to go beyond automatic mode.
That could mean using shutter priority, aperture priority or full manual mode. The point is to be able to adjust your settings properly to let more light into the camera.
That could mean:
1) Use a Wide Aperture
Aperture refers to the size of the opening, or hole of the camera that allows light to come in. Widening your aperture means making it larger, which lets more light pass through to the camera’s sensor or film. Keep in mind though that the wider you make your aperture, the less will be in focus in your photo.
The lower the number of your aperture, the larger its opening. For example, f/1.4 is a much larger aperture than f/22.
Every lens and camera are different, so you’ll have to figure out how to adjust your aperture size. Some lenses have an aperture ring directly on their barrel, while others you control your aperture through a dial on your camera.
Using a large aperture will help to get more light into the camera so that you can get an exposure that’s bright enough. It’ll also allow you to use shutter speeds and ISOs that will be better for your image quality.
There’s no problem with shooting at your absolute largest aperture (also known as shooting wide open), especially if you like shallow depth of field. You might also find yourself in lighting conditions that require shooting wide open if it’s dark enough.
2) Use Slower Shutter Speeds
Shutter speed determines the length of time that shutter remains open, during which time light passes through to the sensor. The more you slow your shutter speed down, the more light will be let in and the brighter your pictures will be. There is a big side effect of slowing down your shutter speed though; motion blur. Many times you’ll have to find a minimum shutter speed so that things won’t turn out blurry and then adjust your other two settings accordingly so that you still get enough light into the camera.
3) Photograph At Higher ISOs
ISO works as your digital film and adjusting it makes your camera’s sensor less or more sensitive to light. Increasing ISO makes your camera more sensitive to light and so will brighten your images. The side effect though of increasing your ISO makes your photos more grainy, so it’s important to keep that in mind.
4) Use Natural Light to Your Advantage
If you’re not thinking when shooting indoors, you can easily end up with insufficient or dull lighting by either shooting in dark spots or under unattractive fluorescent lighting. But if you make an effort to pay attention to the light when you’re shooting, you can avoid this.
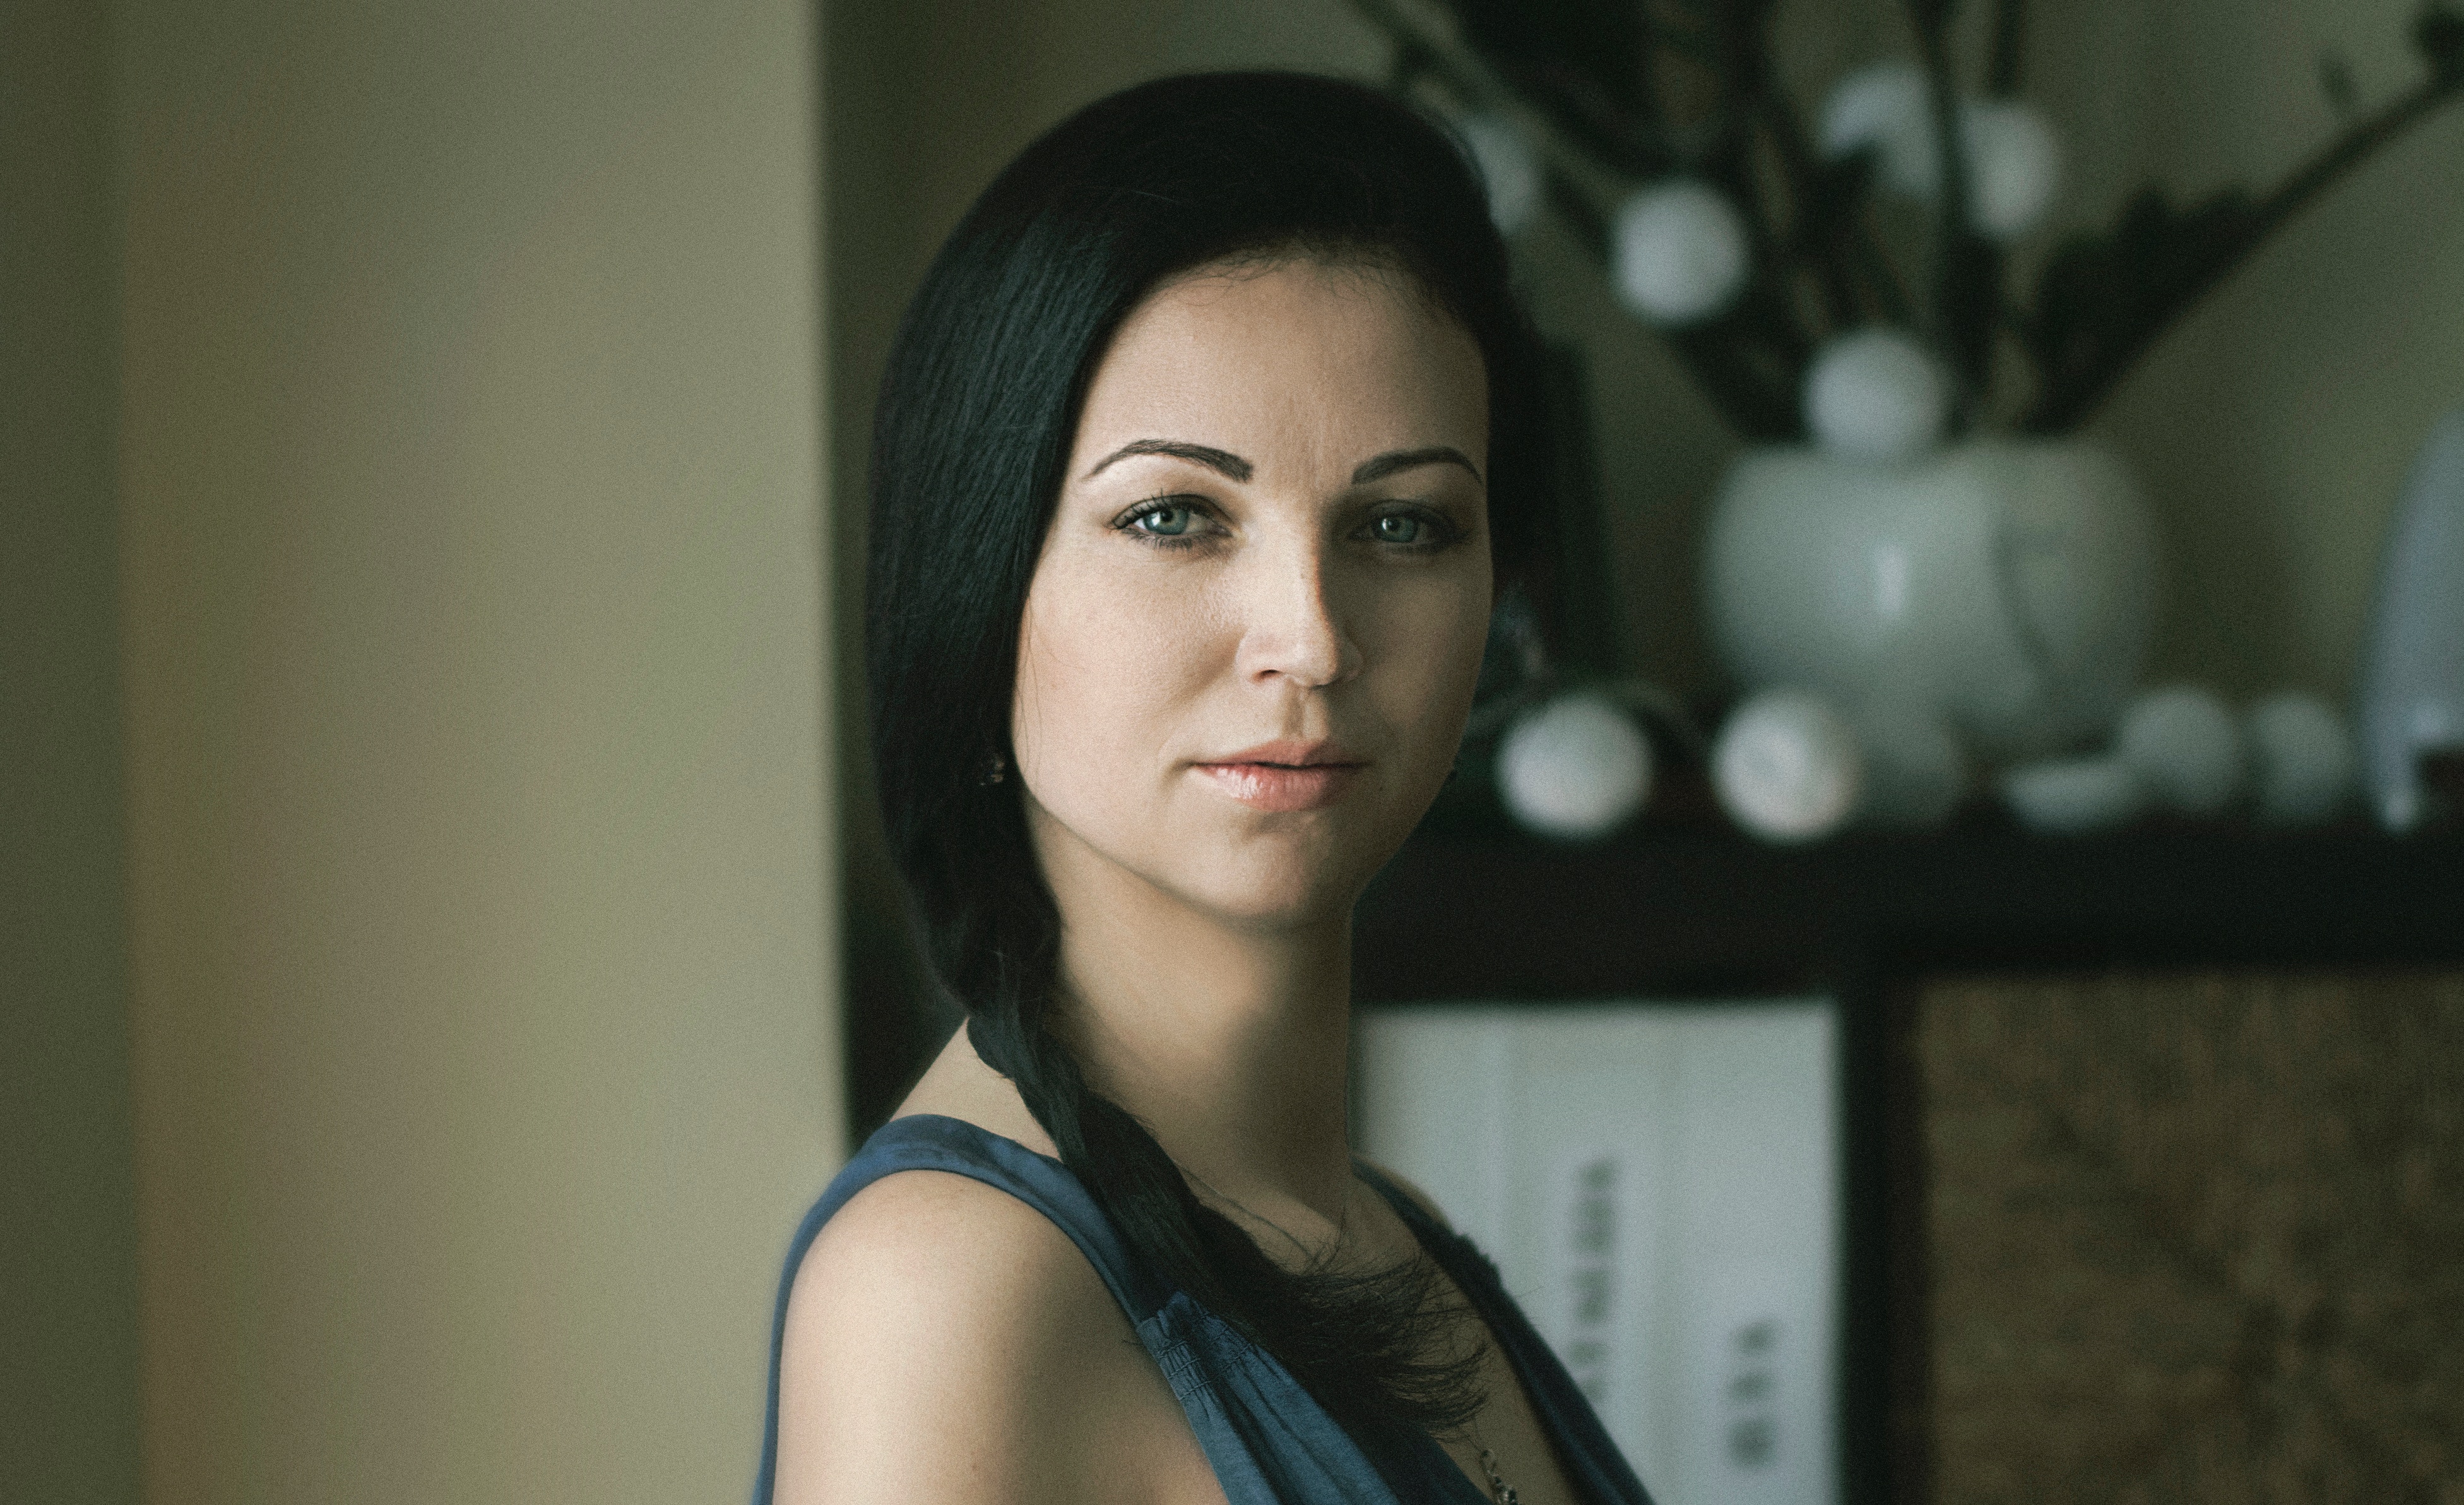
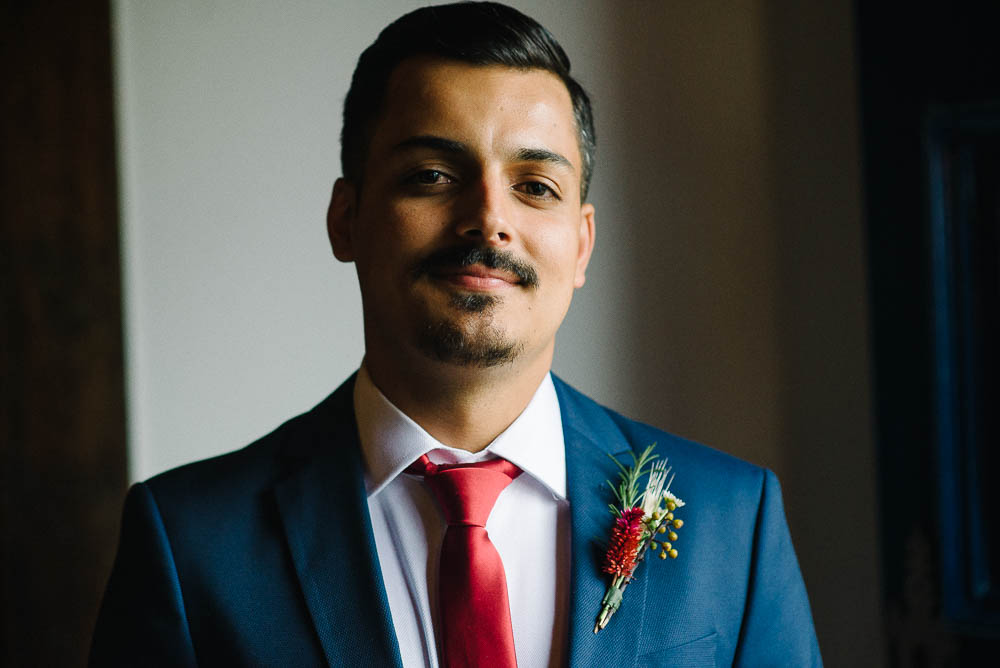
The way I approach it is to use as much lateral window light as possible, whether I’m shooting candid photos for something like a wedding or if I’m taking portraits. This means that I position myself facing my subjects with a window directly to their side, at a ninety-degree angle.
This creates soft, yet slightly dramatic light that falls laterally onto your subjects. It’s far superior to the light you get when just randomly photographing indoors without giving thought to how the light is falling on your subjects.
You can see some more examples of this in our article on corporate portrait lighting.
5) Use a Hot Shoe Flash to Bounce Light
For me, this is usually a last resort option when it’s too dark to shoot just using available natural light. However, it you can get great results bouncing flash and I’m sure many photographers prefer the look of bounced flash over natural light – and as with everything in photography, it’s ultimately up to you to decide what looks you like best.
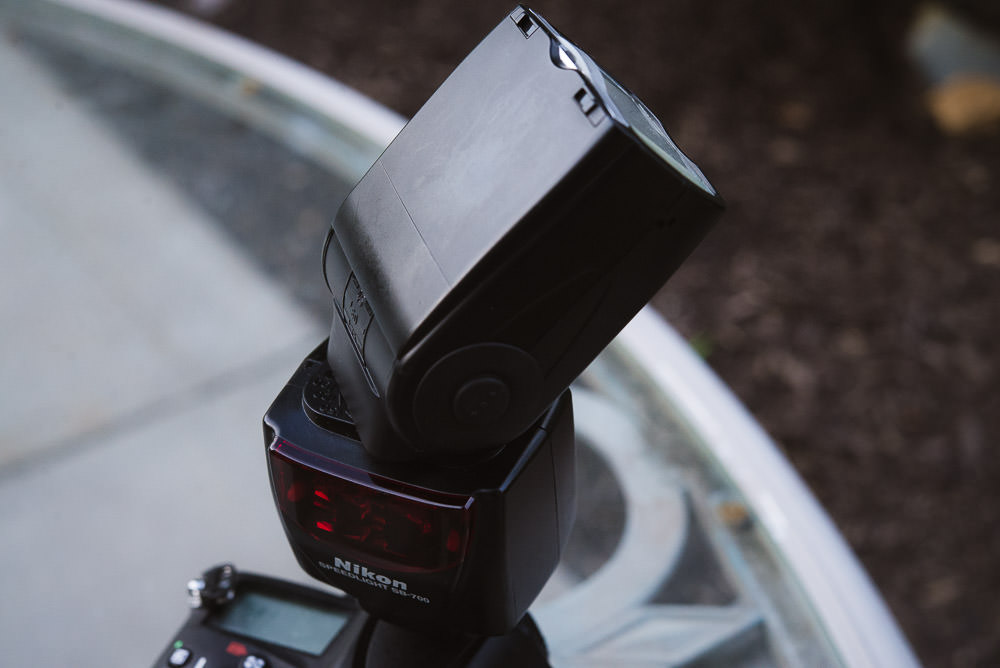
To bounce flash, you need a hot shoe flash first of all. If you don’t have one yet and you’re on a budget, you might want to look into a third party flash manufacturer like Yongnuo. They tend to not have as good of quality control, but flashes just produce a flash of light so you’re getting essentially the same performance at a significantly lower cost.
With hot shoe flashes, you can position them in various directions. What you usually want to do for bouncing flash is to either point the flash facing directly upwards or to face it up and to the left or the right.
Bouncing flash is not an exact science. Depending on the room you’re shooting in, there may be certain angles that produce more flattering light than others. It’s a matter of trial and error to find which angle to adjust your flash to produce the best light.
Conclusion
Indoor photography can be more difficult than shooting outdoors simply because of there being less available light to work with. However, if you know your camera and the exposure triangle well, you’ll be able to navigate indoor photography settings with ease.
Do you have any additional tips for indoor photography that you think other readers would find helpful? Please post them in the comment section below!